Description
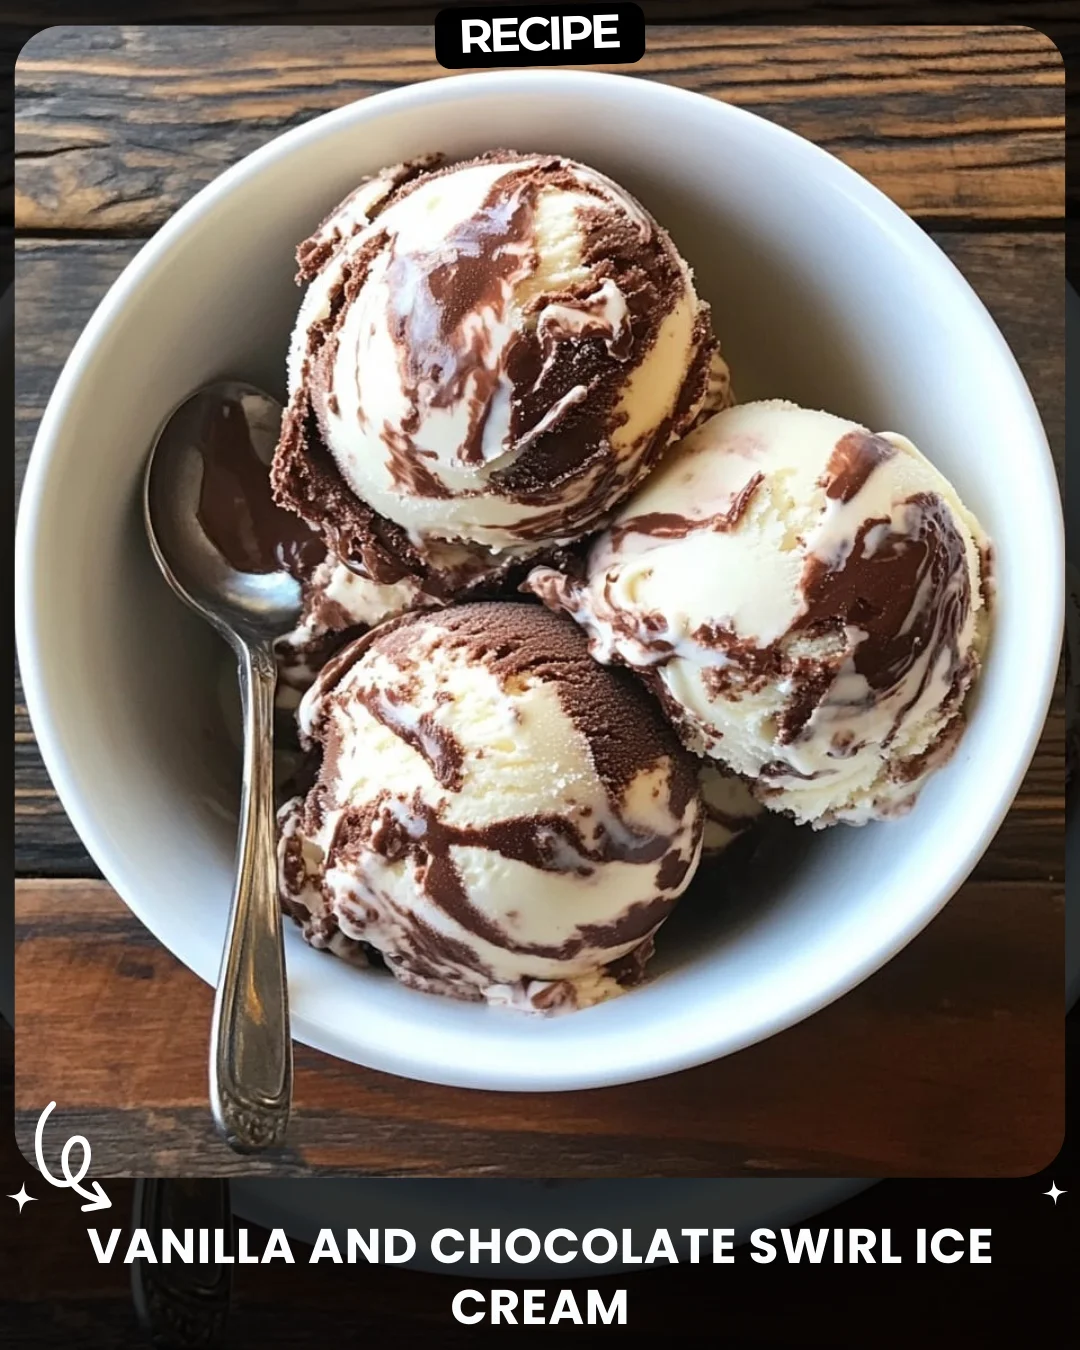
Vanilla and Chocolate Swirl Ice Cream
Ingredients:
2 cups heavy cream
1 cup whole milk
¾ cup granulated sugar
1 tsp pure vanilla extract
½ cup chocolate syrup or melted chocolate (for swirling)
---
Instructions:
1. Prepare the Ice Cream Base: In a large mixing bowl, whisk together heavy cream, milk, sugar, and vanilla extract until the sugar is completely dissolved.
2. Chill: Cover the mixture and refrigerate it for at least 2 hours or overnight for best results.
3. Churn: Pour the chilled mixture into an ice cream maker and churn according to the manufacturer's instructions until it reaches a soft-serve consistency.
4. Add the Swirl: Spoon half of the ice cream into a freezer-safe container. Drizzle half of the chocolate syrup or melted chocolate over the layer. Repeat with the remaining ice cream and chocolate.
5. Create the Swirl: Use a butter knife or skewer to gently swirl the chocolate into the ice cream, creating a marbled effect. Be careful not to overmix.
6. Freeze: Cover the container with a lid or plastic wrap and freeze for 4-6 hours, or until firm.
7. Serve: Scoop into bowls and enjoy this creamy, swirled treat! Perfect with a sprinkle of chocolate chips or nuts if desired.
Step-by-Step Guide
Follow these detailed instructions for perfect swirl ice cream every time.
- Combine & Dissolve: In your large bowl, whisk the cream, milk, sugar, and vanilla vigorously for 2-3 minutes. The goal is to fully dissolve the sugar granules, which prevents graininess.
- Chill Thoroughly: Refrigerate the base for a minimum of 2 hours, but overnight is ideal. This ensures the mixture is very cold before churning, leading to faster freezing and a creamier texture.
- Churn to Perfection: Set up your ice cream maker according to its manual. Pour in the chilled base and churn. This typically takes 20-30 minutes. It's ready when it has thickened to the consistency of soft-serve ice cream.
- Layer and Drizzle: Have your freezer-safe container and chocolate ready. Spoon in about one-third of the ice cream. Drizzle with chocolate. Repeat this layering process two more times.
- Create the Swirl: Take a butter knife or a skewer. Insert it into the container and make a few slow, wide figure-eight motions. The goal is to marble, not mix. Stop as soon as you see a beautiful swirl pattern.
- Final Freeze: Seal the container tightly to prevent ice crystals. Freeze for at least 4-6 hours to allow the ice cream to fully set and develop its final creamy firmness.
Serving Suggestions
Elevate your homemade swirl ice cream with these simple ideas. Serve scoops in a chilled bowl or a waffle cone. For added crunch and flavor, top with chopped toasted nuts, a sprinkle of sea salt, or mini chocolate chips. It also makes a decadent dessert alongside a warm brownie or a slice of pie.
How-to Summary
In short: Whisk the cream, milk, sugar, and vanilla until the sugar dissolves. Chill the base thoroughly. Churn in an ice cream maker to soft-serve consistency. Layer the ice cream with chocolate syrup in a container, then use a knife to gently swirl. Freeze until firm, then serve.
Frequently Asked Questions
Can I make this without an ice cream maker? Yes, though the texture will be denser. Pour the chilled base into a shallow pan, freeze for 2 hours, then scrape with a fork to break up ice crystals. Repeat every 30 minutes for 2-3 cycles before adding the swirl and final freeze.
My ice cream is too hard after freezing. What happened? This is often due to not churning enough air into the base. Ensure you churn to a proper soft-serve stage. Letting it sit at room temperature for 5-10 minutes before scooping also helps.
Can I use cocoa powder instead of chocolate syrup? For a swirl, syrup or melted chocolate works best as it stays fluid. Cocoa powder is better incorporated directly into a portion of the base to make a chocolate flavor.
How long will this ice cream keep in the freezer? For best texture and flavor, consume within 1-2 weeks. Store in an airtight container with parchment paper pressed directly on the surface to minimize ice crystals.
Why is my swirl not visible? You likely overmixed. When adding the chocolate and swirling, be very gentle. Just a few passes with a knife will create a distinct marbled effect without blending the two flavors completely.
Common Mistakes to Avoid
- Not chilling the base: Skipping or shortening the chill time leads to longer churning and a less creamy result.
- Over-swirling the chocolate: This mixes the chocolate completely into the vanilla base, creating a uniform light chocolate flavor instead of a dramatic swirl.
- Using warm chocolate: If using melted chocolate, let it cool slightly so it doesn't melt the freshly churned ice cream upon contact.
- Insufficient freezing time: Scooping too soon results in a soupy texture. Patience during the final freeze is key for scoopable ice cream.
Conclusion
Creating your own Vanilla and Chocolate Swirl Ice Cream is a rewarding process that yields a far superior treat to most store-bought versions. By following the detailed steps, avoiding common pitfalls, and mastering the gentle swirl technique, you can achieve a professional-looking, incredibly creamy dessert. The rich contrast of vanilla and chocolate in every bite makes the effort truly worthwhile. Enjoy the delicious results of your homemade creation!