


Description
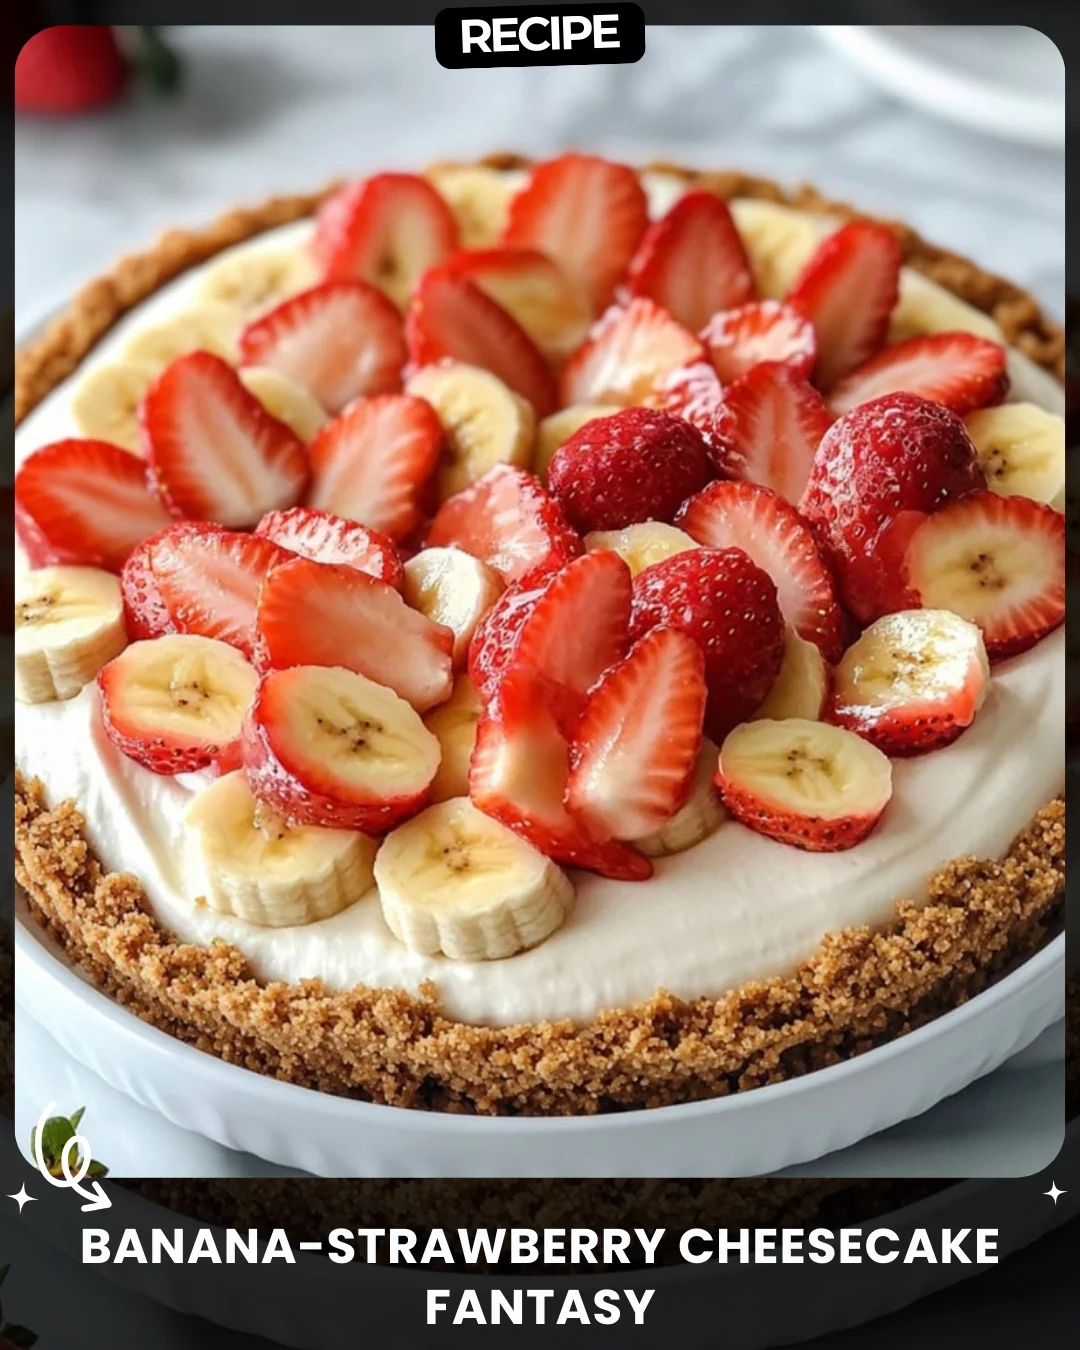
Strawberry Pretzel Salad
Description:
Why choose between a sweet dessert and a salty snack?
This Strawberry Pretzel Salad gives you both in every bite! With layers of flavor and texture, it’s a treat that will keep everyone coming back for seconds. Ready to make it?
Ingredients:
Pretzels (5 cups, crushed)
Butter (¾ cup, melted)
Sugar (1 ½ cups)
Cream cheese (12 oz, softened)
Vanilla (2 tsp)
Cool Whip (1 tub)
Strawberry gelatin (1 box)
Sliced strawberries (4 cups)
Instructions:
Create crust with pretzels, butter, and ½ cup sugar. Bake at 350°F for 10 minutes. Cool.
Mix cream cheese, sugar, and vanilla. Fold in Cool Whip and spread.
Pour strawberry gelatin over the cream layer and chill until firm.
#PerfectLayers
Step-by-Step Guide
Follow these detailed instructions for flawless layers. First, preheat your oven to 350°F. In a bowl, combine the 5 cups of crushed pretzels, ¾ cup melted butter, and ½ cup of the sugar. Press this mixture firmly and evenly into the bottom of a 9×13 inch baking dish. Bake for 10 minutes, then remove and let it cool completely on a wire rack—this is crucial to prevent the next layer from melting.
While the crust cools, prepare the creamy middle layer. In a large bowl, beat the softened cream cheese with the remaining 1 cup of sugar and 2 teaspoons of vanilla until smooth and creamy. Gently fold in the entire tub of Cool Whip until no white streaks remain. Spread this mixture carefully over the completely cooled crust, sealing it to the edges to create a barrier.
Prepare the strawberry gelatin according to package directions, but use only 1 ½ cups of boiling water instead of the full amount to make it slightly more concentrated. Let it cool at room temperature for about 10-15 minutes, then stir in the 4 cups of sliced strawberries. Slowly and gently pour the strawberry-gelatin mixture over the cream cheese layer. Refrigerate for at least 4 hours, or until the top layer is completely firm.
Serving Suggestions
Serve this salad chilled. For clean slices, dip your knife in warm water before cutting. It’s perfect as a make-ahead dessert for potlucks, barbecues, or holiday meals. Garnish with additional fresh strawberries, a dollop of whipped cream, or a sprinkle of pretzel crumbs for extra texture and presentation.
How-to Summary
To summarize: 1) Make and bake the pretzel crust; cool completely. 2) Mix cream cheese, sugar, vanilla, and Cool Whip; spread over cooled crust. 3) Prepare strawberry gelatin with less water, add berries, and pour over cream layer. 4) Chill until firm, then serve.
Frequently Asked Questions
Can I use fresh whipped cream instead of Cool Whip?
Yes, but stabilize it first. Whip 2 cups of heavy cream with ¼ cup powdered sugar until stiff peaks form. The stabilized structure is important for holding the layers.
How far in advance can I make this?
You can assemble it 1-2 days in advance. Keep it covered in the refrigerator. The pretzel crust may soften slightly but will still be delicious.
Can I use a different fruit?
Absolutely. Raspberries with raspberry gelatin or blueberries with blueberry gelatin work wonderfully. Use the same quantity of fruit and gelatin.
Why did my layers mix together?
This happens if the crust or gelatin wasn’t cooled enough before adding the next layer. Ensure each layer is at the proper temperature before proceeding.
Is it freezer-friendly?
We do not recommend freezing, as the texture of the creamy and gelatin layers can become watery and grainy upon thawing.
Common Mistakes to Avoid
- Not cooling the crust: Adding the cream layer to a warm crust will cause it to melt and become runny.
- Using hot gelatin: Pouring hot liquid gelatin will melt the cream cheese layer. Let it cool to lukewarm first.
- Incomplete crust seal: Failing to spread the cream mixture to the edges allows the gelatin to seep down and make the crust soggy.
- Over-crushing pretzels: Aim for small pieces and crumbs, not a fine powder, for the best salty crunch.
Conclusion
Strawberry Pretzel Salad is the ultimate crowd-pleaser, masterfully combining sweet, salty, creamy, and fruity elements in one dish. By following this detailed guide and avoiding common pitfalls, you’ll achieve the #PerfectLayers that make this dessert so iconic. It’s more than a salad; it’s a nostalgic, conversation-starting treat that’s guaranteed to earn a permanent spot in your recipe collection.