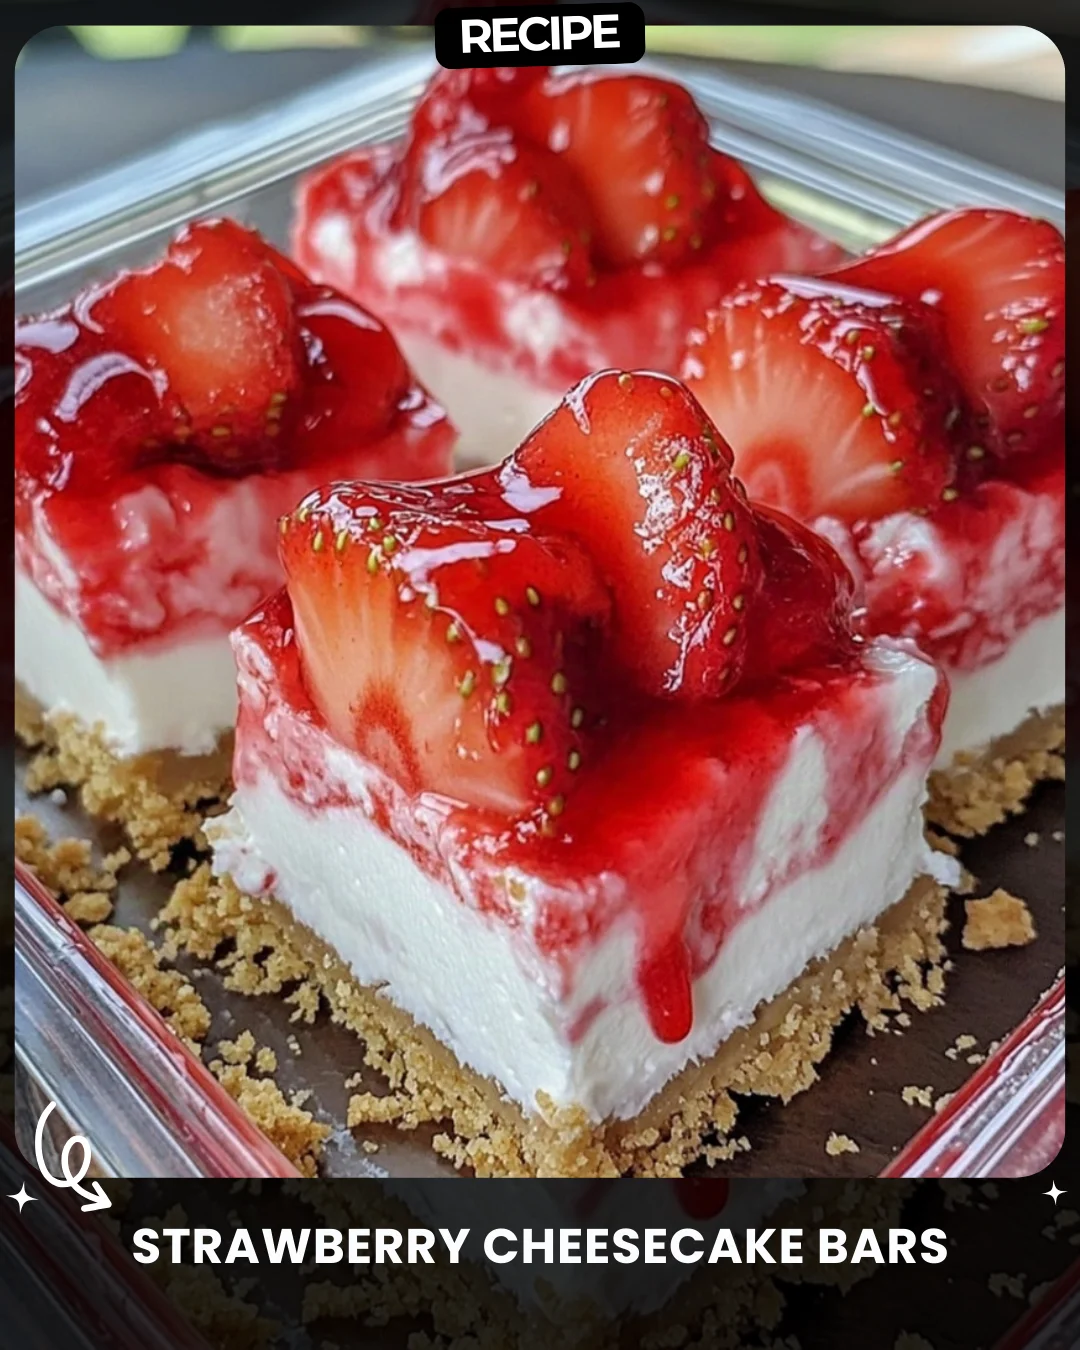
Strawberry Cheesecake Bars
Strawberry Cheesecake Bars | Easy Make-Ahead Dessert with Fresh Strawberries | The Kitchn
Description
Strawberry Cheesecake Bars
Ingredients:
1 1/2 cups graham cracker crumbs
1/4 cup melted butter
2 cups cream cheese
1/3 cup maple syrup
1 cup whipped topping
1 cup strawberry compote
Crumbled graham crackers for garnish
Instructions:
Mix crumbs and melted butter, press into a dish, and refrigerate.
Whip cream cheese and maple syrup until smooth, fold in whipped topping.
Spread over crust, layer with strawberry compote, and garnish with crumbs.
Chill for 2-3 hours before serving.
#MapleBerryBars
Step-by-Step Guide
Follow these detailed instructions for perfect Strawberry Cheesecake Bars every time.
- Prepare the Pan: Line an 8×8 inch baking dish with parchment paper, leaving an overhang on two sides for easy removal.
- Make the Crust: In a medium bowl, combine the graham cracker crumbs and melted butter until the mixture resembles wet sand. Press firmly and evenly into the bottom of the prepared pan. Refrigerate for at least 15 minutes to set.
- Create the Filling: Using a hand mixer or stand mixer, beat the cream cheese on medium speed until completely smooth and lump-free. This is crucial for texture. Gradually add the maple syrup and beat until fully incorporated.
- Fold in Topping: Using a spatula, gently fold the whipped topping into the cream cheese mixture until just combined. Be careful not to deflate the mixture.
- Assemble the Bars: Spread the cream cheese filling evenly over the chilled crust. Dollop the strawberry compote over the top, then use a knife or skewer to gently swirl it into the filling, creating a marbled effect.
- Chill and Set: Sprinkle the reserved crumbled graham crackers over the top. Cover and refrigerate for a minimum of 3-4 hours, or until completely firm. For clean cuts, chill overnight.
- Serve: Use the parchment paper to lift the entire block out of the pan. Place on a cutting board and slice into bars with a sharp knife wiped clean between cuts.
Serving Suggestions
These bars are delicious on their own but can be elevated for any occasion. Serve them on a platter with fresh mint leaves and whole strawberries for a beautiful presentation. For a decadent dessert, add a dollop of fresh whipped cream or a scoop of vanilla ice cream alongside. They pair wonderfully with a cup of coffee or a glass of sparkling rosé.
How-to Summary
In short: Mix crumbs and butter for the crust, press and chill. Whip cream cheese and maple syrup, then fold in whipped topping. Spread over crust, swirl with compote, garnish, and chill thoroughly before slicing and serving.
Frequently Asked Questions
Can I use frozen strawberries for the compote? Yes, frozen strawberries work perfectly. Thaw them first and drain any excess liquid to prevent a runny compote.
How long do these bars last in the fridge? Stored in an airtight container, they will stay fresh for up to 4-5 days.
Can I make these bars ahead of time? Absolutely. They are an excellent make-ahead dessert. For best results, prepare them 1 day in advance.
Is there a substitute for the whipped topping? You can use an equal amount of freshly whipped heavy cream sweetened with a little maple syrup for a less processed option.
Can I freeze Strawberry Cheesecake Bars? Yes. Freeze them in a single layer on a baking sheet before transferring to a freezer-safe container. Thaw in the refrigerator overnight before serving.
Common Mistakes to Avoid
- Using Cold Cream Cheese: Ensure your cream cheese is at room temperature to avoid a lumpy filling.
- Overmixing the Filling: Fold the whipped topping gently to maintain a light, airy texture.
- Not Chilling Long Enough: Skipping the full chill time will result in messy, soft bars that are difficult to slice cleanly.
- A Runny Compote: Cook your strawberry compote until it has thickened significantly to prevent it from seeping into the crust.
Conclusion
These no-bake Strawberry Cheesecake Bars are the ultimate easy dessert, combining a buttery crust with a creamy, maple-sweetened filling and vibrant strawberry swirl. By following this enhanced guide and avoiding common pitfalls, you’ll create a stunning treat that’s sure to impress at any gathering. Enjoy your delicious #MapleBerryBars!