


Description
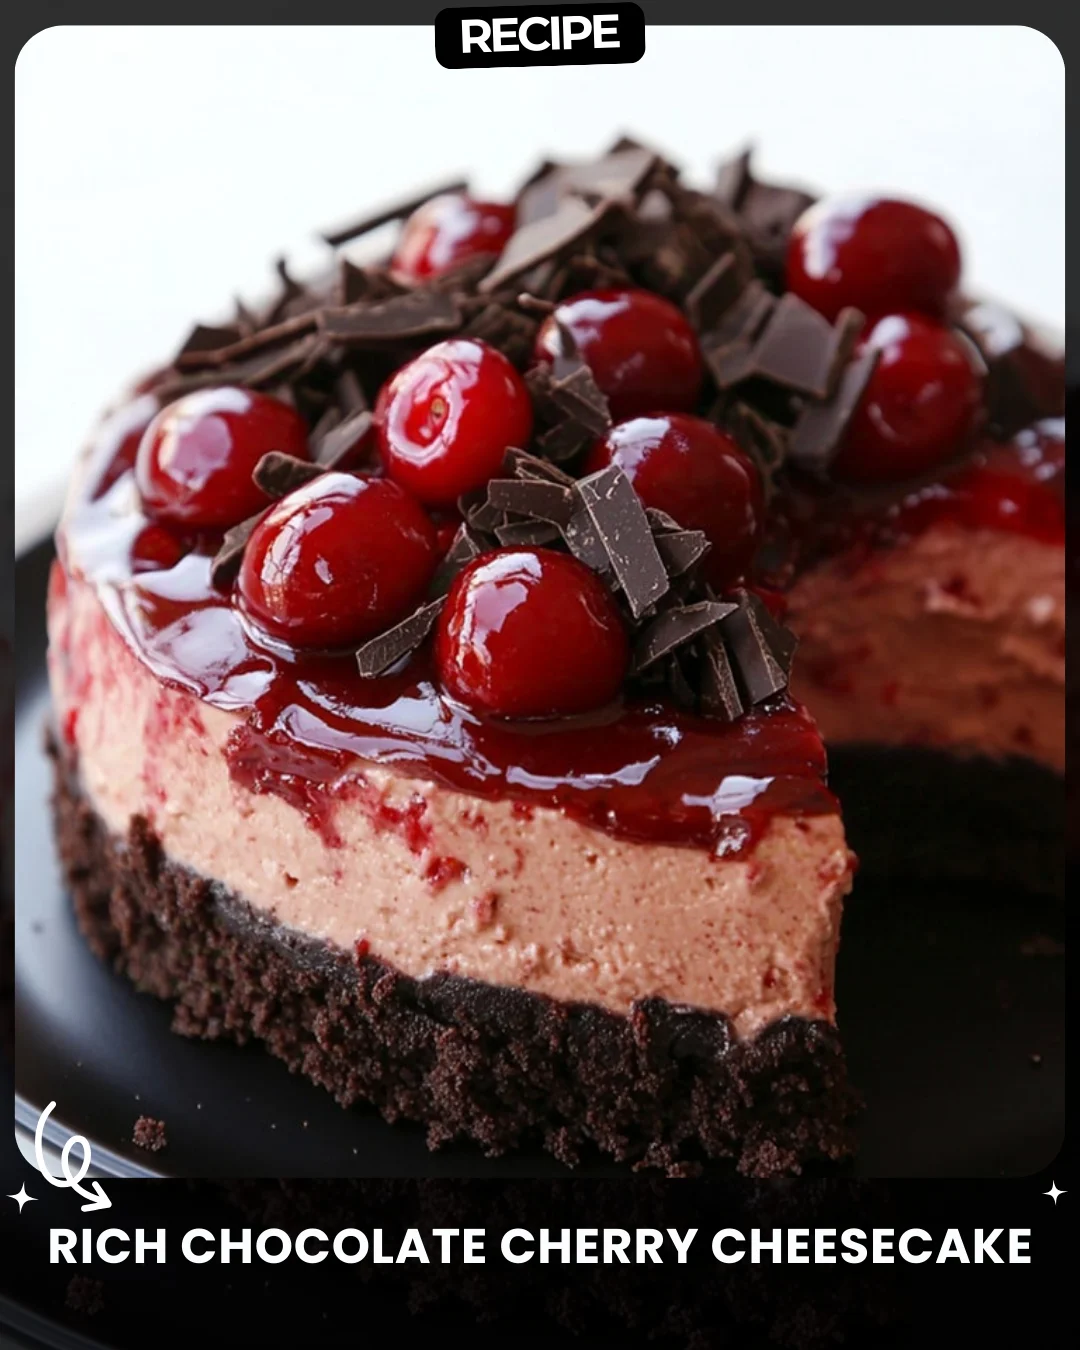
Rich Chocolate Cherry Cheesecake
Impress your guests with this elegant dessert combining chocolate and cherries.
Ingredients:
1¾ cups chocolate biscuit crumbs
⅓ cup butter, melted
500g cream cheese
1 cup sugar
3 medium eggs
1 tsp lemon zest
1½ cups cherries, chopped
⅓ cup cherry preserve
200g dark chocolate, melted
Finish: fresh cherries and curls
Preparation:
Blend biscuit crumbs with butter, press into the base of a springform pan. Cool.
Beat cream cheese, sugar, eggs, and zest until creamy. Spread over the crust.
Layer cherry preserve and chopped cherries, topping with the rest of the mixture.
Bake at 165°C for 50 minutes. Cool and refrigerate overnight.
Drizzle melted chocolate and add cherries for decoration.
#ElegantCherryChoco
Step-by-Step Guide
Follow these detailed instructions for a perfect cheesecake. First, ensure all ingredients are at room temperature, especially the cream cheese and eggs, for a smooth, lump-free filling. Combine the chocolate biscuit crumbs and melted butter thoroughly, then press the mixture firmly and evenly into the bottom of a 9-inch springform pan. Chill this base in the refrigerator for at least 15 minutes to set. Using an electric mixer, beat the cream cheese on medium speed until completely smooth. Gradually add the sugar, then the eggs one at a time, beating just until each is incorporated. Over-beating incorporates too much air and can cause cracking. Stir in the lemon zest. Pour half of this cream cheese mixture over the chilled crust. Spoon dollops of the cherry preserve over this layer and sprinkle with half of the chopped cherries. Carefully pour the remaining filling on top. Place the pan on a baking sheet and bake in the preheated 165°C (325°F) oven for 50-55 minutes, until the edges are set but the center still has a slight wobble. Turn off the oven, crack the door open, and let the cake cool inside for one hour to prevent drastic temperature changes.
Serving Suggestions
Serve each slice with a dollop of lightly sweetened whipped cream or a scoop of vanilla bean ice cream. For a boozy adult twist, a small glass of port wine or a cherry liqueur pairs beautifully. Garnish individual plates with a dusting of cocoa powder or extra dark chocolate shavings alongside the fresh cherries.
How-to Summary
Create a crumb crust, chill it, then prepare a creamy cheese filling. Layer the filling with cherry preserve and fresh cherries. Bake slowly, cool gradually, then chill overnight. Finish with a drizzle of melted dark chocolate and fresh garnishes.
Frequently Asked Questions
Can I use frozen cherries? Yes, but thaw and drain them thoroughly to remove excess liquid that could make the filling watery. Pat them dry with paper towels before chopping.
How do I prevent cracks in my cheesecake? Avoid over-mixing the batter after adding eggs, use a water bath, and allow the cake to cool slowly in the turned-off oven as directed. The gradual temperature change is key.
Can I make this gluten-free? Absolutely. Substitute the chocolate biscuits with your favorite gluten-free chocolate cookie or biscuit to make the crumb crust.
How long will it keep in the fridge? Properly covered, the cheesecake will stay fresh for up to 5 days. The flavors often deepen and improve after a day or two.
My springform pan leaks. What can I do? Wrap the outside bottom and sides of the pan securely with aluminum foil before adding the crust and filling to prevent butter or water from seeping out during baking.
Common Mistakes to Avoid
Avoid using cold ingredients, which lead to a lumpy batter. Do not over-beat the filling once eggs are added, as this incorporates too much air and causes rising and subsequent cracking. Never skip the overnight chilling step; it is essential for the cheesecake to set properly and develop its full texture and flavor. Ensure your chopped cherries are well-drained to prevent a soggy layer within the cake.
Conclusion
This Rich Chocolate Cherry Cheesecake is a show-stopping dessert that masterfully balances tangy cream cheese, deep chocolate, and vibrant cherries. By following the detailed steps and tips provided, you can confidently create a professional-quality dessert that is as stunning to look at as it is delicious to eat. Perfect for special occasions, it’s a recipe that promises to impress and delight every time.