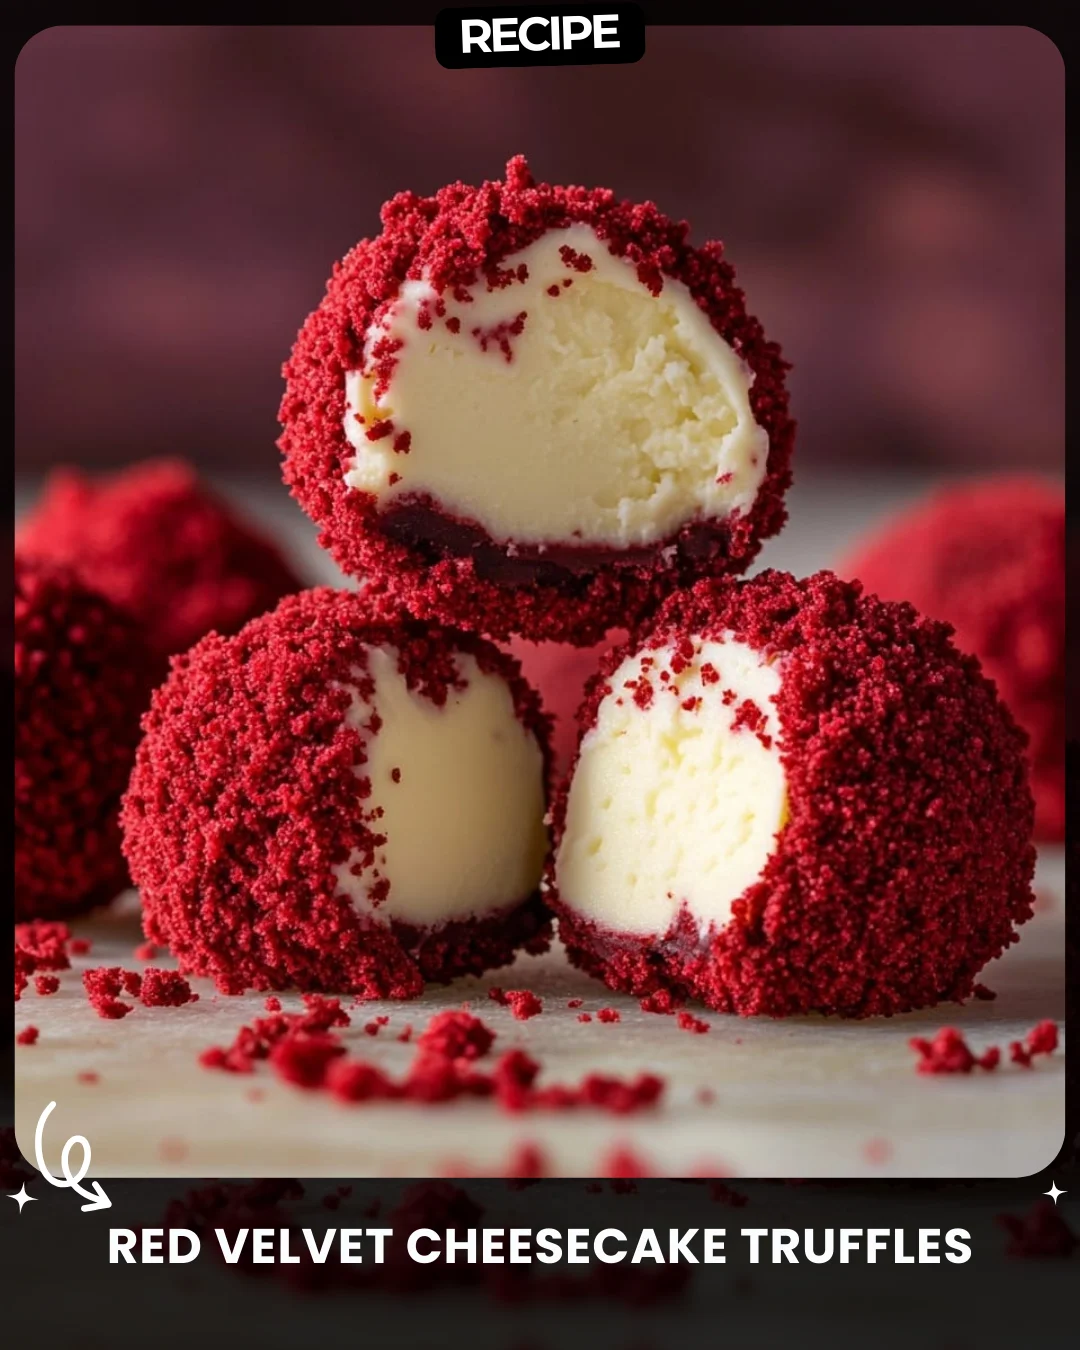
Red Velvet Cheesecake Truffles
Description
Red Velvet Cheesecake Truffles
Delicious bite-sized treats made with creamy cheesecake centers and coated in red velvet crumbs.
Ingredients
For the Filling:
8 oz cream cheese, softened
1/4 cup powdered sugar
1 teaspoon vanilla extract
For the Coating:
1/2 red velvet cake, baked and cooled
1 cup white chocolate, melted
—
Instructions
1. Prepare the Filling:
In a bowl, mix the cream cheese, powdered sugar, and vanilla extract until smooth and creamy.
2. Shape the Truffles:
Scoop small portions of the cheesecake mixture and roll into balls. Place on a tray lined with parchment paper.
Freeze the cheesecake balls for 15-20 minutes to firm up.
3. Crush the Cake:
Crumble the red velvet cake into fine crumbs using your hands or a food processor.
4. Coat the Truffles:
Dip each cheesecake ball into the melted white chocolate, then roll it in the red velvet crumbs until fully coated.
5. Chill and Serve:
Place the coated truffles back on the tray and refrigerate for at least 30 minutes before serving.
Step-by-Step Guide
Follow this detailed guide for perfect truffles every time. Begin by ensuring your cream cheese is truly softened at room temperature for a lump-free filling. Use an electric mixer to beat it with the powdered sugar and vanilla until completely smooth. For uniform truffles, use a small cookie scoop (about 1 tablespoon) to portion the mixture. Roll quickly between your palms, then freeze on the parchment-lined tray for a firm, dip-able center. For the coating, process the cake in a food processor for consistently fine crumbs. When dipping, use a fork or dipping tools. Place a frozen ball into the melted chocolate, roll to coat, lift, tap off excess, and then gently roll in the crumbs before returning to the tray.
Serving Suggestions
These elegant truffles are versatile. Serve them in petite paper cups on a decorative platter for a party. They pair wonderfully with fresh berries like raspberries or strawberries and a glass of champagne or dessert wine. For a festive touch, drizzle them with extra melted white or dark chocolate. They also make a delightful homemade gift when packaged in a beautiful box or jar.
How-to Summary
To summarize: 1) Mix cream cheese, sugar, and vanilla. 2) Scoop, roll into balls, and freeze. 3) Crumble the red velvet cake finely. 4) Dip frozen balls in melted chocolate, then roll in crumbs. 5) Chill until set and serve.
Frequently Asked Questions
Can I use a different cake flavor? Absolutely. Chocolate, vanilla, or lemon cake crumbs would all work beautifully with the cheesecake center.
How long do these truffles last? Stored in an airtight container in the refrigerator, they will keep for up to 5 days. They can also be frozen for up to 2 months.
My coating is cracking. What did I do wrong? This usually happens if the cheesecake center is too cold, causing the chocolate to set too quickly. Let the balls sit at room temperature for 2-3 minutes after removing from the freezer before dipping.
Can I use store-bought cake? Yes, a store-bought red velvet cake or even cake scraps are perfect for this recipe, making the process even easier.
The mixture is too sticky to roll. How can I fix it? This means it needs to be colder. Simply cover and refrigerate the mixture for 20-30 minutes before scooping and rolling.
Common Mistakes to Avoid
- Not Freezing Long Enough: Skipping or shortening the freezing step will cause the balls to lose shape during dipping.
- Chocolate Too Thick: If your melted chocolate is too thick, thin it with a teaspoon of coconut oil to achieve a smooth, dipping consistency.
- Warm Hands: When rolling, if your hands are warm, rinse them in cold water and dry them thoroughly to prevent sticking.
- Rushing the Chill: Do not skip the final refrigeration; it’s crucial for setting the chocolate and melding the flavors.
Conclusion
These Red Velvet Cheesecake Truffles are a stunning and surprisingly simple dessert that combines two beloved classics. With a creamy, tangy center and a festive crumb coating, they are guaranteed to impress at any gathering. By following the step-by-step guide and avoiding common pitfalls, you can create professional-looking treats with ease. Enjoy the process and the delicious results!