Description
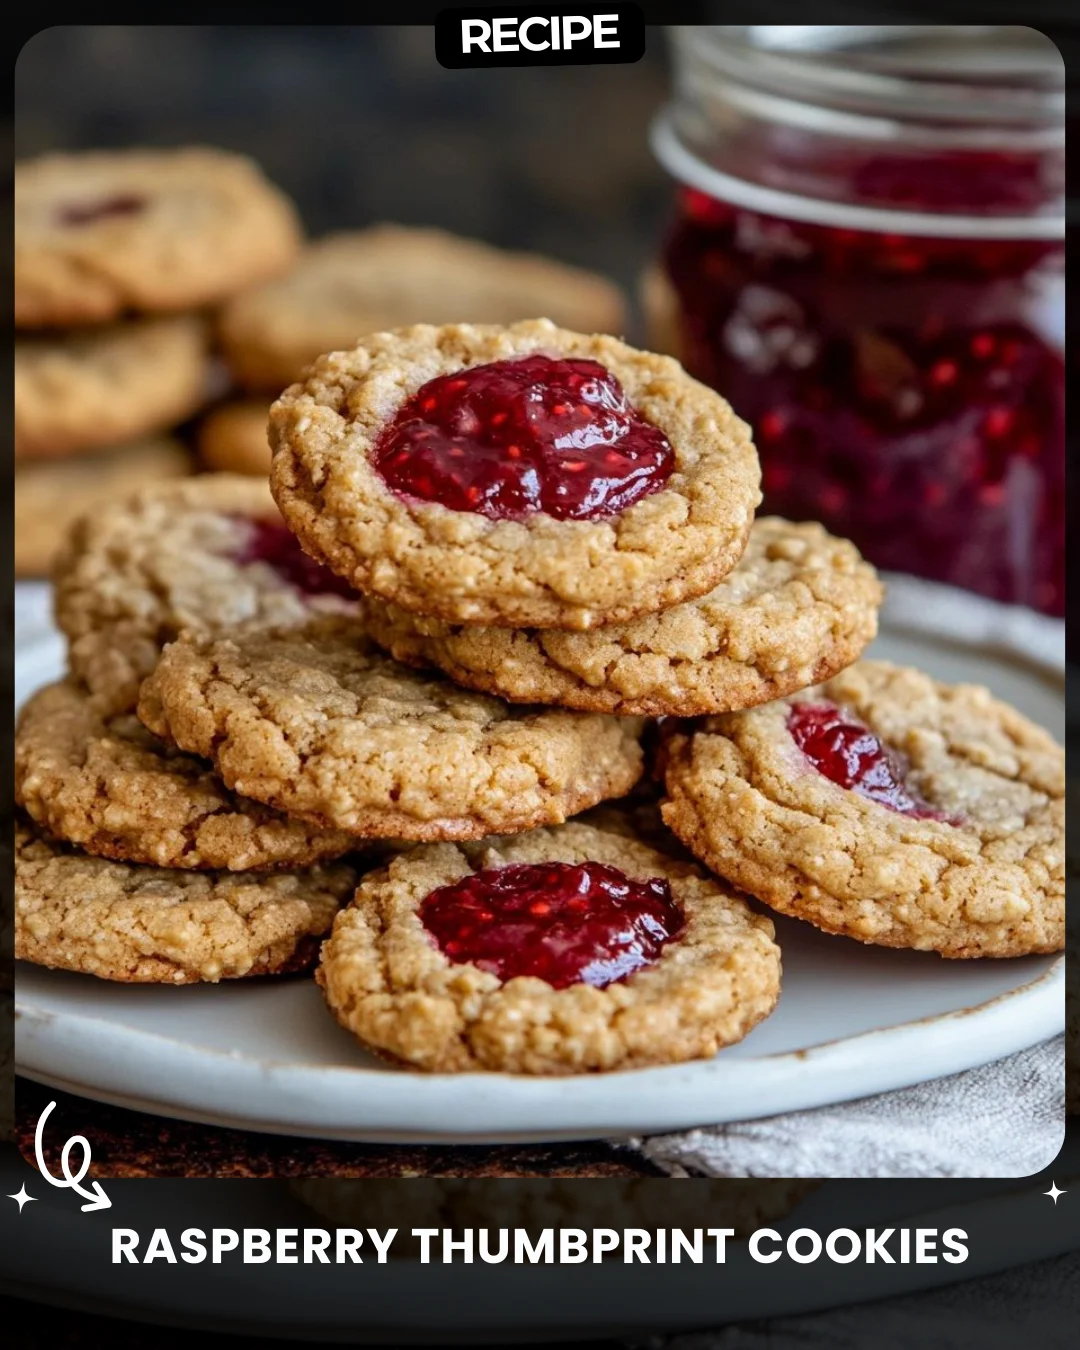
Raspberry Thumbprint Cookies
Ingredients:
1 1/2 cups all-purpose flour
1/2 cup rolled oats
1/2 tsp baking powder
1/4 tsp salt
1/2 cup unsalted butter, softened
1/2 cup brown sugar
1/4 cup granulated sugar
1 large egg
1 tsp vanilla extract
1/2 cup raspberry jam
Instructions:
1. Preheat oven to 350°F (175°C) and line a baking sheet with parchment paper.
2. In a bowl, mix flour, oats, baking powder, and salt.
3. In another bowl, beat butter, brown sugar, and granulated sugar until creamy. Add the egg and vanilla extract and mix until smooth.
4. Gradually add the dry ingredients to the wet mixture and stir until combined.
5. Roll the dough into small balls and place on the baking sheet. Use your thumb or the back of a spoon to create a small indentation in the center of each cookie.
6. Fill each indentation with a small amount of raspberry jam.
7. Bake for 10-12 minutes or until the edges are lightly golden. Let cool on the baking sheet before serving.
Step-by-Step Guide
Follow these detailed steps for perfect cookies every time. After creaming the butter and sugars in step 3, ensure the mixture is light and fluffy, which takes about 2-3 minutes with an electric mixer. When combining dry and wet ingredients, mix only until no dry flour remains; overmixing develops gluten and leads to tough cookies. For uniform cookies, use a small cookie scoop or a tablespoon to portion the dough. Rolling the balls in your palms creates smooth tops. When making the thumbprint, dip your thumb in a little water or flour to prevent sticking. A 1/4 teaspoon measure is perfect for neatly filling the indentations with jam without overflow.
Serving Suggestions
These versatile cookies are delightful on their own but can be elevated for any occasion. For a festive touch, dust them with powdered sugar after they cool. They pair wonderfully with a cup of hot tea, coffee, or a glass of cold milk. Arrange them on a dessert platter alongside other shortbreads or biscotti for an elegant afternoon tea. For a special dessert, serve them warm with a scoop of vanilla ice cream or a dollop of whipped cream.
How-to Summary
In summary, make Raspberry Thumbprint Cookies by: 1) Whisking dry ingredients (flour, oats, baking powder, salt). 2) Creaming softened butter with sugars, then adding egg and vanilla. 3) Combining wet and dry mixes. 4) Forming dough balls, creating a thumbprint indentation, and filling with jam. 5) Baking at 350°F for 10-12 minutes until golden edges appear.
Frequently Asked Questions
Can I use a different type of jam? Absolutely. Any jam or preserve works well. Apricot, strawberry, and blackberry are popular alternatives. For a tangy twist, try lemon curd.
Can I make the dough ahead of time? Yes. You can refrigerate the dough, tightly wrapped, for up to 3 days. Let it soften slightly at room temperature before shaping.
Why did my jam sink into the cookie while baking? This often happens if the indentation is too shallow. Ensure you press down firmly enough to create a well-defined "cup" that can hold the filling.
How do I store these cookies? Store cooled cookies in an airtight container at room temperature for up to 5 days. Separate layers with parchment paper to prevent sticking.
Can I freeze these cookies? Yes. Freeze the unbaked dough balls on a tray, then transfer to a freezer bag. Bake from frozen, adding 1-2 minutes to the baking time. Baked cookies also freeze well for up to 3 months.
Common Mistakes to Avoid
Avoid using melted or cold butter, as it will drastically change the dough's texture; softened butter is key for proper creaming. Do not overfill the thumbprints, as the jam will bubble over and burn on the pan. Resist the urge to overbake; the cookies continue to set as they cool on the sheet. Removing them too early from the oven can cause breakage, so let them rest on the baking sheet for at least 10 minutes before transferring.
Conclusion
These Raspberry Thumbprint Cookies are a classic treat that combines a buttery, oat-flecked base with a sweet-tart jam center. By following this enhanced guide, you can avoid common pitfalls and achieve bakery-quality results. Perfect for gifting, holidays, or a simple homemade snack, this recipe is sure to become a cherished favorite in your baking repertoire.