Description
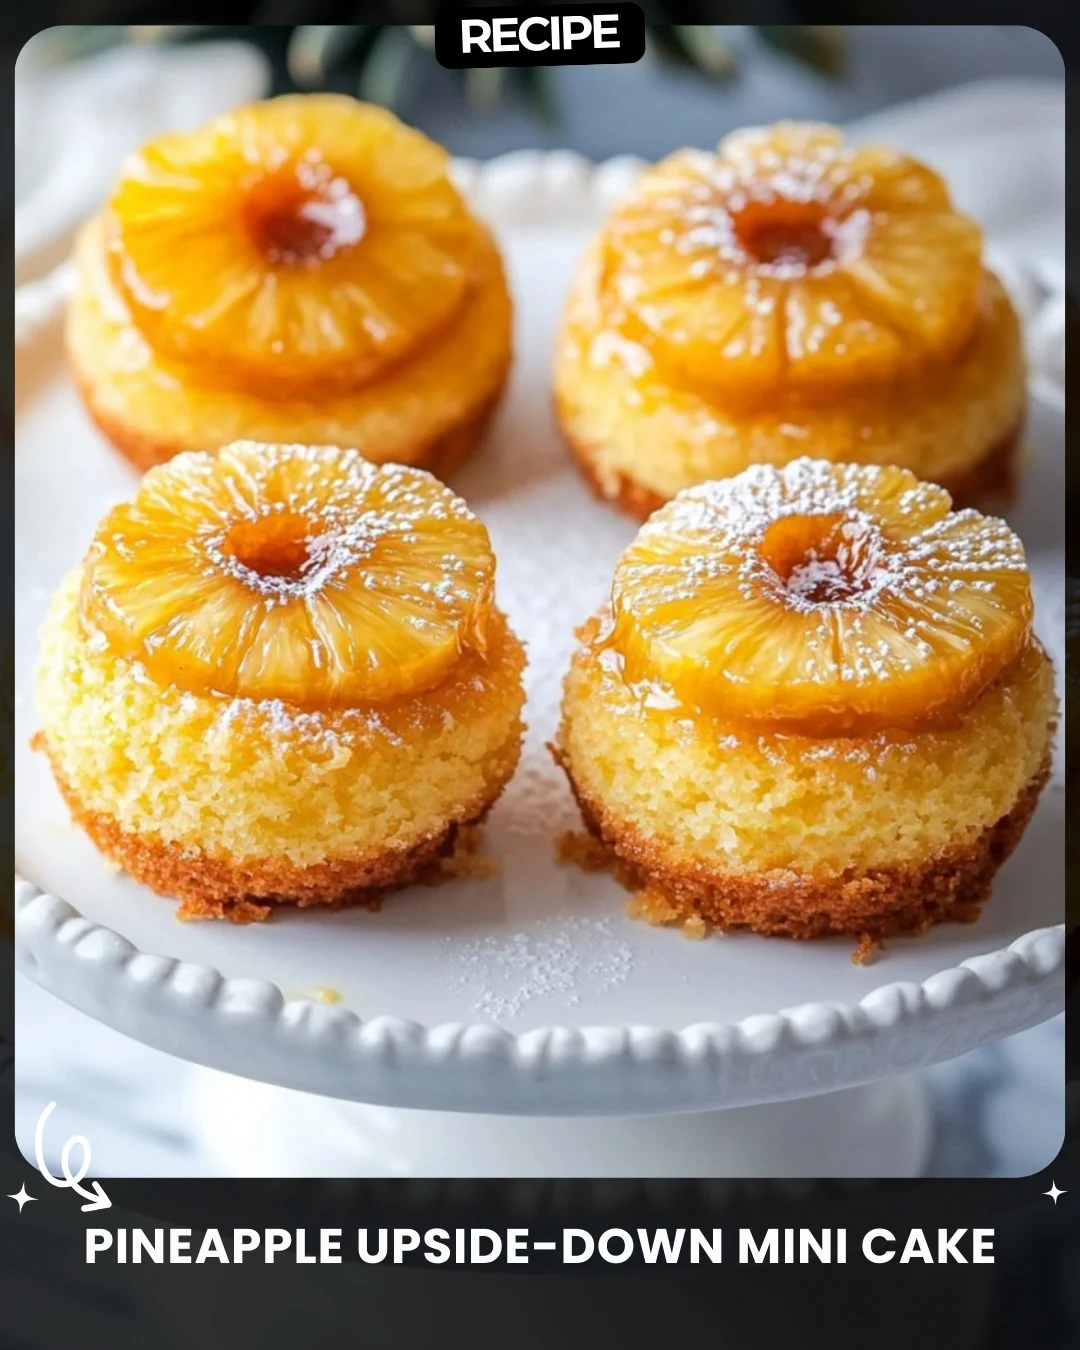
Pineapple Upside-Down Mini Cake
Delicate, sweet, and perfectly portioned – these Pineapple Upside-Down Mini Cakes are a treat that’s impossible to resist!
Ingredients:
1 cup flour
1/2 cup sugar
1/4 cup butter (melted)
1/2 cup pineapple juice
1 egg
1 tsp baking powder
Brown sugar & pineapple slices
Instructions:
Preheat oven to 350°F. Place brown sugar and pineapple slices at the base of mini molds.
Mix flour, sugar, melted butter, egg, and pineapple juice.
Pour batter into molds and bake for 20-25 minutes.
Flip onto plates, sprinkle powdered sugar, and serve.
#DessertInALittleBite
Step-by-Step Guide
1. Preheat your oven to 350°F (175°C). Grease your mini cake molds, ramekins, or muffin tin thoroughly with butter or non-stick spray.
2. Prepare the topping: Sprinkle a thin, even layer of brown sugar (about 1-2 teaspoons) into the bottom of each mold. Place one pineapple slice (or a ring, cut to fit) neatly over the sugar.
3. Make the batter: In a medium bowl, whisk together the flour and baking powder. In a separate bowl, beat the egg and sugar until slightly frothy. Slowly mix in the melted butter and pineapple juice until combined.
4. Combine wet and dry ingredients: Gradually add the flour mixture to the wet ingredients, stirring just until the batter is smooth with no dry flour pockets. Do not overmix.
5. Assemble: Carefully spoon the batter over the pineapple and sugar in each mold, filling them about 2/3 to 3/4 full. Gently tap the molds on the counter to release any air bubbles.
6. Bake for 20-25 minutes, or until a toothpick inserted into the center of a cake comes out clean.
7. Cool the cakes in their molds for exactly 5 minutes on a wire rack. This allows them to set slightly but still release easily.
8. Invert a serving plate over a mold. Using oven mitts, firmly hold the plate and mold together and flip in one confident motion. Gently lift the mold away. Repeat for each mini cake.
Serving Suggestions
Serve these mini cakes warm for the best experience. A light dusting of powdered sugar is classic, but for extra indulgence, add a dollop of freshly whipped cream or a scoop of vanilla bean ice cream. A drizzle of caramel sauce or a maraschino cherry in the center of each pineapple ring elevates the presentation. They pair beautifully with a cup of coffee or a glass of dessert wine.
How-to Summary
Create the caramel-like base with brown sugar and pineapple in mini molds. Mix a simple batter of flour, sugar, butter, egg, pineapple juice, and baking powder. Pour batter over the pineapple, bake until golden, cool briefly, then invert onto plates to reveal the beautiful glazed top.
Frequently Asked Questions
Can I use fresh pineapple instead of canned? Yes, but ensure it’s very ripe and sweet. Canned pineapple is often preferred because it’s consistently sweet, tender, and its juice is used in the batter.
My cake stuck to the pan! How do I prevent this? Proper greasing is key. Ensure every nook is coated. Also, do not let the cakes cool completely in the mold; the 5-minute cooling window is crucial for a clean release.
Can I make one large cake instead? Absolutely. Use a 9-inch round cake pan and increase the baking time to 35-45 minutes, checking for doneness with a toothpick.
How should I store leftovers? Store cooled cakes in an airtight container at room temperature for up to 2 days. For longer storage, refrigerate for up to 5 days. Reheat briefly in the microwave for best texture.
Can I add other fruits? Definitely! Try using maraschino cherries, peach slices, or apple rings. Just ensure any added fruit is patted dry to prevent a soggy bottom.
Common Mistakes to Avoid
Avoid overmixing the batter, which develops gluten and leads to dense, tough cakes. Do not skip greasing the molds, or the caramelized sugar will fuse to the pan. Letting the cakes cool too long before inverting is a common error—they will stick. Finally, ensure your baking powder is fresh for proper rise.
Conclusion
These Pineapple Upside-Down Mini Cakes are a timeless dessert transformed into perfect personal portions. With their caramelized pineapple topping and moist, tender crumb, they are as delightful to make as they are to eat. By following this enhanced guide and avoiding common pitfalls, you can reliably create an impressive and delicious treat that brings a touch of vintage charm to any occasion. Enjoy the process and the sweet, satisfying results!