Description
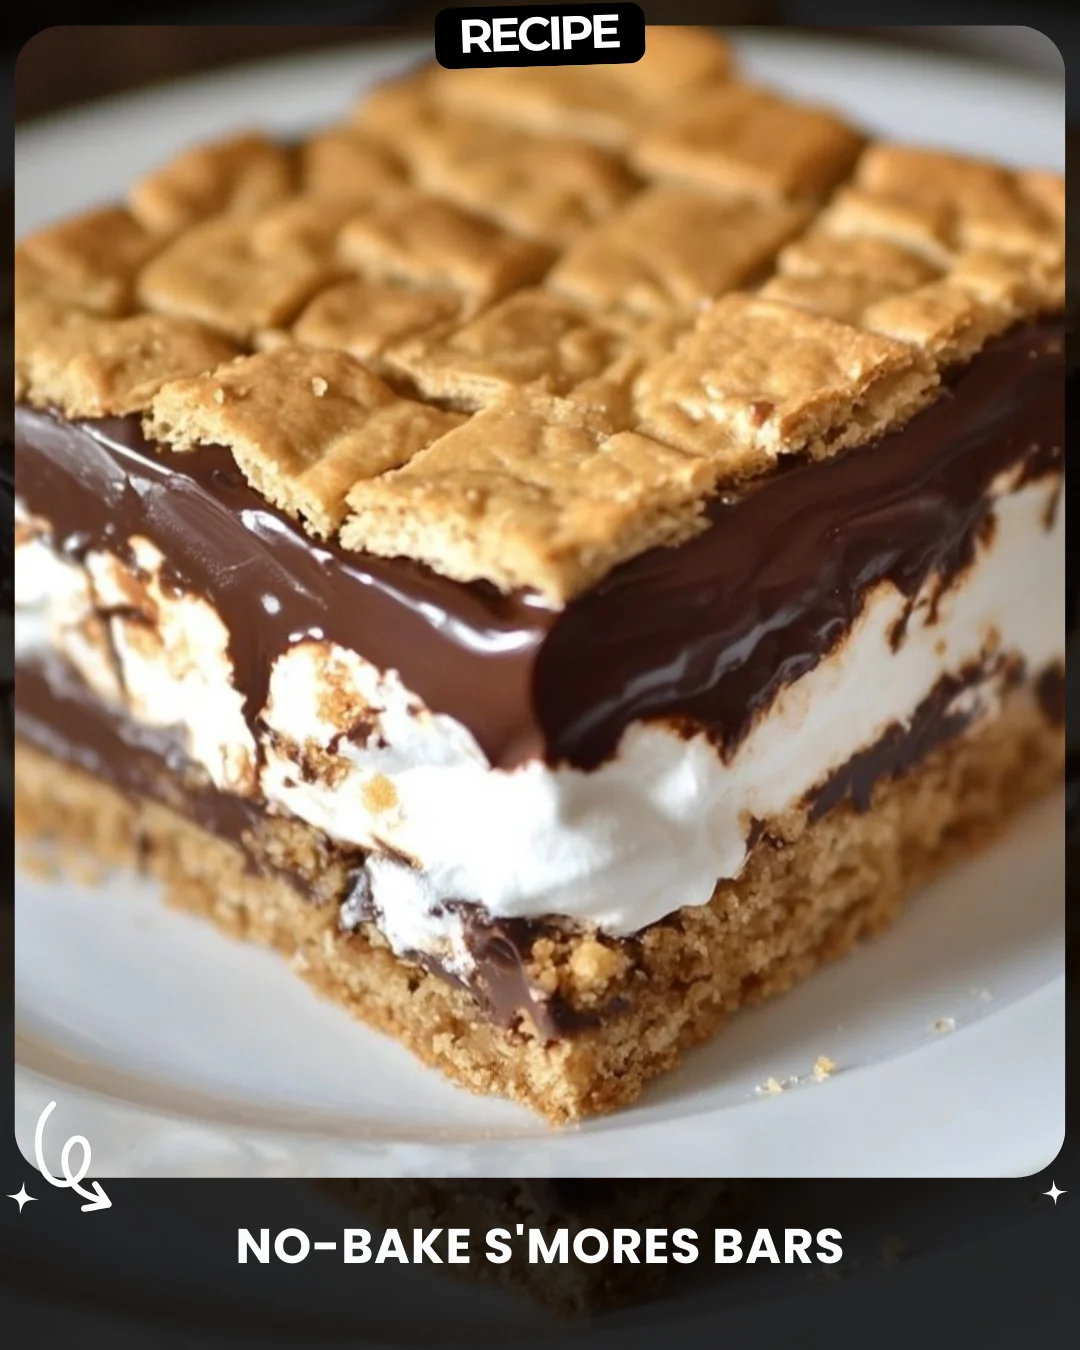
No-Bake S'mores Bars
Ingredients:
2 cups graham cracker crumbs
1/2 cup melted butter
1/4 cup sugar
2 cups marshmallow fluff
1 1/2 cups milk chocolate chips
1/2 cup heavy cream
Instructions:
1. In a bowl, mix graham cracker crumbs, melted butter, and sugar. Press the mixture evenly into the bottom of a baking dish. Chill for 15 minutes.
2. Spread marshmallow fluff evenly over the chilled crust.
3. In a microwave-safe bowl, heat chocolate chips and heavy cream in 30-second intervals, stirring until smooth. Pour the chocolate mixture over the marshmallow layer and spread evenly.
4. Refrigerate for 2 hours or until set. Slice and serve.
#SmoresBars #NoBakeDessert
Step-by-Step Guide
Follow these detailed instructions for perfect No-Bake S'mores Bars every time. First, ensure your 8x8 or 9x9 inch baking dish is lined with parchment paper for easy removal. Combine the graham cracker crumbs, melted butter, and sugar in a medium bowl until the mixture resembles wet sand. Firmly press this into the prepared pan using the bottom of a flat glass or measuring cup to create a compact, even layer. Chill for a full 15 minutes to set. For the marshmallow layer, lightly grease a spatula or spoon with cooking spray to prevent the fluff from sticking, then spread it gently over the cold crust. To make the ganache, place chocolate chips and heavy cream in a microwave-safe bowl. Heat in 30-second bursts, stirring thoroughly after each interval, until completely smooth and glossy. Let it cool for 2-3 minutes before pouring over the marshmallow layer, then tilt the pan to spread it evenly. Refrigerate until completely firm, about 2 hours, before slicing.
Serving Suggestions
These rich bars are best served slightly chilled. For a classic touch, garnish each square with a mini marshmallow or a small piece of graham cracker. They pair wonderfully with a glass of cold milk, a scoop of vanilla ice cream, or a hot coffee. For a festive presentation, drizzle with extra melted chocolate or a sprinkle of sea salt before serving.
How-to Summary
In summary: 1) Mix crust ingredients and press into a lined pan. 2) Chill crust. 3) Spread marshmallow fluff over crust. 4) Microwave chocolate and cream to make ganache, then pour over fluff. 5) Refrigerate until set, then slice into bars.
Frequently Asked Questions
Can I use regular marshmallows instead of fluff? Yes, but you'll need to melt about 4 cups of mini marshmallows with 1 tablespoon of butter or corn syrup until smooth, then spread quickly before it sets.
How should I store these bars? Keep them in an airtight container in the refrigerator for up to 5 days. The layers will soften at room temperature.
Can I use dark or semi-sweet chocolate? Absolutely. Swap the milk chocolate chips for an equal amount of your preferred chocolate. Dark chocolate will create a richer, less sweet bar.
My ganache split or became grainy. What happened? This usually means the cream was too hot or you overheated the chocolate. Ensure you use 30-second intervals and stir well. If it seizes, add a teaspoon of warm cream and stir vigorously to bring it back.
Can I freeze these bars? Yes, they freeze well for up to 2 months. Slice first, then place layers between parchment paper in a freezer-safe container. Thaw in the refrigerator before serving.
Common Mistakes to Avoid
- Not pressing the crust firmly enough: This leads to a crumbly base. Press it down very firmly.
- Pouring hot ganache directly onto the fluff: Let the ganache cool slightly to prevent melting the marshmallow layer and creating a swirl.
- Under-chilling: If the bars aren't fully set, they will be messy to slice. Ensure a full 2 hours of refrigeration.
- Using a pan that's not lined: Always use parchment paper with overhanging edges for clean, easy removal.
Conclusion
These No-Bake S'mores Bars are the ultimate easy dessert, capturing the classic campfire flavor without any oven required. With a firm graham cracker crust, a sweet marshmallow layer, and a luxurious chocolate ganache topping, they are guaranteed to be a crowd-pleaser. By following the step-by-step guide and avoiding common pitfalls, you can create a perfect, impressive treat in just a few hours of mostly hands-off time. Enjoy your delicious creation!