Description
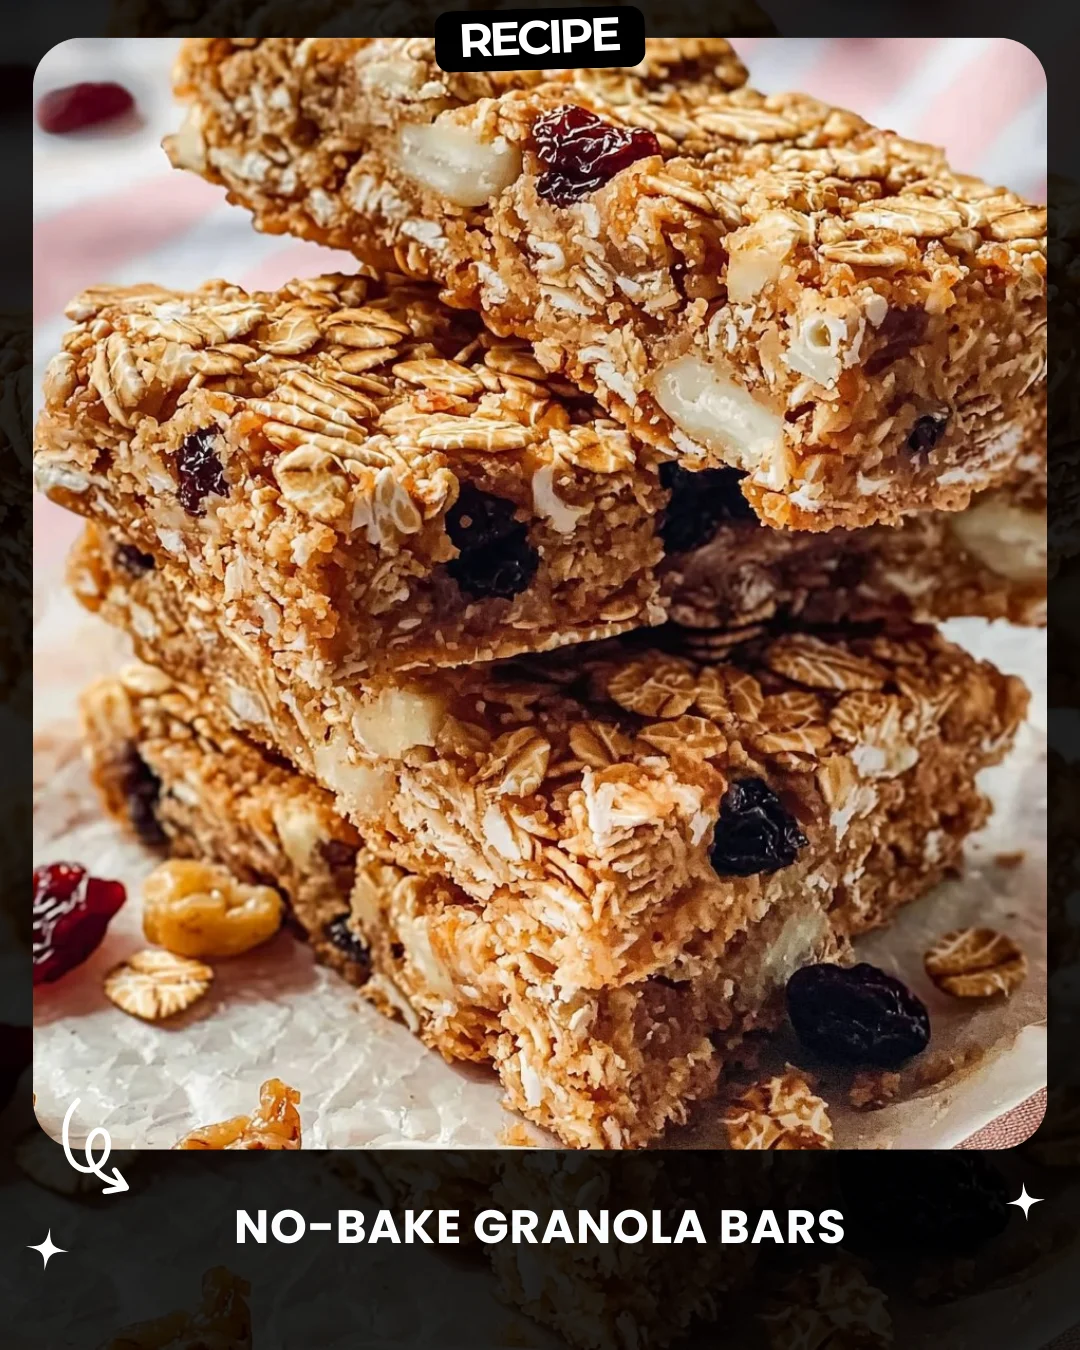
No-Bake Granola Bars
Ingredients
2 cups rolled oats
½ cup peanut butter (or almond butter)
⅓ cup honey (or maple syrup for vegan)
½ cup chopped nuts (almonds, cashews, or walnuts)
½ cup dried cranberries (or raisins)
1 tsp vanilla extract
¼ tsp salt
Directions
Mix Wet Ingredients: In a microwave-safe bowl, combine peanut butter and honey. Microwave for 20-30 seconds, then stir in vanilla extract.
Combine Dry Ingredients: In a large bowl, mix oats, chopped nuts, dried cranberries, and salt.
Form the Bars: Pour the warm peanut butter mixture over the dry ingredients. Mix until everything is coated.
Press into Pan: Line an 8×8-inch pan with parchment paper. Press the mixture evenly into the pan.
Chill & Cut: Refrigerate for 1-2 hours until firm. Cut into bars and enjoy!
Prep Time: 10 minutes
Chill Time: 1 hour
Total Time: 1 hour 10 minutes
Servings: 8 bars
Calories: 220 kcal per bar
#GranolaBars #HealthySnacks #NoBakeRecipe #HomemadeTreats #EasyRecipes
Step-by-Step Guide
Follow these detailed instructions for perfect no-bake granola bars every time. First, ensure your 8×8-inch pan is fully lined with parchment paper, leaving overhang on two sides for easy removal. When microwaving the peanut butter and honey, aim for a warm, pourable consistency—overheating can cause separation. Pour the warm mixture over the dry ingredients immediately and use a sturdy spatula to fold and press until no dry oats remain. For compact bars, use the bottom of a flat glass or measuring cup to press the mixture very firmly and evenly into every corner of the pan. Chill for a full two hours for optimal firmness before cutting with a sharp knife.
Serving Suggestions
These versatile bars are more than just a grab-and-go snack. Crumble one over Greek yogurt or oatmeal for a nutritious breakfast topping. For a dessert twist, drizzle melted dark chocolate over the chilled bars before cutting. Pack them in lunchboxes, take them on hikes, or enjoy with a cup of coffee for an afternoon energy boost. They pair wonderfully with fresh fruit like apple slices or a banana.
How-to Summary
In summary, create these bars in three key stages: 1) Warm and mix the peanut butter, honey, and vanilla. 2) Combine this wet mixture with the dry oats, nuts, fruit, and salt. 3) Firmly press the mix into a lined pan, chill until solid, and slice. The binding power of the warm peanut butter and honey sets up in the fridge, requiring no oven.
Frequently Asked Questions
Can I make these bars gluten-free?
Yes, ensure you use certified gluten-free rolled oats. All other ingredients are naturally gluten-free.
My mixture seems too dry and crumbly. How can I fix it?
Add an extra tablespoon of peanut butter or honey to the wet mixture. The ingredients must be thoroughly coated to bind properly.
How should I store these granola bars?
Store them in an airtight container in the refrigerator for up to 2 weeks. For longer storage, individually wrap and freeze for up to 3 months.
Can I substitute the nuts for a nut-free version?
Absolutely. Use sunflower seed butter instead of peanut butter and replace the chopped nuts with seeds like pumpkin or sunflower.
Why won’t my bars hold together after cutting?
This is usually due to insufficient pressing or not chilling long enough. Ensure you compress the mixture very firmly and allow a full 2 hours to set.
Common Mistakes to Avoid
Avoid these pitfalls: Do not use quick oats, as they can make the bars mushy; old-fashioned rolled oats provide the right texture. Do not skip the step of warming the peanut butter and honey—this is crucial for easy mixing and binding. Do not under-press the mixture into the pan; loose packing leads to crumbly bars. Do not try to cut the bars before they are completely firm, as they will fall apart.
Conclusion
These no-bake granola bars are the ultimate healthy, customizable snack. With just 10 minutes of active prep and simple, wholesome ingredients, they offer a far superior alternative to store-bought versions. Mastering the technique of proper mixing and pressing ensures a perfect, hold-together bar every time. Enjoy the satisfaction of creating a delicious, energizing treat that supports your busy lifestyle.