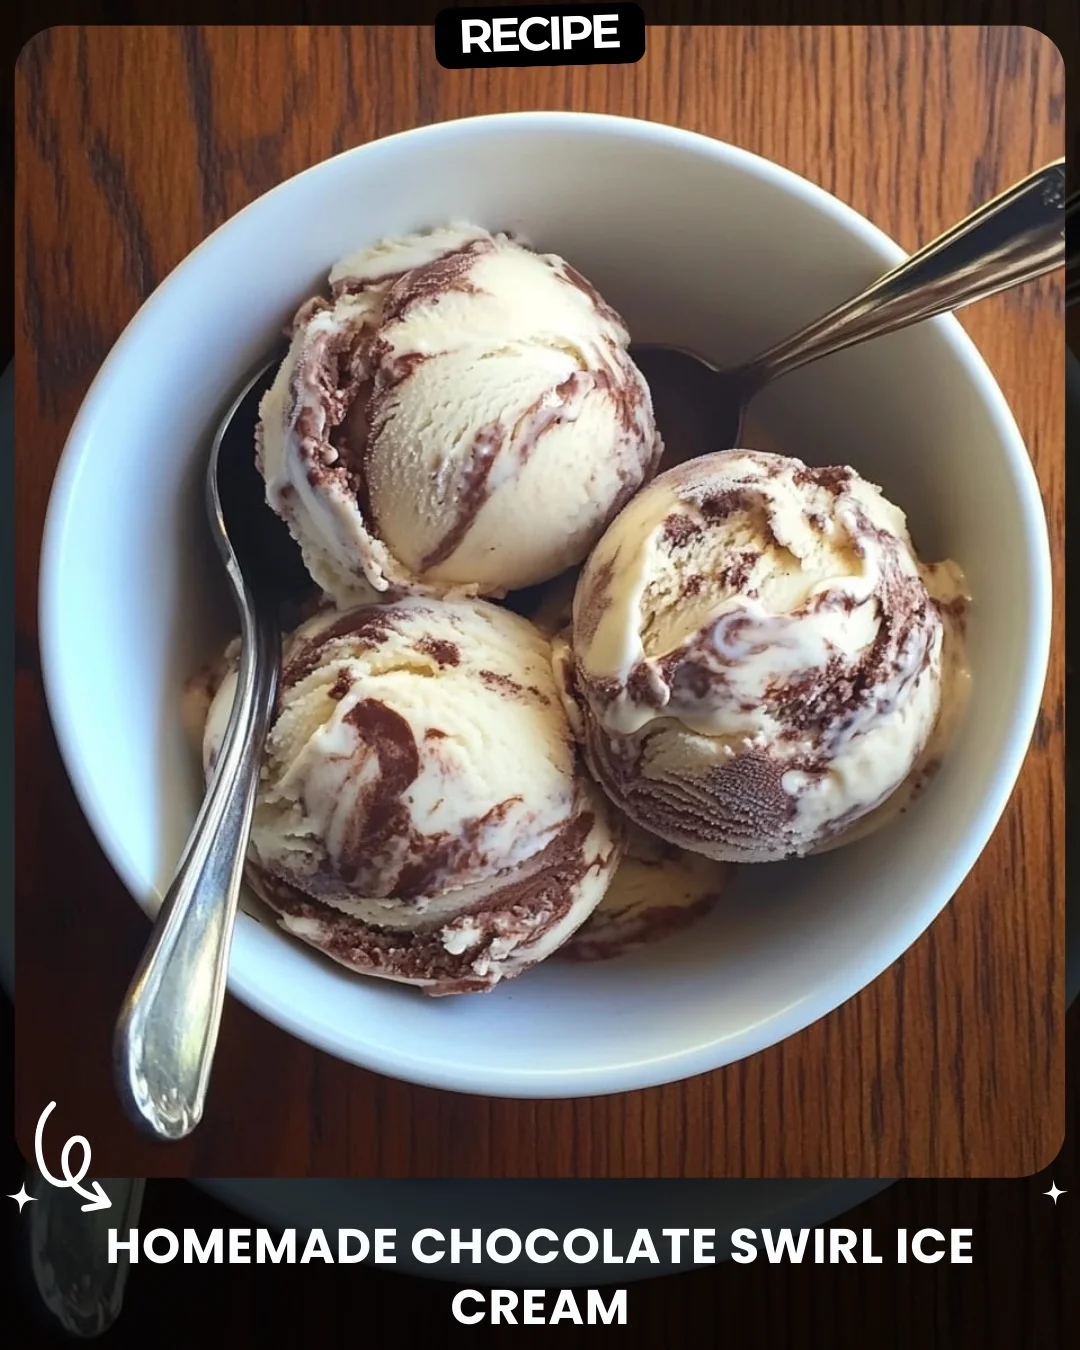
Homemade Chocolate Swirl Ice Cream
Description
Homemade Chocolate Swirl Ice Cream
Ingredients:
2 cups heavy cream
1 cup whole milk
3/4 cup granulated sugar
1 tsp vanilla extract
1/2 cup chocolate syrup or melted dark chocolate (cooled)
---
Instructions:
1. Prepare the Ice Cream Base:
In a medium bowl, whisk together heavy cream, whole milk, sugar, and vanilla extract until the sugar is fully dissolved.
2. Chill the Mixture:
Cover the mixture and refrigerate for at least 2 hours, or until thoroughly chilled.
3. Churn the Ice Cream:
Pour the chilled mixture into an ice cream maker and churn according to the manufacturer's instructions. This typically takes 20-25 minutes.
4. Add the Chocolate Swirl:
Once the ice cream has thickened, transfer it to a freezer-safe container. Drizzle the chocolate syrup or melted chocolate over the ice cream in layers, gently swirling it in with a spatula. Avoid overmixing to preserve the swirls.
5. Freeze:
Cover the container and freeze the ice cream for at least 4 hours, or until firm.
6. Serve:
Scoop the ice cream into bowls and enjoy your creamy, homemade chocolate swirl ice cream!
Step-by-Step Guide
Follow these detailed instructions for perfect ice cream every time. First, ensure all ingredients are cold before starting. In your medium bowl, whisk the cream, milk, sugar, and vanilla for a full 2-3 minutes until you cannot feel any sugar granules at the bottom. For the chocolate element, if using melted dark chocolate, ensure it is cooled to room temperature but still fluid. After chilling the base for the full 2 hours, set up your ice cream maker with its bowl fully frozen per its instructions. Once churned to a soft-serve consistency, layer one-third of the ice cream into your loaf pan or container, drizzle with some chocolate, and repeat, ending with a chocolate drizzle on top. Use a knife or chopstick to create a few gentle figure-eight patterns for defined swirls.
Serving Suggestions
Elevate your homemade dessert with simple pairings. Serve scoops in a waffle cone with a sprinkle of sea salt. For a decadent sundae, top with toasted nuts, whipped cream, and a cherry. Crumble brownie pieces over a bowl for a texture contrast. For an elegant finish, serve alongside a warm espresso or a shot of bourbon for adults.
How-to Summary
To make chocolate swirl ice cream: 1) Whisk cream, milk, sugar, and vanilla until sugar dissolves. 2) Chill mixture for 2+ hours. 3) Churn in an ice cream maker. 4) Layer ice cream and chocolate syrup in a container, then gently swirl. 5) Freeze for 4+ hours until firm.
Frequently Asked Questions
Can I make this without an ice cream maker?
Yes. Pour the chilled base into a shallow, freezer-safe dish. Freeze for 45 minutes, then whisk vigorously to break up ice crystals. Repeat every 30 minutes for 3-4 cycles until thick, then add the swirl and freeze solid.
How long does homemade ice cream keep?
It's best enjoyed within 1-2 weeks. Store it in an airtight container with parchment paper pressed directly on the surface to prevent ice crystals.
My ice cream is too hard. What went wrong?
This is often due to over-freezing or too little sugar/fat. Ensure you follow the sugar measurements exactly and let the ice cream sit at room temperature for 5-10 minutes before scooping.
Can I use low-fat milk?
Using whole milk and heavy cream is critical for a creamy texture. Lower-fat substitutes will result in an icy, less rich final product.
Why did my chocolate swirl turn into a mixed-in mess?
You likely over-swirled. Use a folding motion just 2-3 times to marble the chocolate; it should not be fully incorporated.
Common Mistakes to Avoid
- Not chilling the base mixture long enough, which slows churning and creates ice crystals.
- Adding warm chocolate syrup or melted chocolate, which can melt the churned ice cream.
- Over-mixing when adding the swirl, which blends it completely instead of creating ribbons.
- Using a container that's too large, exposing more surface area and causing freezer burn.
- Skipping the airtight lid, leading to ice crystal formation on the ice cream.
Conclusion
Creating homemade chocolate swirl ice cream is a rewarding process that yields a far superior treat to most store-bought versions. By mastering the simple base and learning the technique for a perfect swirl, you unlock endless flavor possibilities. Remember the key steps: proper chilling, patient churning, and a gentle hand with the chocolate. Avoid the common pitfalls, and you'll be rewarded with a luxuriously creamy, beautifully marbled dessert that is sure to impress. Enjoy the delicious results of your craftsmanship.