Description
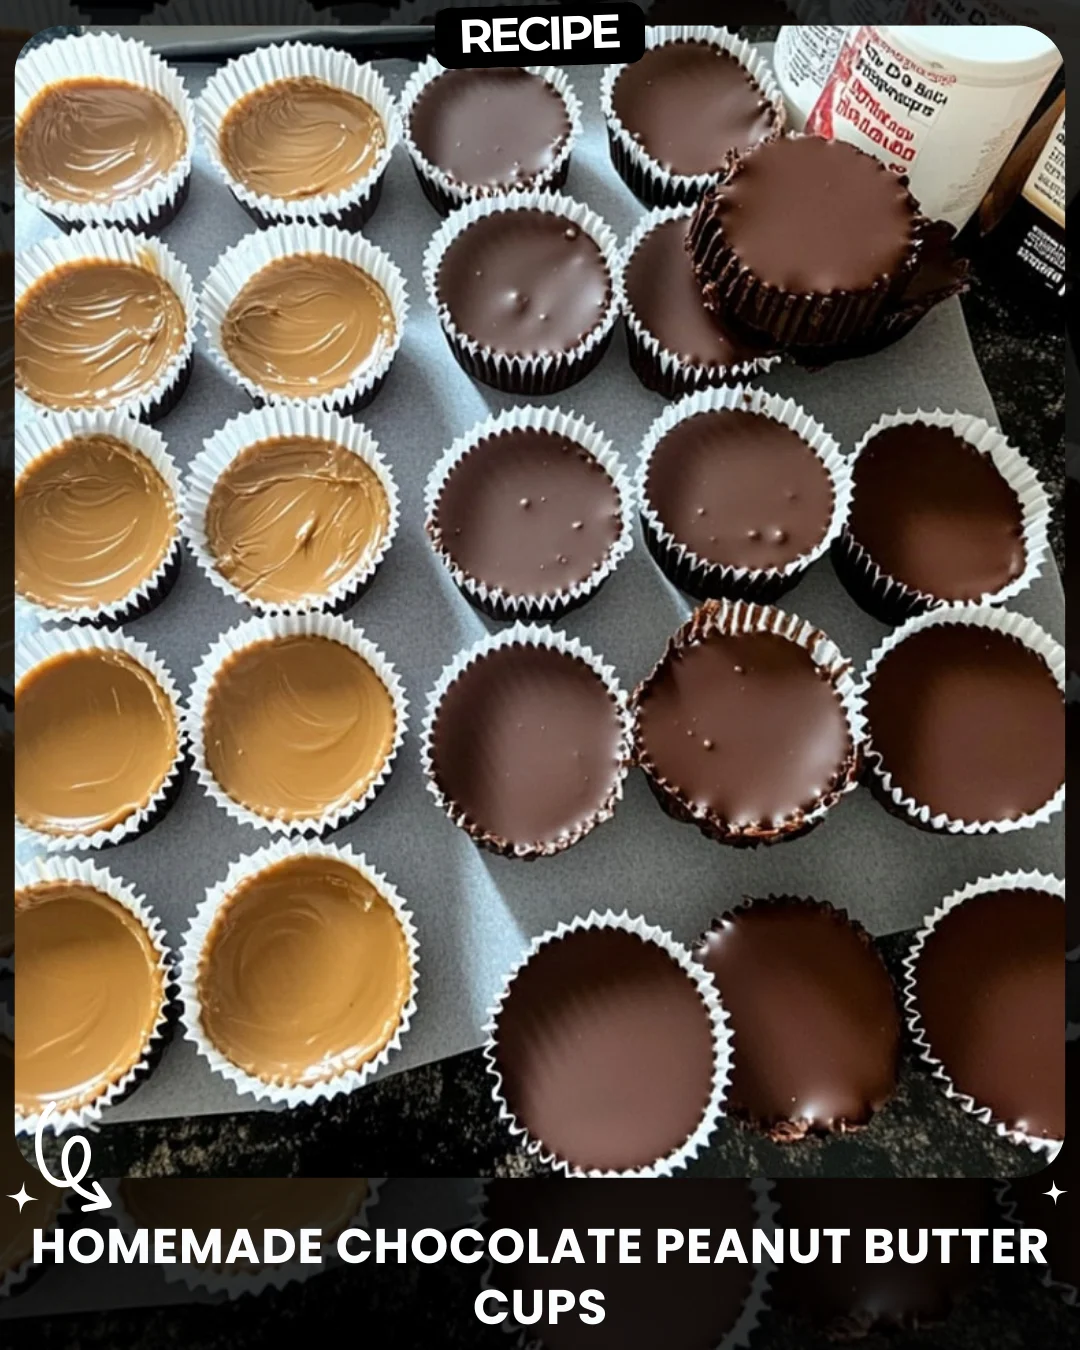
Homemade Chocolate Peanut Butter Cups
Irresistible peanut butter cups with a silky chocolate shell and a sweet creamy center!
Ingredients:
2 cups milk chocolate chips
1 tbsp coconut oil
1 cup peanut butter
2 tbsp powdered sugar
1/2 tsp vanilla extract
Instructions:
Melt chocolate chips with coconut oil until smooth. Pour a layer into liners. Chill.
Mix peanut butter, powdered sugar, and vanilla until creamy.
Add a layer of the filling on the chilled chocolate base.
Top with melted chocolate to seal. Chill for 1-2 hours.
“What would you pair these cups with: coffee or tea?”
#ChocoPeanutCups
Step-by-Step Guide
Follow these detailed steps for perfect homemade peanut butter cups every time.
- Prepare the Liners: Line a standard muffin tin with 12 paper or silicone cupcake liners.
- Melt the Chocolate: In a microwave-safe bowl or using a double boiler, gently melt the 2 cups of milk chocolate chips with 1 tablespoon of coconut oil. Stir frequently until completely smooth.
- Create the Base: Spoon about 1 to 1.5 teaspoons of melted chocolate into the bottom of each liner. Use the back of the spoon to spread it up the sides slightly. Place the tin in the freezer for 10-15 minutes to set firmly.
- Make the Filling: While the base sets, combine 1 cup of peanut butter, 2 tablespoons of powdered sugar, and 1/2 teaspoon of vanilla extract in a medium bowl. Mix until smooth and creamy.
- Add the Filling: Place a dollop (about 1 heaping teaspoon) of the peanut butter mixture onto each chilled chocolate base. Gently press it down to flatten, leaving a small border around the edge.
- Seal the Cups: Re-melt the remaining chocolate if needed. Spoon it over each peanut butter dollop, ensuring the filling is completely covered and sealed to the edges. Gently tap the tin on the counter to remove air bubbles.
- Final Chill: Refrigerate the peanut butter cups for at least 1-2 hours, or until the chocolate is completely firm. Store in an airtight container in the refrigerator.
Serving Suggestions
These homemade treats are versatile. Enjoy them as a standalone dessert, or crumble them over vanilla ice cream for a decadent sundae. For a party, place them in mini cupcake liners for a perfect bite-sized treat. As the post asks, they pair wonderfully with both a strong cup of coffee to cut the sweetness or a glass of cold milk. A bold black tea also makes an excellent companion.
How-to Summary
In short: Melt chocolate with coconut oil, create a base layer in liners, and chill. Mix peanut butter, powdered sugar, and vanilla for the filling. Add filling to the set base, then seal with more melted chocolate. Chill until firm and enjoy.
Frequently Asked Questions
Can I use dark or semi-sweet chocolate? Absolutely. You can substitute the milk chocolate chips with an equal amount of dark, semi-sweet, or even white chocolate chips based on your preference.
What can I use instead of coconut oil? A neutral oil like vegetable or canola oil can be used. Alternatively, you can omit it, but the coconut oil helps create a smoother melt and a slightly softer shell.
Is natural peanut butter okay to use? We recommend using conventional, shelf-stable peanut butter for the best texture and consistency, as natural peanut butter can be too oily and cause separation.
How long do they last in the fridge? Stored in an airtight container, they will stay fresh for up to 2 weeks. They can also be frozen for up to 3 months.
Can I add other ingredients to the filling? Yes! Consider mixing in a tablespoon of honey, a pinch of sea salt, or even crushed graham crackers for a different flavor profile.
Common Mistakes to Avoid
- Not Chilling the Base Layer: If the chocolate base isn’t fully set, the peanut butter layer will sink and mix, ruining the distinct layers.
- Overheating the Chocolate: Melt chocolate slowly and gently to avoid seizing (becoming grainy and clumpy). Use short bursts in the microwave and stir well between each.
- Using Runny Peanut Butter: As mentioned, avoid natural or oily peanut butter, as it can make the filling too soft and leak through the chocolate shell.
- Skipping the Seal: Ensure the top chocolate layer completely covers the peanut butter and connects to the base edges to lock in the filling.
Conclusion
Making your own chocolate peanut butter cups is a simple and rewarding process. With just a few quality ingredients and a little patience for chilling, you can create a far superior treat to anything store-bought. This recipe allows for complete customization, so feel free to experiment and make it your own. Happy crafting and indulging!