Description
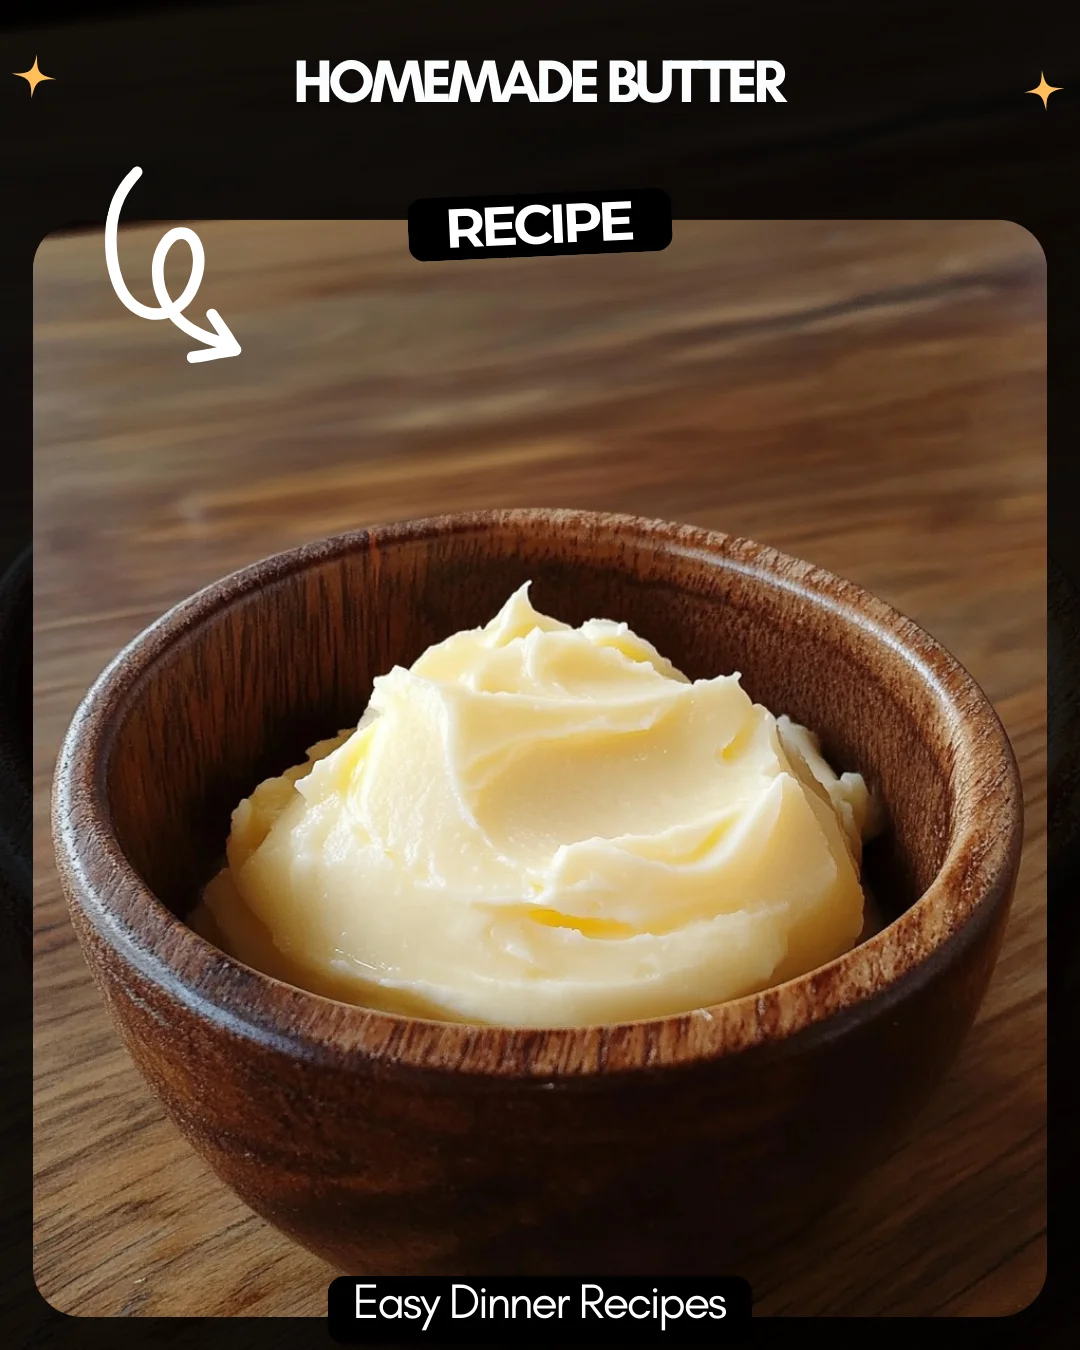
Homemade Butter
Ever wondered what butter tastes like when made fresh at home? With just two simple ingredients—heavy cream and a pinch of salt—you can create rich, creamy butter that tastes even better than store-bought! Making butter at home is surprisingly easy and can be a fun activity for the whole family. It only takes 5 minutes, and you’ll also get fresh buttermilk as a bonus, perfect for baking!
2 cups Heavy Whipping Cream
1 tsp Sea Salt (optional)
Directions:
1. Pour cream into a mixer bowl, add salt if desired, and whisk on high for 5 mins until it separates.
2. Place butter in cheesecloth, squeeze out the buttermilk.
3. Store butter in a sealed jar.
Prep Time: 5 mins
Kcal: 103 per serving
Step-by-Step Guide
1. Chill your equipment: Place a large mixing bowl and the beaters of a hand mixer or the whisk attachment of a stand mixer in the freezer for 15 minutes. Cold tools help the cream whip and separate faster.
2. Begin whipping: Pour 2 cups of heavy whipping cream into the chilled bowl. Add 1 teaspoon of sea salt if you want salted butter. Start mixing on medium-high speed until the cream becomes thick whipped cream.
3. Watch for the break: Continue mixing. The whipped cream will become grainy, then suddenly separate into solid yellow butterfat and liquid buttermilk. This takes about 3-5 minutes total.
4. Strain and separate: Line a colander with cheesecloth or a thin kitchen towel and place it over a bowl. Pour the contents of your mixer bowl into the cloth to catch the butter solids, letting the buttermilk drain into the bowl below. Reserve the buttermilk for baking.
5. Wash the butter: This critical step removes excess buttermilk, preventing spoilage. While the butter is still in the cloth, run cold water over it and knead it with your hands until the water runs clear.
6. Finalize and store: Squeeze the cloth tightly to remove all water. Transfer the solid butter to an airtight container or shape it into a log with parchment paper. Refrigerate for up to 2 weeks or freeze for longer storage.
Serving Suggestions
Fresh homemade butter elevates any dish. Spread it generously on warm, crusty bread or flaky biscuits. Use it to finish steamed vegetables, melt it over grilled steak, or swirl it into mashed potatoes for unparalleled richness. It’s also the perfect base for compound butters—mix in herbs, garlic, or honey for a custom flavor boost.
How-to Summary
To make butter, whip heavy cream on high speed until it separates into solids (butter) and liquid (buttermilk). Strain through cheesecloth, wash the butter solids with cold water to remove residual buttermilk, then squeeze dry and store in an airtight container in the fridge.
Frequently Asked Questions
Can I make butter without a mixer? Yes. You can shake the cream vigorously in a tightly sealed jar for 10-15 minutes until it separates. It’s a great method for involving kids.
Why is my butter not forming? The cream may not be cold enough, or your equipment may be too warm. Ensure everything is well-chilled. Ultra-pasteurized cream can also take longer to separate.
Is the leftover liquid real buttermilk? Yes! This is traditional, liquid buttermilk, perfect for pancakes, biscuits, or dressings. It’s thinner than cultured store-bought buttermilk but works wonderfully in recipes.
How long does homemade butter last? Properly washed and stored in a sealed container, it lasts 1-2 weeks in the refrigerator. For longer storage, freeze it for up to 6-9 months.
Can I use low-fat cream? No. You must use heavy whipping cream or heavy cream with a high fat content (at least 35%). Lower-fat alternatives will not separate into butterfat.
Common Mistakes to Avoid
- Using warm tools or cream: This leads to a greasy, slow separation. Chill everything first.
- Skipping the washing step: Residual buttermilk will cause your butter to spoil quickly and taste sour.
- Over-whipping before monitoring: Once the cream starts to look grainy, watch closely to avoid splashing buttermilk everywhere when it breaks.
- Not salting to taste: Salt is a preservative and enhances flavor. Even if you prefer unsalted butter, a small pinch can improve its shelf life and taste.
Conclusion
Making butter at home is a simple, rewarding process that transforms two basic ingredients into something extraordinarily flavorful. In just minutes, you gain not only rich, customizable butter but also fresh buttermilk, minimizing waste. This hands-on technique connects you to a traditional kitchen skill and guarantees a superior, preservative-free product that will enhance your cooking and baking. Give it a try—the taste of fresh butter is a revelation.