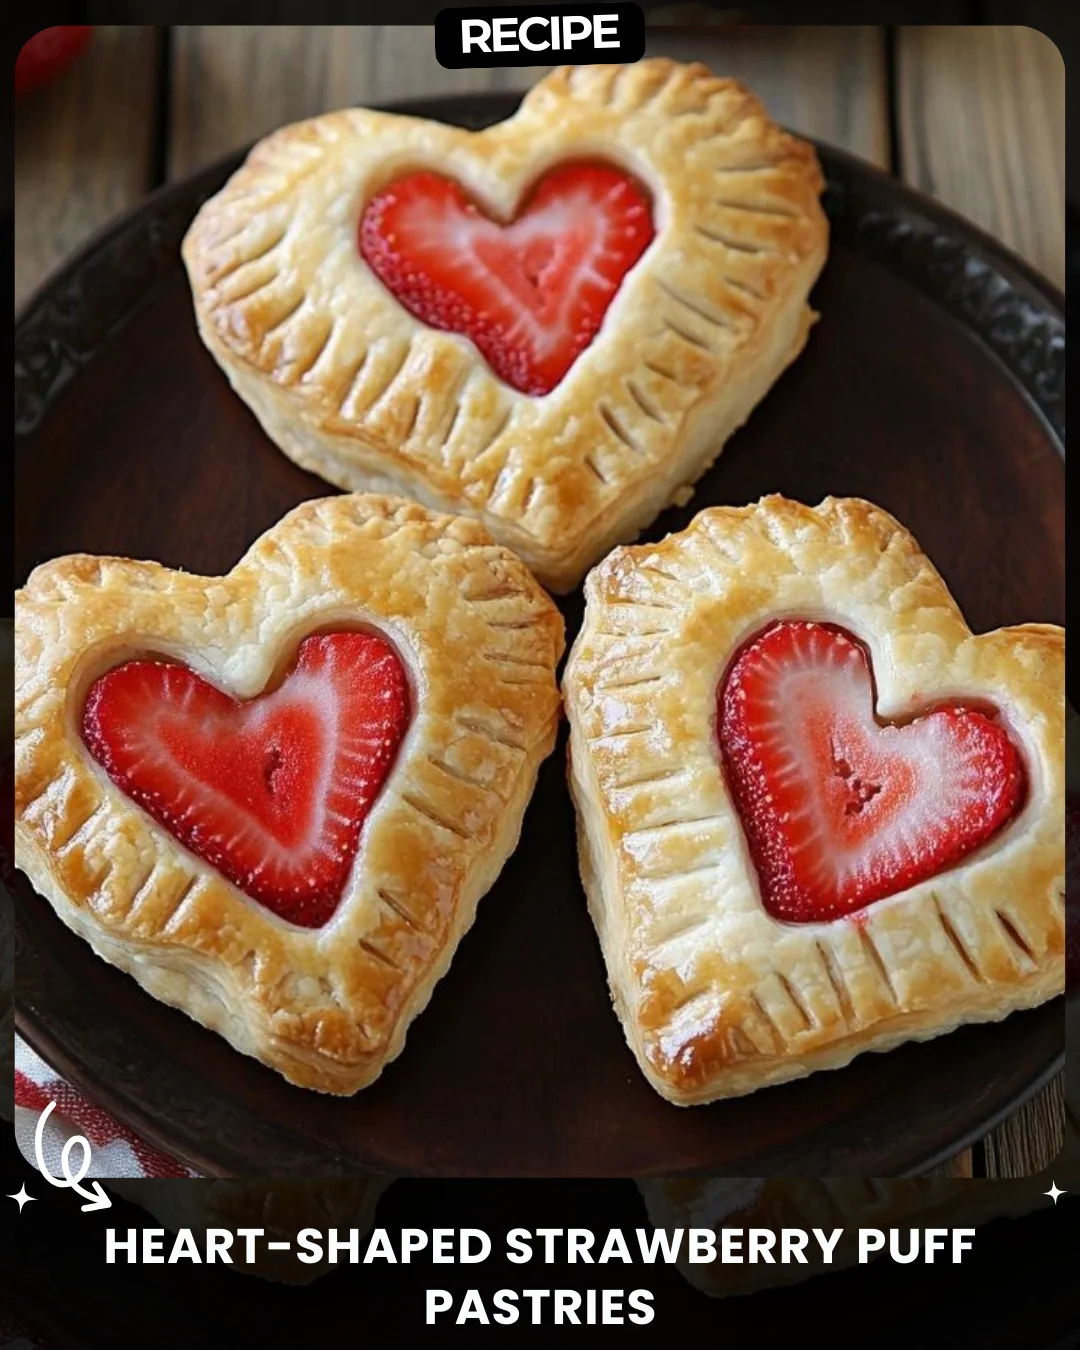
Heart-Shaped Strawberry Puff Pastries
 3:50
3:50
Strawberry Puff Pastry Hearts | Cooking and Cups
Description
Heart-Shaped Strawberry Puff Pastries
Ingredients:
1 sheet puff pastry, thawed
1/2 cup strawberry jam
Fresh strawberries, sliced
1 egg (for egg wash)
1 tbsp sugar (optional, for sprinkling)
Instructions:
1. Preheat Oven: Preheat your oven to 375°F (190°C) and line a baking sheet with parchment paper.
2. Prepare Puff Pastry: Roll out the puff pastry on a floured surface. Use a heart-shaped cookie cutter to cut out an even number of hearts.
3. Assemble Pastries: Place half of the hearts on the prepared baking sheet. Spread a thin layer of strawberry jam in the center of each heart, leaving the edges clean.
4. Top with Strawberries: Place a slice of fresh strawberry on top of the jam.
5. Seal and Decorate: Use the remaining pastry hearts to cover the filled ones. Press the edges together with a fork to seal.
6. Egg Wash: Beat the egg and lightly brush it over the top of each pastry for a golden finish. Sprinkle with sugar if desired.
7. Bake: Bake for 15-20 minutes or until puffed and golden brown.
8. Cool and Serve: Let the pastries cool slightly before serving.
#HeartPuffPastries #ValentineTreats
Step-by-Step Guide
Follow these detailed steps for perfect pastries. First, ensure your puff pastry is fully thawed but still cold. On a lightly floured surface, roll the pastry to about 1/8-inch thickness. Use a sharp, floured heart cutter for clean cuts. After placing the bottom hearts on the parchment-lined sheet, use a smaller heart cutter or a knife to lightly score a border about 1/4-inch from the edge on the top hearts—this helps them puff beautifully. Assemble as instructed, then use the tines of a fork to crimp the edges firmly, which is crucial for sealing in the jam.
Serving Suggestions
These pastries are versatile. For a decadent breakfast, dust with powdered sugar. As a dessert, serve warm with a scoop of vanilla ice cream or a dollop of whipped cream. For a festive brunch, arrange them on a tiered stand. Pair with champagne or a sparkling rosé for a true Valentine’s celebration. They are also delightful with a drizzle of melted chocolate or a light lemon glaze.
How-to Summary
Thaw and roll puff pastry, cutting an even number of hearts. Place half on a baking sheet, add jam and a strawberry slice to each, top with the remaining hearts, and seal edges with a fork. Apply an egg wash, sprinkle with sugar, and bake at 375°F (190°C) for 15-20 minutes until golden. Cool slightly before serving.
Frequently Asked Questions
Can I make these ahead of time? Yes, you can assemble them, freeze on the baking sheet until solid, then transfer to a bag. Bake from frozen, adding a few extra minutes.
What can I use instead of strawberry jam? Raspberry jam, Nutella, or a lemon curd work wonderfully. Adjust fruit toppings accordingly.
My pastry didn’t puff much. Why? The pastry may have been overworked or gotten too warm. Ensure ingredients are cold, and don’t roll too thin. Also, check your oven temperature with a thermometer.
How do I store leftovers? Store in an airtight container at room temperature for 1-2 days. Reheat briefly in the oven to restore crispness.
Can I use frozen strawberries? It’s not recommended, as frozen berries release too much water during baking, making the pastry soggy. Always use fresh.
Common Mistakes to Avoid
- Using warm puff pastry: It becomes sticky and difficult to work with. Keep it cool.
- Overfilling with jam: This causes leaks during baking. Use a thin, conservative layer.
- Not sealing edges properly: Press firmly with a fork to create a tight seal.
- Skipping the egg wash: This gives the pastries their appealing golden color and shine.
- Baking on an unlined sheet: Parchment paper prevents sticking and ensures even browning.
Conclusion
These Heart-Shaped Strawberry Puff Pastries are a simple yet impressive treat that captures the spirit of celebration. With flaky, buttery layers and sweet strawberry filling, they are sure to delight. By following the detailed guide and avoiding common pitfalls, you can create a beautiful homemade dessert that looks as wonderful as it tastes. Perfect for sharing with someone special.