
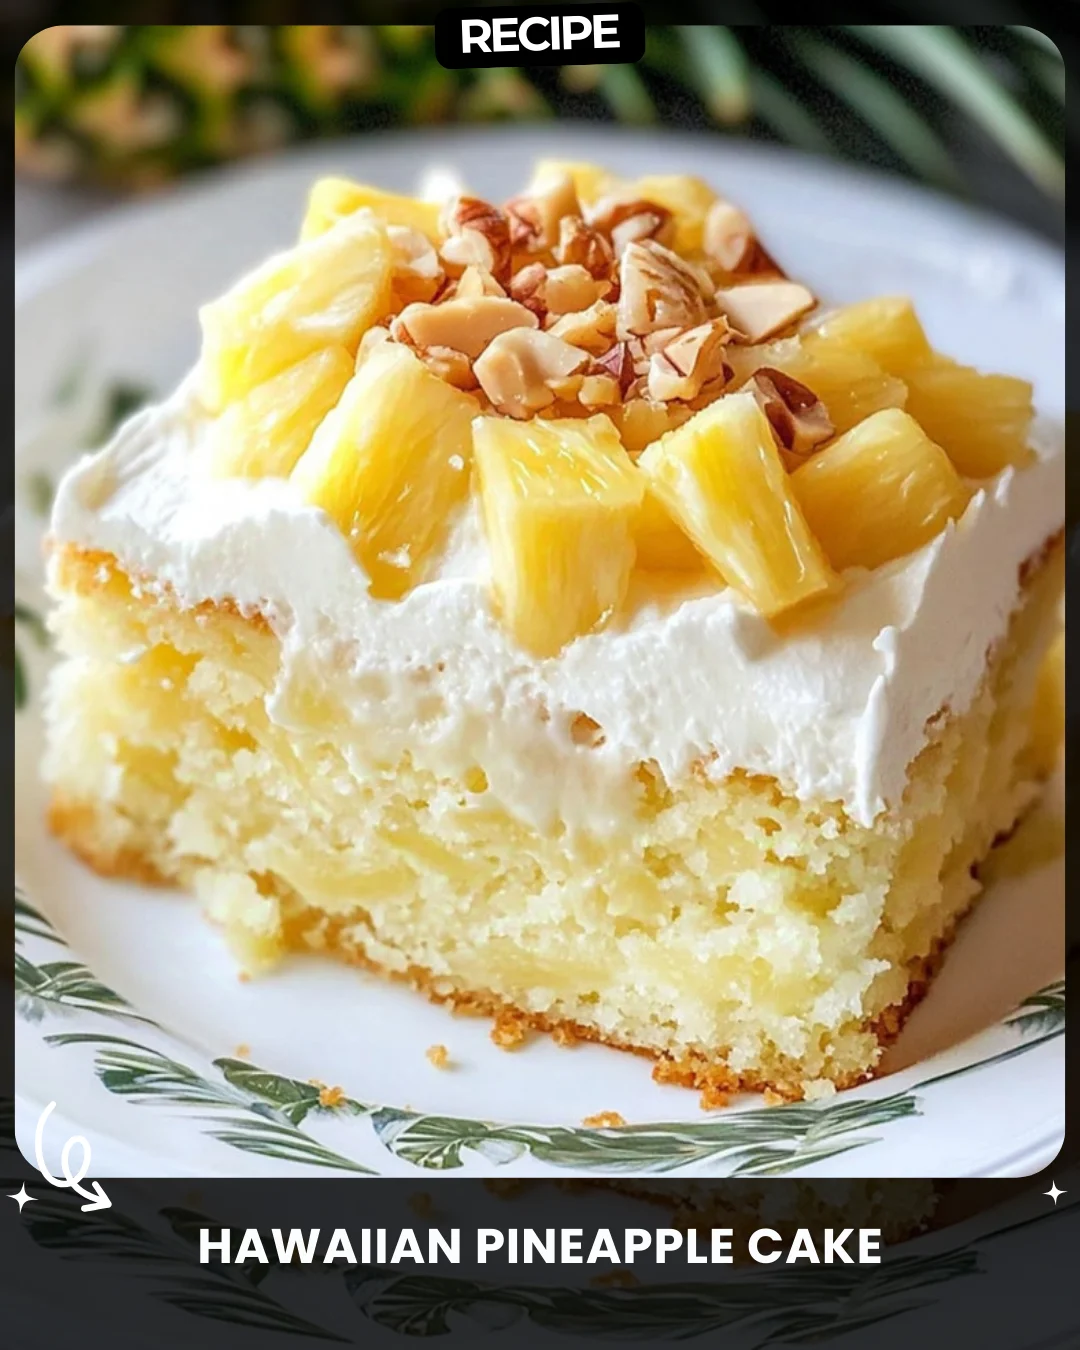
Hawaiian Pineapple Cake
Easy Hawaiian Pineapple Coconut Poke Cake - Delicious Tropical Cake Recipe
Description
Hawaiian Pineapple Cake
Description: A classic Hawaiian dessert with a soft, melt-in-your-mouth texture and the sweet tang of pineapple. Add nuts or coconut for a personal twist!
Ingredients:
1 cup all-purpose flour
1 cup packed brown sugar
1 tsp baking soda
1 can (20 oz) crushed pineapple (drained slightly)
⅓ cup chopped pecans (optional)
Instructions:
Set oven to 350°F (175°C).
Combine dry ingredients in a bowl.
Fold in pineapple and mix until batter forms.
Add pecans for added texture.
Bake in a greased dish for 30-35 minutes. Cool before slicing.
#SweetEscape
Step-by-Step Guide
Follow these detailed instructions for the perfect Hawaiian Pineapple Cake. First, preheat your oven to 350°F (175°C) and thoroughly grease an 8×8 inch baking dish. In a large mixing bowl, whisk together 1 cup of all-purpose flour, 1 cup of packed brown sugar, and 1 teaspoon of baking soda until no lumps remain. Open a 20-ounce can of crushed pineapple. Do not fully drain it; simply pour off any excess liquid sitting at the top, leaving the fruit moist. Add the pineapple to the dry ingredients. Gently fold the mixture with a spatula until a thick, cohesive batter forms. If using, fold in ⅓ cup of chopped pecans. Pour the batter into the prepared dish and spread it evenly. Bake on the center rack for 30-35 minutes, or until the top is golden brown and a toothpick inserted into the center comes out clean. Let the cake cool completely in the pan on a wire rack before slicing.
Serving Suggestions
This cake is delicious on its own but can be elevated with simple additions. For a classic Hawaiian touch, serve each warm slice topped with a scoop of vanilla ice cream or a dollop of freshly whipped cream. Toasted coconut flakes sprinkled on top enhance the tropical flavor. For a brunch or afternoon tea, pair a small square with a cup of strong coffee or tropical fruit tea. The cake also makes an excellent dessert for a luau-themed party when garnished with a fresh pineapple wedge and a maraschino cherry.
How-to Summary
In brief: Preheat oven to 350°F. Mix dry ingredients (flour, brown sugar, baking soda). Fold in slightly drained crushed pineapple (and optional pecans) to form a batter. Bake in a greased dish for 30-35 minutes. Cool completely before serving.
Frequently Asked Questions
Can I use fresh pineapple instead of canned?
Yes, but you must finely chop and slightly cook it to soften and release moisture. Canned pineapple is recommended for consistent texture and sweetness.
Why is my cake too dense or gummy?
This is often caused by over-mixing the batter after adding the pineapple. Fold gently until just combined. Also, ensure you only slightly drain the pineapple; too much liquid removed can make it dry, but using all the juice can make it soggy.
Can I make this cake gluten-free?
Yes. Substitute the all-purpose flour with a 1:1 gluten-free baking blend. The result will be slightly denser but still delicious.
How should I store leftovers?
Store the cooled cake in an airtight container at room temperature for up to 2 days or in the refrigerator for up to 5 days. It can also be frozen for up to 3 months.
Can I add other mix-ins?
Absolutely. Shredded sweetened coconut is a fantastic addition. For a richer cake, consider adding ½ cup of white chocolate chips or macadamia nuts instead of pecans.
Common Mistakes to Avoid
- Over-draining the pineapple: The moisture is crucial. Only pour off the excess liquid from the top of the can.
- Over-mixing the batter: Stir until the ingredients are just combined to avoid a tough, dense cake.
- Slicing while warm: This cake needs time to set. Cutting it too early will cause it to crumble.
- Incorrect pan size: Using a pan larger than 8×8 inches will result in a thin, over-baked cake. A 9-inch round pan is a suitable alternative.
Conclusion
This Hawaiian Pineapple Cake is a wonderfully simple dessert that delivers maximum tropical flavor with minimal effort. Its unique method, relying on the pineapple for moisture instead of added fats, creates a uniquely tender crumb. By following the step-by-step guide and heeding the common mistakes, you’ll achieve a perfect result every time. Whether you stick to the classic recipe or add your own twist with nuts or coconut, this cake is sure to be a crowd-pleaser and a sweet escape to the islands.