Description
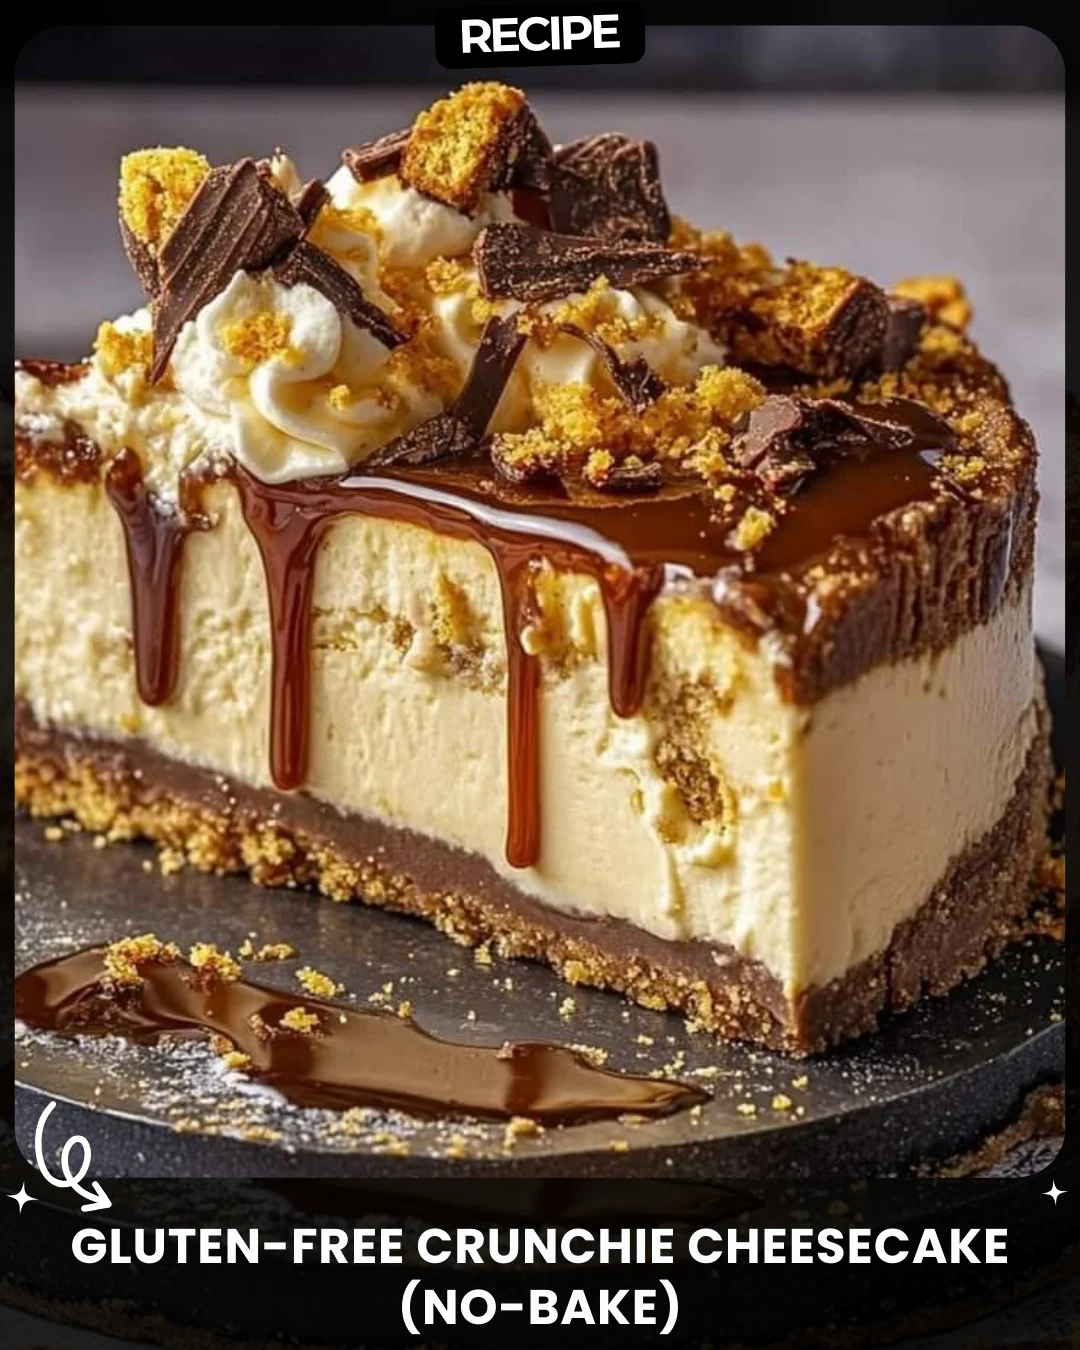
Gluten-Free Crunchie Cheesecake (No-Bake)
This Gluten-Free Crunchie Cheesecake is a creamy, indulgent treat that combines the richness of cheesecake with the delightful crunch of chocolate honeycomb. Plus, it's super easy to make and requires no baking!
Ingredients:
For the Base:
320g gluten-free digestive biscuits
150g butter (melted)
1 Crunchie bar (optional, for extra crunch)
For the Filling:
600g mascarpone or cream cheese (full fat; up to 750g for a taller cheesecake, no need to adjust other ingredients)
100g icing sugar
300ml double cream
1 tsp vanilla extract (optional)
150g - 200g Crunchie bars (chopped)
For the Topping:
150g Crunchie chocolate spread
Extra Crunchie bars (chopped)
Instructions:
Prepare the Base:
Crush the gluten-free biscuits and optionally 1 Crunchie bar. You can use a rolling pin or a food processor. Avoid making a fine dust—aim for coarse crumbs.
Melt the butter (about 30 seconds to 1 minute in the microwave on medium power).
Combine the melted butter with the crushed biscuits and mix well.
Press the mixture firmly into a 20cm loose-bottom baking tin. Chill in the fridge for at least 30 minutes.
Make the Cheesecake Filling:
In a bowl, mix the mascarpone (or cream cheese), icing sugar, and vanilla extract (if using) until just combined.
Add the double cream and mix until the mixture thickens (about 2 minutes on medium speed). Avoid over-mixing to prevent splitting.
Gently fold in the chopped Crunchie bars until evenly distributed.
Spread the filling evenly over the chilled biscuit base. Refrigerate overnight or until set.
Add the Topping:
If needed, loosen the Crunchie spread in a bowl to make it easier to spread.
Spread the Crunchie spread over the top of the set cheesecake.
Chill briefly to allow the topping to firm up (optional).
Remove from the tin and decorate with extra chopped Crunchie bars as desired.
Enjoy your creamy, crunchy, and indulgent Gluten-Free Crunchie Cheesecake! Perfect for a special treat or dessert for any occasion
#lovealletherecipes
Step-by-Step Guide
Follow these detailed instructions for a perfect cheesecake every time. First, ensure your 20cm loose-bottom tin is ready. For the base, crush the biscuits and optional Crunchie bar into coarse crumbs using a sealed bag and rolling pin. Combine with melted butter until it resembles wet sand. Press this mixture firmly and evenly into the tin base using the back of a spoon. Chill for at least 30 minutes. For the filling, ensure your mascarpone is at room temperature to avoid lumps. Whisk it with icing sugar and vanilla until just smooth. In a separate bowl, whip the double cream to soft peaks. Fold the whipped cream into the mascarpone mixture gently until no streaks remain. Finally, fold in the chopped Crunchie bars. Spread this filling over the base, smoothing the top. Refrigerate overnight, uncovered, for a proper set.
Serving Suggestions
This decadent cheesecake is best served slightly chilled. For clean slices, dip your knife in hot water and wipe it dry between each cut. Serve on its own or with a dollop of lightly sweetened whipped cream or a scoop of vanilla ice cream. A drizzle of salted caramel sauce or a dusting of cocoa powder can add an extra layer of flavour. It's the perfect centrepiece for celebrations, dinner parties, or a weekend family treat.
How-to Summary
This no-bake cheesecake involves three key stages: 1) Create a base from crushed gluten-free biscuits and melted butter, pressed into a tin and chilled. 2) Make the filling by combining mascarpone, icing sugar, vanilla, and whipped cream, then folding in chopped Crunchie bars before spreading over the base. 3) Top with Crunchie spread and extra chopped bars after the cheesecake has set overnight in the refrigerator.
Frequently Asked Questions
Can I use regular digestive biscuits if I don't need it gluten-free?
Absolutely. Regular digestives work perfectly in the same quantity for the base.
My filling seems too runny. What went wrong?
This is often due to under-whipped cream or over-mixing, which can cause the cream to split. Ensure your cream is whipped to soft peaks and fold gently. Also, using full-fat mascarpone is crucial for stability.
How long will the cheesecake keep in the fridge?
Stored in an airtight container, it will keep well for 3-4 days. The base may soften slightly over time.
Can I freeze this cheesecake?
Yes, you can freeze it for up to a month. Freeze without the chocolate spread topping, adding it after thawing in the refrigerator overnight.
What can I use instead of Crunchie spread for the topping?
You can melt milk chocolate with a tablespoon of cream for a ganache, or simply use more chopped Crunchie bars and a drizzle of honey.
Common Mistakes to Avoid
- Over-crushing the base: Avoid turning the biscuits into a fine powder. Coarse crumbs provide the best texture.
- Over-mixing the filling: Once the cream is incorporated, stop mixing. Over-whipping can cause the filling to become grainy or split.
- Not chilling long enough: The overnight set is non-negotiable for a firm, sliceable cheesecake. Rushing this step leads to a messy serving.
- Using low-fat ingredients: Full-fat mascarpone and double cream are essential for structure and richness. Low-fat alternatives will result in a soft, unstable filling.
Conclusion
This Gluten-Free Crunchie Cheesecake proves that indulgence doesn't require complexity. With its no-bake method, irresistible combination of creamy filling and crunchy honeycomb, and impressive presentation, it's a dessert guaranteed to delight. By following the detailed steps and avoiding common pitfalls, you can create a stunning, professional-quality treat perfect for any occasion. Enjoy the process and the delicious results!