


Description
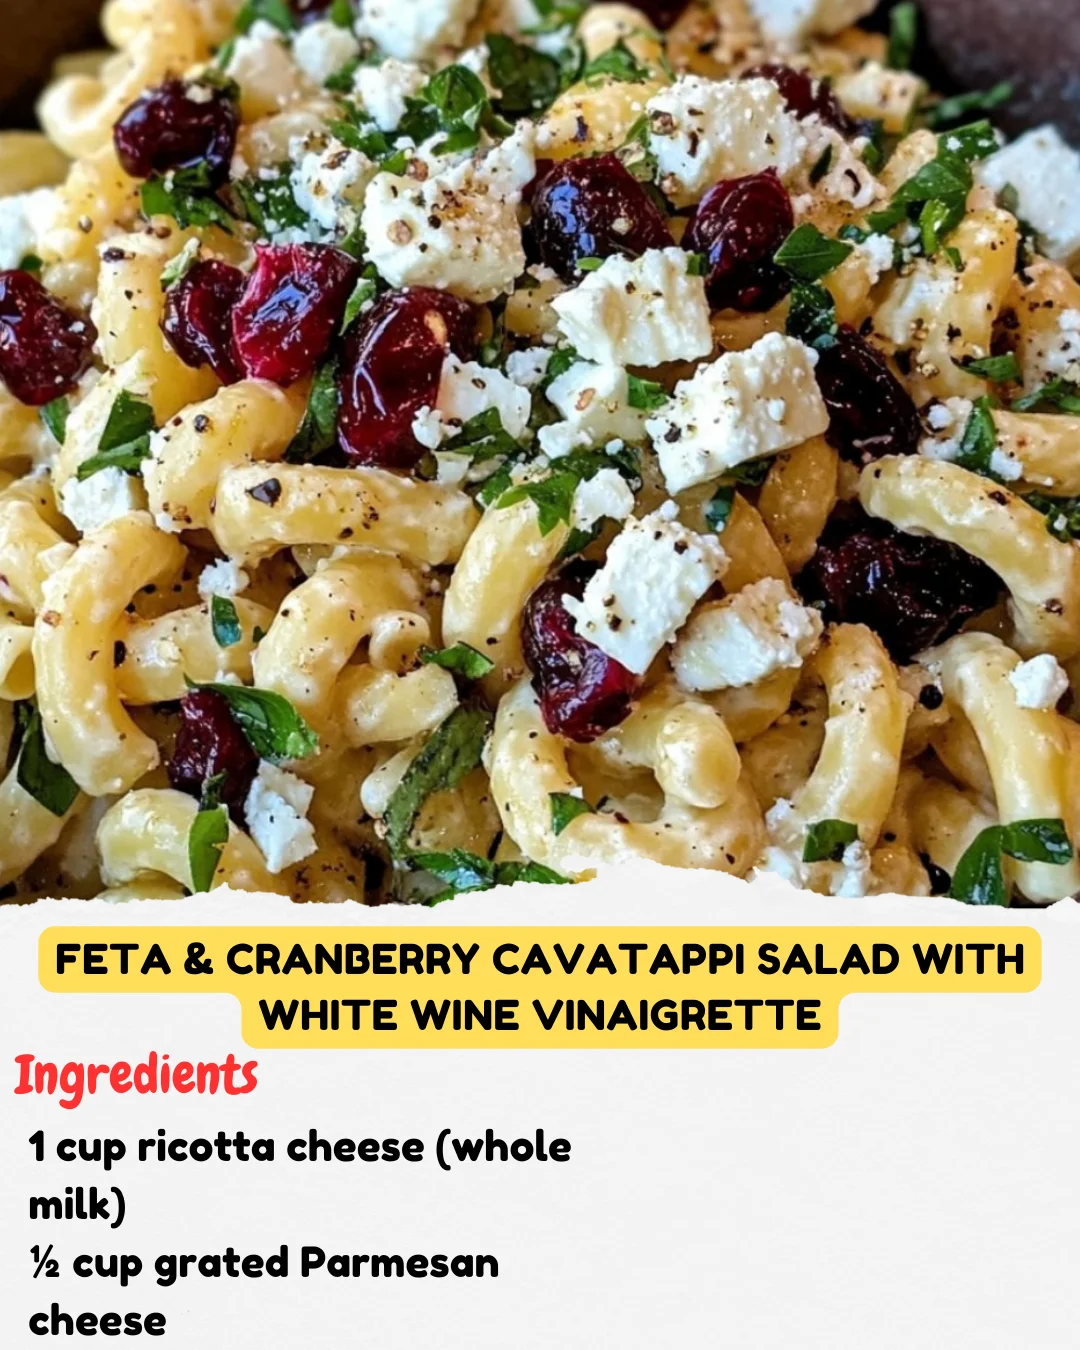
1 cup ricotta cheese (whole milk)
½ cup grated Parmesan cheese
1 large egg
1 teaspoon salt
½ teaspoon black pepper
1 cup all-purpose flour (plus extra for dusting)
Directions:
In a large bowl, mix ricotta, Parmesan, egg, salt, and black pepper until smooth.
Gradually add flour, stirring until a soft dough forms. Be careful not to overwork the dough.
Transfer the dough onto a floured surface and divide it into four portions. Roll each portion into a rope about ½ inch thick.
Cut the ropes into 1-inch pieces and place them on a floured baking sheet.
Bring a large pot of salted water to a boil. Cook the gnocchi in batches until they float to the top, about 2-3 minutes. Remove with a slotted spoon.
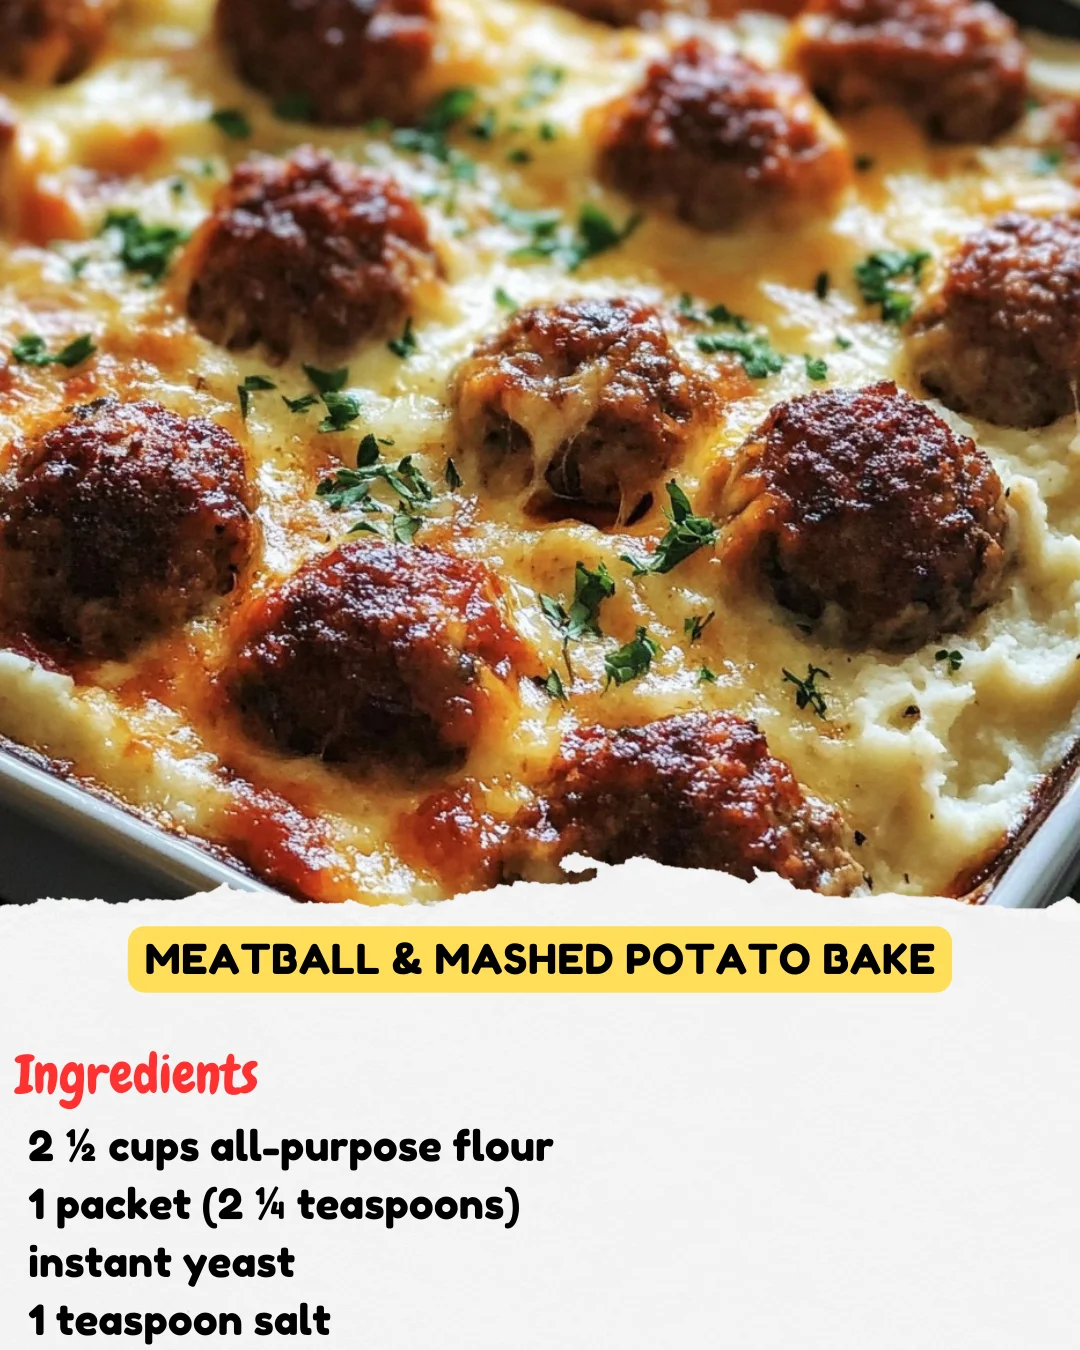
Serve immediately with your favorite sauce or a drizzle of browned butter and fresh herbs.
Prep Time: 15 minutes
Cooking Time: 5 minutes
Total Time: 20 minutes
Kcal: 280 kcal per serving
Servings: 4
Step-by-Step Guide
Follow these detailed instructions for perfect ricotta gnocchi every time. First, ensure your ricotta is well-drained to avoid excess moisture. In your large bowl, combine the ricotta, grated Parmesan, egg, salt, and pepper thoroughly. When adding the flour, do so in two or three additions, folding gently until just combined. The dough will be soft and slightly sticky. On a generously floured surface, with floured hands, gently shape each of the four dough portions into long, even ropes. Use a bench scraper or sharp knife to cut the gnocchi cleanly. For a traditional look, you can roll each piece down the tines of a floured fork to create ridges that hold sauce.
Serving Suggestions
These light gnocchi are a versatile canvas for many sauces. For a classic pairing, toss them in a simple marinara or a creamy Alfredo sauce. Browned butter with sage is a timeless and elegant option. For a fresh take, combine with pesto, roasted cherry tomatoes, and a sprinkle of extra Parmesan. They also work beautifully in a baked casserole with mozzarella and marinara for a decadent twist.
How-to Summary
To summarize: mix wet ingredients, fold in flour, shape into ropes, cut into pieces, and boil until they float. The key steps are using drained ricotta, handling the dough minimally, and cooking in batches to prevent sticking.
Frequently Asked Questions
Can I make the dough ahead of time? Yes, you can prepare the dough, shape the gnocchi, and place them on a floured baking sheet. Cover tightly and refrigerate for up to 8 hours before cooking.
Can I freeze ricotta gnocchi? Absolutely. After shaping, freeze them in a single layer on a baking sheet. Once solid, transfer to a freezer bag. Cook directly from frozen, adding a minute or two to the boiling time.
Why are my gnocchi tough? Tough gnocchi are usually caused by overworking the dough or adding too much flour. Mix only until the ingredients come together.
What’s the best way to test if they’re done? Gnocchi are done the moment they float to the surface of the boiling water. Taste one to ensure the center is cooked through and not doughy.
Can I use low-fat ricotta? For the best texture and flavor, whole-milk ricotta is highly recommended. Low-fat varieties contain more water and can yield a gummy result.
Common Mistakes to Avoid
Avoid these pitfalls for light results: 1) Using wet, undrained ricotta, which requires more flour and leads to heaviness. 2) Over-mixing the dough, which develops gluten and creates chewiness. 3) Adding all the flour at once; add gradually until the dough just comes together. 4) Crowding the pot while boiling, which lowers the water temperature and makes gnocchi stick together.
Conclusion
Homemade ricotta gnocchi are a surprisingly quick and satisfying dish. By focusing on gentle handling and proper ingredient prep, you can create restaurant-quality, pillowy-soft dumplings in about 20 minutes. Their delicate flavor makes them the perfect partner for both simple and sophisticated sauces. Mastering this technique opens the door to countless delicious meals.