Description
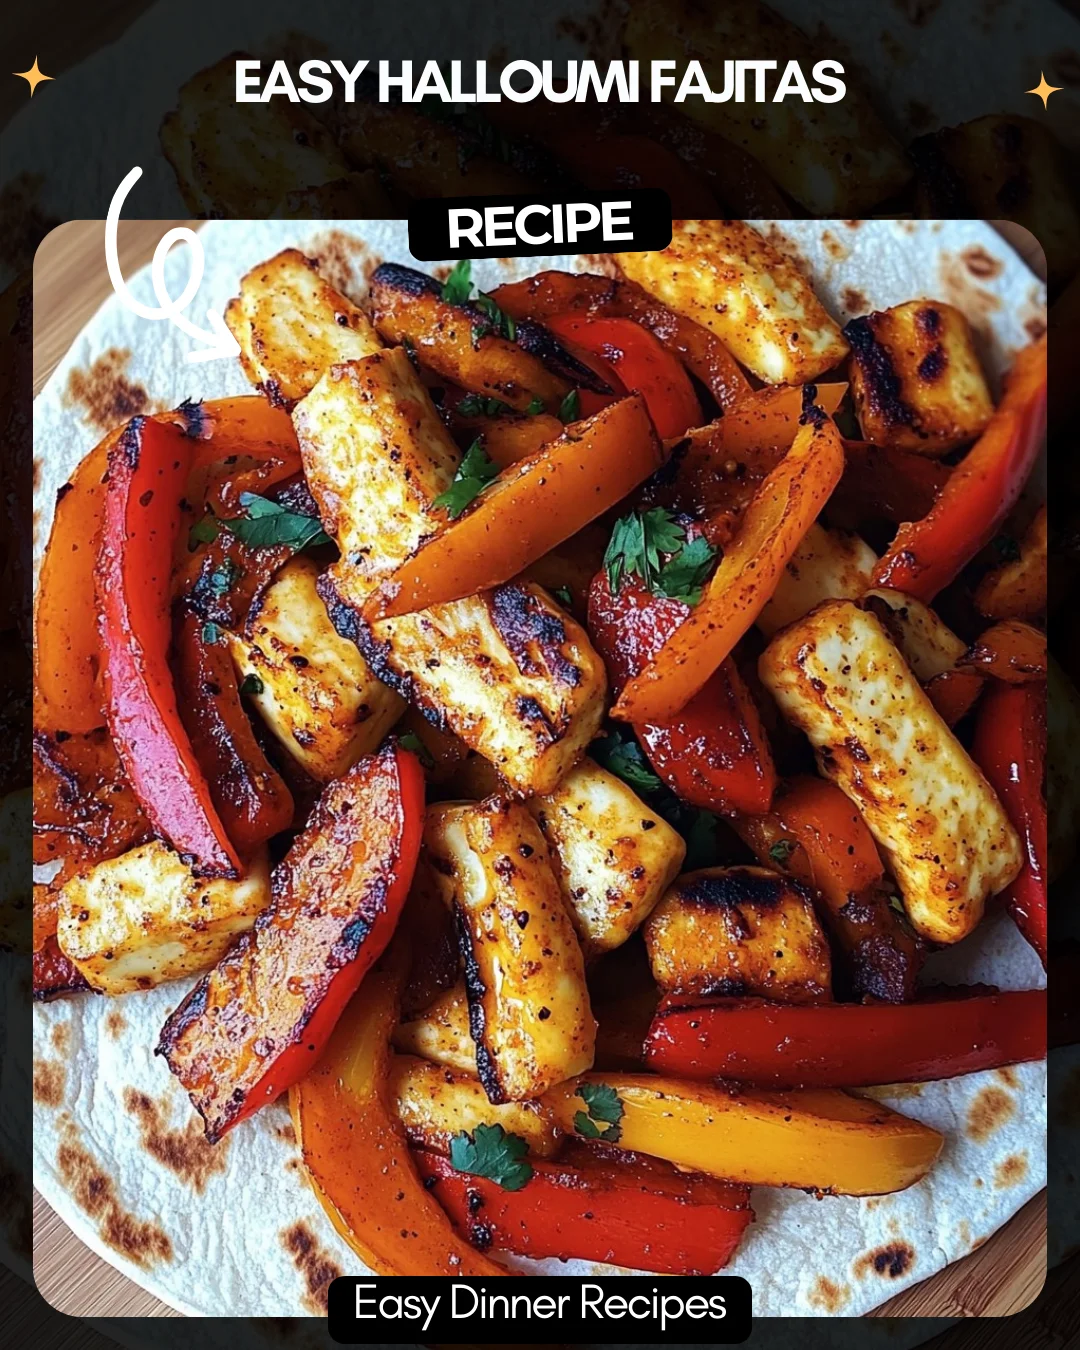
Easy Halloumi Fajitas
Ingredients:
1 onion, thinly sliced
2 red bell peppers, sliced
1 green bell pepper, sliced
250 g (9 oz) halloumi, cut into strips
2 tbsp olive oil
4 tbsp fajita seasoning
4 soft tortillas
Directions:
Preheat the oven to 200°C (180°C fan) / 400°F / Gas 6.
In a large baking dish, combine the sliced onion, bell peppers, halloumi strips, olive oil, and fajita seasoning. Mix well to coat everything evenly.
Bake in the preheated oven for 25 minutes, or until the vegetables are tender and the halloumi is golden.
Serve the halloumi and vegetable mixture in warm tortillas. Top with your favorite toppings like refried beans, salsa, guacamole, sour cream, or tortilla chips.
Prep Time: 30 mins
Kcal: 784 per serving | Servings: 4
Step-by-Step Guide
Follow these detailed instructions for perfect halloumi fajitas every time. First, preheat your oven to 200°C (400°F). While it heats, thinly slice one onion and two red and one green bell pepper into even strips. Cut 250g of halloumi into thick strips, as it will soften slightly when baked. In a large, shallow baking dish, combine the vegetables and halloumi. Drizzle with two tablespoons of olive oil and sprinkle four tablespoons of fajita seasoning over everything. Use your hands to toss and mix thoroughly, ensuring every piece is evenly coated with oil and spice. Spread the mixture in a single layer for optimal roasting. Bake for 25 minutes, stirring halfway through, until the peppers are soft with slightly charred edges and the halloumi is golden brown.
Serving Suggestions
Warm four soft tortillas according to package instructions just before the filling is done. For a full feast, set out a variety of toppings in small bowls. Classic options include chunky salsa, creamy guacamole, cool sour cream, and zesty lime wedges. For extra texture and protein, add refried beans, crumbled tortilla chips, or a fresh corn salad. A simple side of cilantro-lime rice or a crisp green salad completes the meal beautifully.
How-to Summary
This recipe is a simple, one-pan wonder. Slice onion and bell peppers, cut halloumi into strips, and toss everything with olive oil and fajita seasoning in a baking dish. Bake at 200°C (400°F) for 25 minutes until golden and tender. Serve immediately in warm tortillas with your chosen toppings.
Frequently Asked Questions
Can I cook this on the stovetop instead? Yes. Heat the oil in a large skillet or wok over medium-high heat. Cook the onions and peppers for 10-12 minutes until softening, then add the halloumi and seasoning for the final 5-7 minutes until golden.
How can I make my own fajita seasoning? Mix 1 tbsp chili powder, 1 tsp each of paprika, cumin, and garlic powder, and ½ tsp each of onion powder, oregano, and salt. Adjust cayenne pepper for heat.
Is halloumi suitable for vegetarians? Traditional halloumi is made with animal rennet. Always check the label for vegetarian-certified versions if required.
Can I prepare the vegetables ahead of time? Absolutely. Slice the onions and peppers up to a day in advance and store them in an airtight container in the refrigerator.
My halloumi is releasing water and not browning. What happened? This occurs if the halloumi is too cold or crowded in the pan. Pat it very dry before seasoning, ensure your oven is fully preheated, and spread the pieces in a single layer without overlapping.
Common Mistakes to Avoid
Avoid these pitfalls for the best results: Do not skip preheating the oven, as a hot start is crucial for browning the halloumi. Do not cut the halloumi too thinly, or it may become rubbery. Do not overcrowd the baking dish, as steaming will prevent proper roasting—use two dishes if necessary. Finally, do not forget to stir the mixture halfway through baking to promote even cooking and color.
Conclusion
These easy halloumi fajitas are a guaranteed crowd-pleaser, offering a delicious and satisfying vegetarian alternative to classic fajitas. The method is wonderfully simple, resulting in a flavorful, colorful, and textured filling with minimal cleanup. By following the step-by-step guide and avoiding common mistakes, you can create a vibrant and customizable meal that’s perfect for a quick weeknight dinner or a fun, interactive gathering with friends and family.