Description
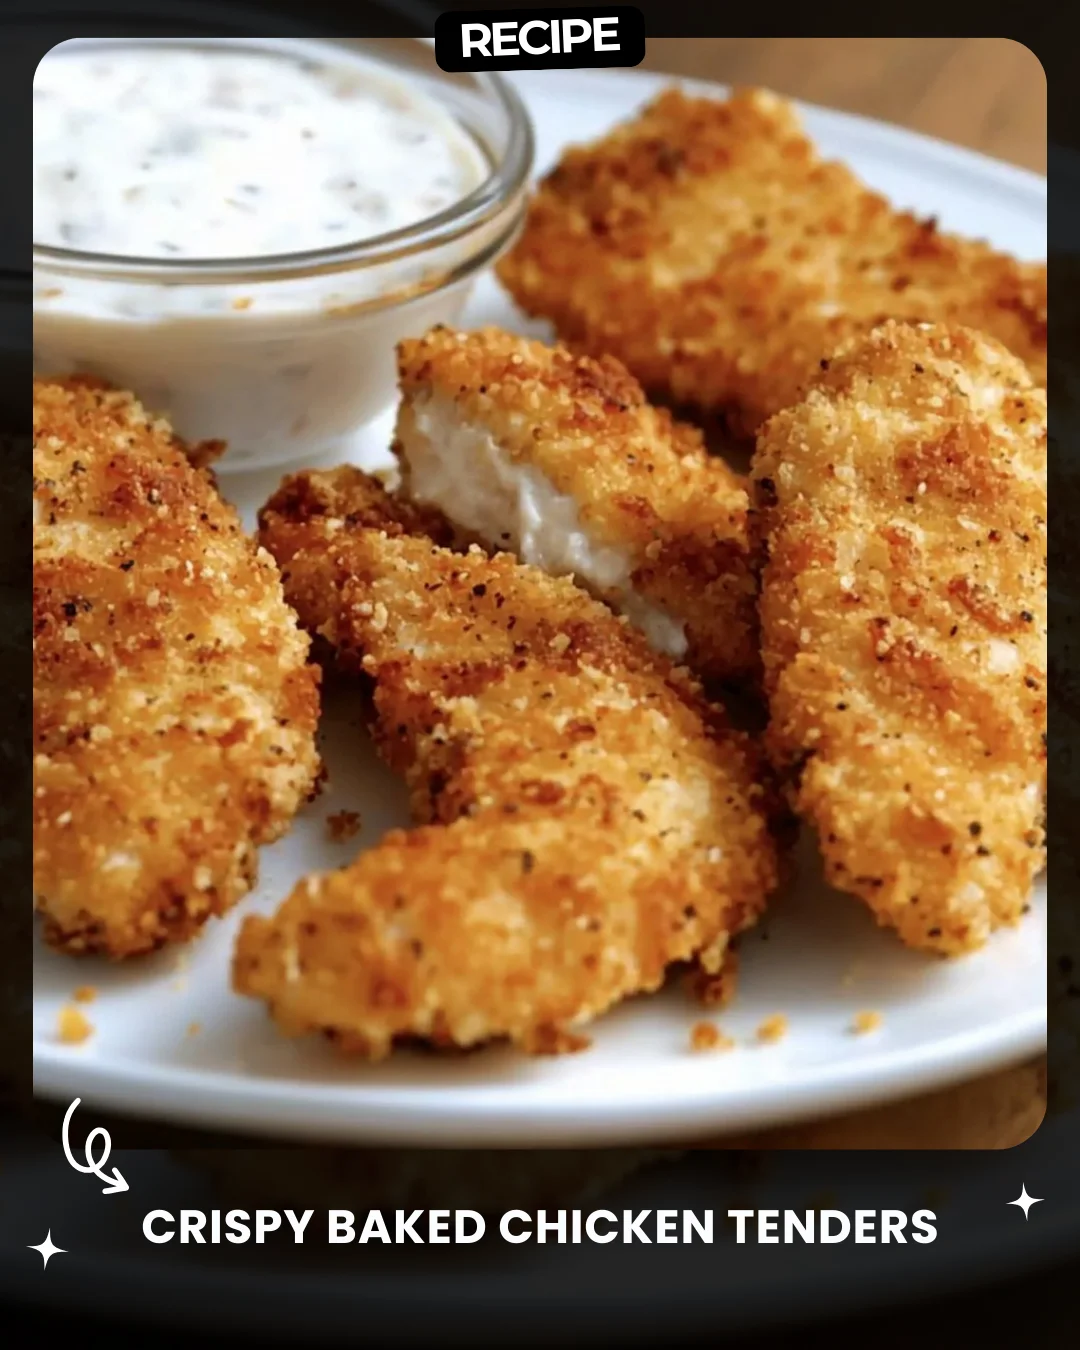
Crispy Baked Chicken Tenders
Ingredients
1 lb chicken tenders
1 cup breadcrumbs (Panko recommended)
1/2 cup grated Parmesan cheese
1 tsp garlic powder
1 tsp paprika
1/2 tsp salt
1/2 tsp black pepper
2 large eggs
1/4 cup all-purpose flour
Olive oil spray (optional)
Directions
Preheat & Prep:
Preheat your oven to 400°F (200°C). Line a baking sheet with parchment paper or grease it lightly.
Prepare Coating Stations:
Set up three bowls:
Bowl 1: Add flour.
Bowl 2: Beat eggs.
Bowl 3: Mix breadcrumbs, Parmesan, garlic powder, paprika, salt, and pepper.
Coat the Chicken:
Dredge each chicken tender in flour, dip it in the eggs, then coat it in the breadcrumb mixture. Press gently to ensure the coating sticks well.
Bake to Perfection:
Place the tenders on the baking sheet. Spray with olive oil for extra crispiness (optional). Bake for 18-20 minutes, flipping halfway, until golden and cooked through (internal temp should be 165°F).
Serve:
Pair with your favorite dipping sauce, like ranch, honey mustard, or barbecue sauce.
Prep Time: 10 minutes
Cook Time: 20 minutes
Total Time: 30 minutes
Servings: 4
Calories: 300 kcal per serving
#ChickenTenders #HealthyComfortFood #BakedGoodness #KidFriendlyRecipes #EasyDinner
Step-by-Step Guide
Follow these detailed instructions for perfect crispy baked chicken tenders every time. After preheating your oven and lining your baking sheet, set up your three coating stations in a logical assembly line. When coating the chicken, use one hand for the dry ingredients (flour and breadcrumb mix) and the other hand for the wet egg mixture to avoid clumpy fingers. After dredging in flour, shake off the excess. When dipping in the egg, let any excess drip off before moving to the breadcrumbs. In the final bowl, press the breadcrumb mixture firmly onto the chicken to form a solid, even crust. Arrange the coated tenders on the sheet with space between them to ensure they bake evenly and get crispy all over, not steam.
Serving Suggestions
These versatile tenders are a crowd-pleaser. For a classic family dinner, serve with a side of crispy oven fries, coleslaw, and a trio of dipping sauces like ranch, honey mustard, and barbecue. For a lighter meal, pair them with a fresh garden salad or steamed vegetables. They also make excellent meal prep—let them cool and store in an airtight container for quick lunches, sliced over a salad or tucked into a whole-wheat wrap with lettuce and tomato.
How-to Summary
In summary: Preheat oven to 400°F. Create three stations with flour, beaten eggs, and a mix of breadcrumbs, Parmesan, and spices. Dredge each chicken tender in flour, dip in egg, then coat thoroughly in the breadcrumb mixture. Place on a prepared baking sheet, spray with oil for extra crisp, and bake for 18-20 minutes, flipping halfway, until golden and cooked to 165°F internally.
Frequently Asked Questions
Can I use chicken breasts instead of tenders? Yes. Slice boneless, skinless chicken breasts into 1-inch thick strips to mimic the size of tenders. Adjust baking time slightly if the pieces are thicker.
How do I store and reheat leftovers? Store in an airtight container in the fridge for up to 3 days. Reheat in an air fryer or a 375°F oven for 5-10 minutes to restore crispiness. The microwave will make them soggy.
Can I make these gluten-free? Absolutely. Substitute the all-purpose flour with a gluten-free blend and use certified gluten-free breadcrumbs or crushed gluten-free crackers.
Why are my tenders not crispy? The most common reason is overcrowding the baking sheet, which traps steam. Ensure tenders are spaced apart. Using a wire rack on the baking sheet can also promote air circulation for maximum crispness.
Can I prepare these ahead of time? You can coat the tenders and arrange them on the baking sheet, then cover and refrigerate for up to 4 hours before baking. This can help the coating adhere even better.
Common Mistakes to Avoid
Avoid skipping the flour step, as it helps the egg adhere, creating a crucial binding layer for the breadcrumbs. Do not press the breadcrumbs on too lightly—a firm press ensures a solid, crispy coating. Never skip flipping the tenders halfway through baking; this ensures even browning and cooking. Avoid using fresh, moist breadcrumbs instead of dry Panko, as they won't crisp up properly. Finally, do not check for doneness solely by color; always use a meat thermometer to confirm an internal temperature of 165°F.
Conclusion
These crispy baked chicken tenders prove that you don't need a deep fryer to achieve a satisfying crunch and delicious flavor. With a simple, wholesome coating and a reliable baking method, this recipe delivers a healthier, family-friendly meal that’s quick enough for weeknights and tasty enough for guests. Mastering the coating technique and avoiding common pitfalls will guarantee perfect results every time. Enjoy this versatile dish as a dependable staple in your cooking repertoire.