Description
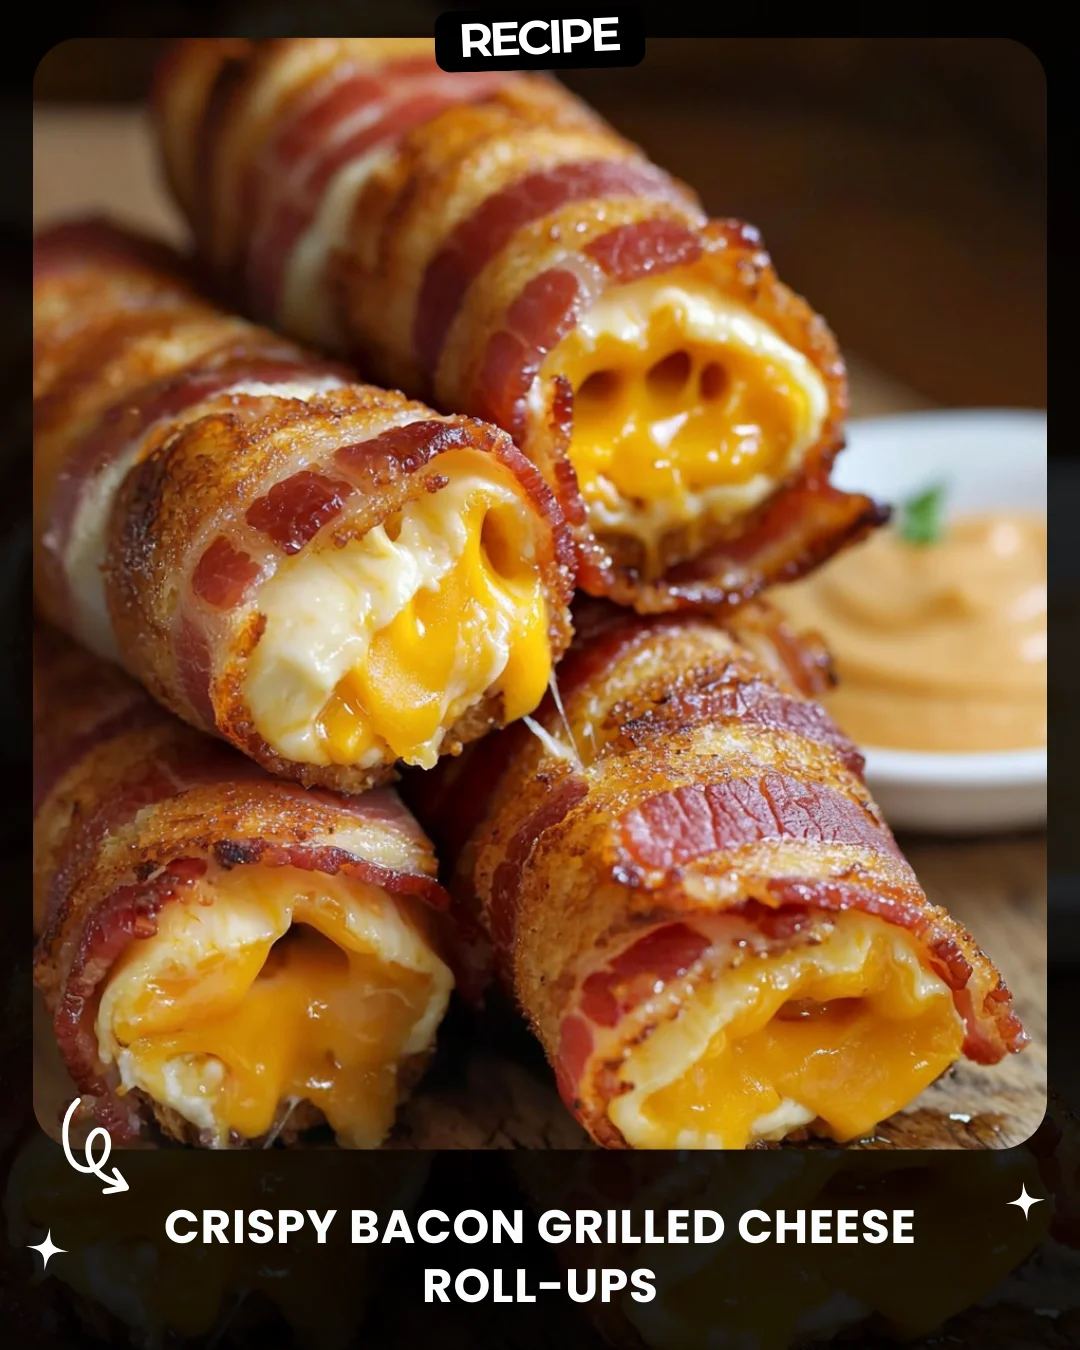
Crispy Bacon Grilled Cheese Roll-Ups
Ingredients
8 slices sandwich bread (white or whole wheat)
8 slices cheddar cheese (or your favorite cheese)
16 slices bacon
2 tbsp butter (optional, for frying)
Directions
Flatten each slice of bread with a rolling pin to make it easier to roll.
Place a slice of cheddar cheese on each piece of bread. Roll the bread tightly around the cheese.
Wrap each roll-up with 2 slices of bacon, ensuring the ends are tucked under to hold everything together.
Heat a skillet over medium heat. Add butter if desired for extra crispiness.
Cook the bacon-wrapped roll-ups seam-side down first. Turn occasionally until the bacon is crispy and the cheese is melted, about 8-10 minutes.
Drain on paper towels and serve hot with your favorite dipping sauce.
Prep Time: 10 minutes
Cook Time: 10 minutes
Total Time: 20 minutes
Servings: 8
Calories: 320 kcal per serving
#BaconLovers #GrilledCheeseTwist #CheesyGoodness #EasySnacks #ComfortFood #CrispyDelights
Step-by-Step Guide
Follow these detailed instructions for perfect roll-ups every time. First, remove the crusts from your bread slices to make rolling easier. Use a rolling pin to flatten each slice into a thin, pliable sheet. Place one slice of cheese on the edge of the bread. Tightly roll the bread around the cheese, pressing firmly to seal the initial edge. Next, take two slices of bacon and wrap them in a criss-cross pattern around the bread roll, tucking the ends underneath to secure. Preheat your skillet over medium heat before adding the roll-ups. Start cooking them seam-side down to lock the shape. Turn them every 2-3 minutes with tongs for even cooking, ensuring all sides of the bacon are crispy and the internal cheese is fully melted.
Serving Suggestions
These roll-ups are fantastic on their own but are elevated with the right accompaniments. Serve them hot with small bowls of dipping sauces like creamy ranch, spicy sriracha mayo, or a tangy tomato soup. For a fuller meal, pair them with a simple green salad or a chilled pasta salad. They also make an excellent game-day appetizer or a fun, hands-on lunch for kids.
How-to Summary
In short: flatten bread, add cheese, roll tightly, wrap with bacon, and pan-fry until crispy and melted. The key steps are ensuring a tight roll and starting the cook seam-side down to prevent unraveling.
Frequently Asked Questions
Can I make these ahead of time? Yes, you can assemble the uncooked roll-ups, place them on a baking sheet, cover, and refrigerate for up to 4 hours before cooking.
Can I use an air fryer? Absolutely. Cook at 375°F (190°C) for 8-10 minutes, turning halfway through, until the bacon is crisp.
What other cheeses work well? Pepper jack adds a kick, mozzarella offers a great melt, and Swiss cheese provides a nutty flavor. Avoid very crumbly cheeses.
How do I prevent the bread from unrolling? Flattening the bread thoroughly and starting the cook seam-side down are crucial. You can also secure it with a toothpick before cooking, just remember to remove it before serving.
Is the butter necessary for frying? No, the bacon will render its own fat. The butter is optional but adds extra flavor and promotes a more golden, crispy exterior on the bread.
Common Mistakes to Avoid
Avoid these pitfalls for the best results: Do not overstuff with cheese, as it will leak out during cooking. Do not cook on high heat, as this will burn the bacon before the cheese melts. Do not skip flattening the bread, as thick bread is difficult to roll and may not cook through. Ensure the bacon ends are securely tucked underneath to prevent unwrapping in the pan.
Conclusion
These Crispy Bacon Grilled Cheese Roll-Ups are the ultimate fusion of two beloved classics. They transform simple ingredients into a wildly satisfying snack or meal with minimal effort. Perfect for any occasion that calls for indulgent, cheesy, and crispy comfort food, this recipe is sure to become a new favorite. Enjoy the delicious combination of melted cheese, soft bread, and savory bacon in every bite.