
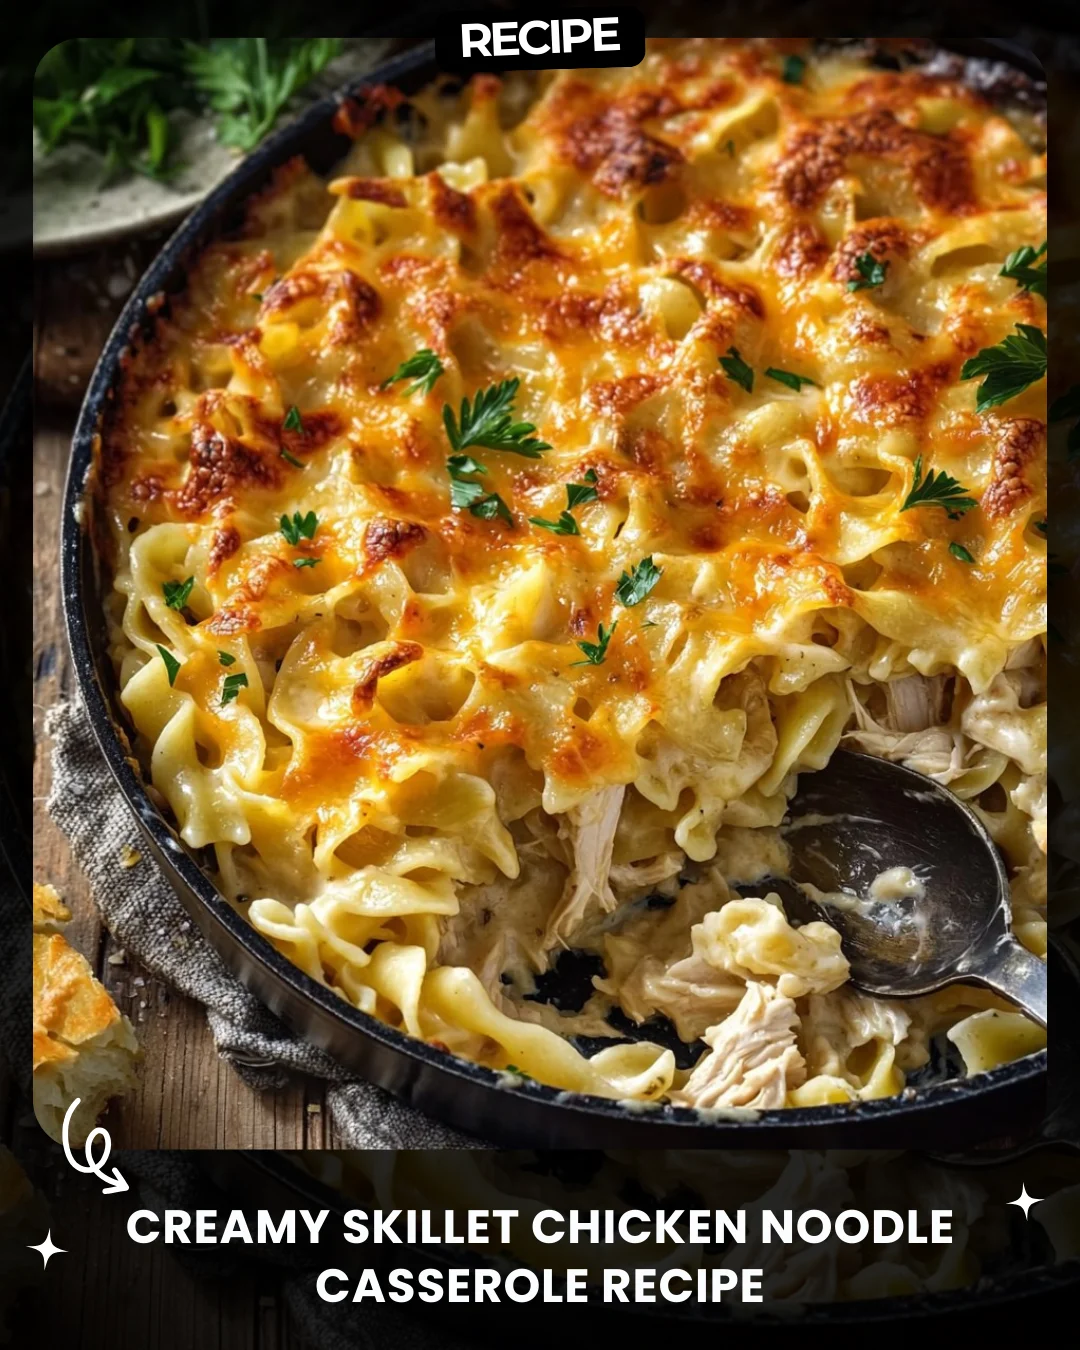
Classic Chicken Kiev
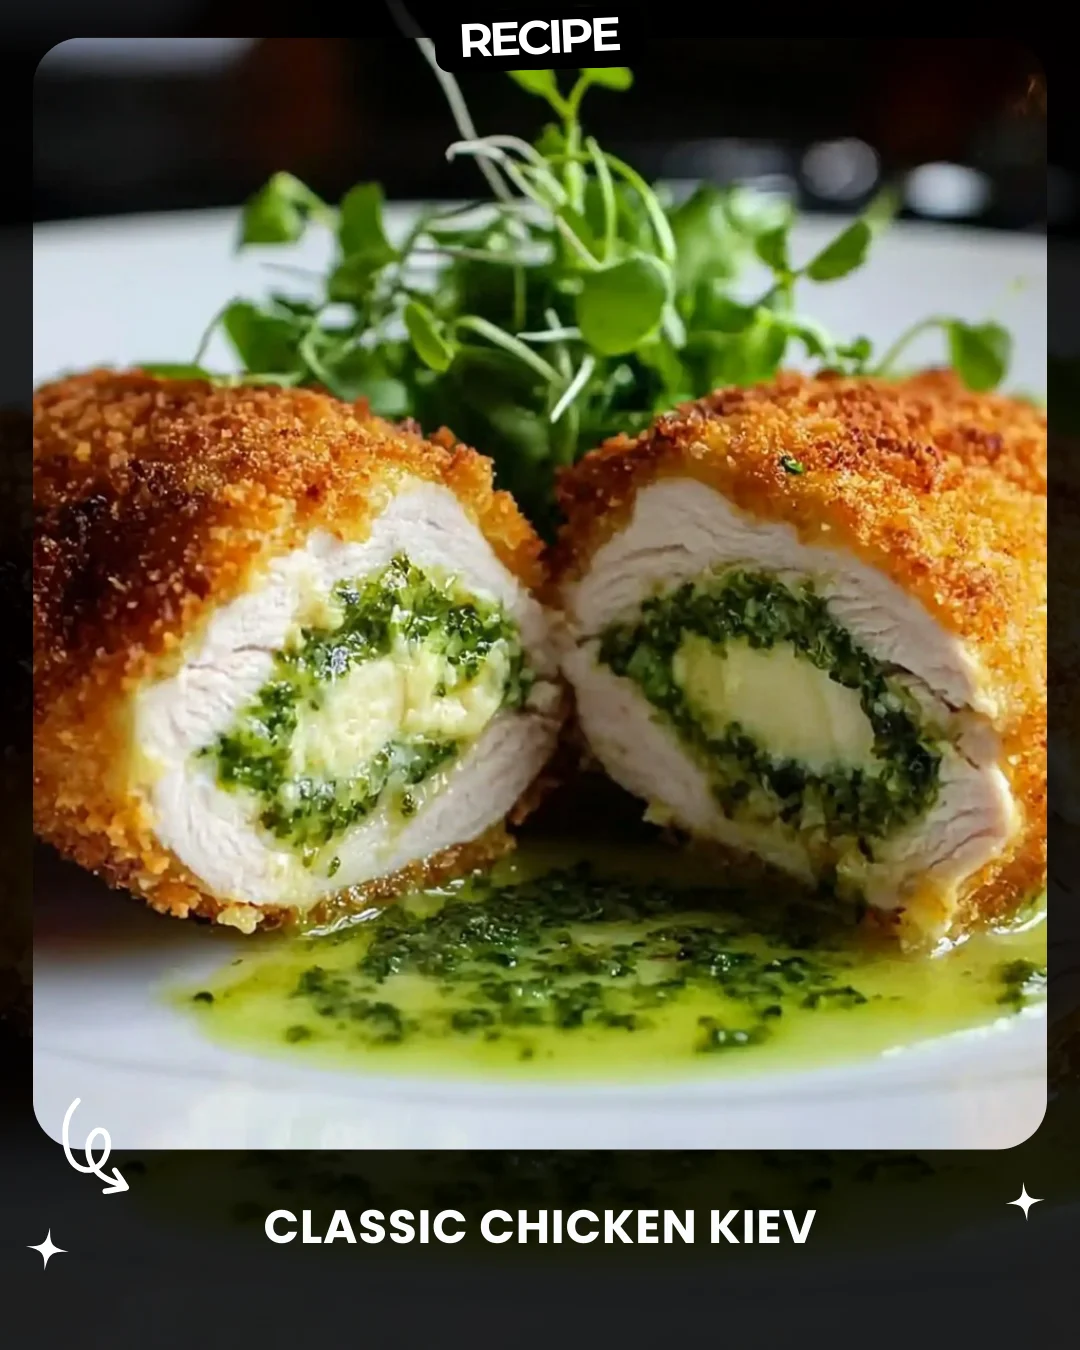
Description
Classic Chicken Kiev
Ingredients
For the Chicken:
4 boneless, skinless chicken breasts (pounded thin)
1/2 cup all-purpose flour
2 large eggs (beaten)
1 cup panko breadcrumbs
Salt and pepper to taste
Oil for frying
For the Garlic Herb Butter Filling:
1/2 cup unsalted butter (softened)
2 cloves garlic (minced)
2 tbsp fresh parsley (chopped)
1 tbsp fresh dill (optional)
1/2 tsp lemon zest
Pinch of salt
Directions
Prepare the Garlic Herb Butter: In a small bowl, mix softened butter, garlic, parsley, dill (if using), lemon zest, and salt. Form into a log, wrap in plastic wrap, and freeze for 15-20 minutes until firm.
Prepare the Chicken: Season the pounded chicken breasts with salt and pepper. Place a piece of chilled herb butter in the center of each breast. Roll tightly, tucking in the sides to seal the butter. Secure with toothpicks if needed.
Bread the Chicken: Dredge each chicken roll in flour, dip into beaten eggs, and coat in panko breadcrumbs. Press the breadcrumbs gently to adhere.
Fry the Chicken: Heat oil in a skillet over medium heat. Fry the chicken rolls until golden brown on all sides, about 2-3 minutes per side.
Bake to Finish: Transfer the fried chicken to a baking dish and bake in a preheated oven at 375°F (190°C) for 15-20 minutes until fully cooked (internal temperature of 165°F/74°C).
Serve: Slice the Chicken Kiev to reveal the melting butter center and serve immediately with a fresh salad or steamed vegetables.
Prep Time: 20 minutes
Cook Time: 30 minutes
Total Time: 50 minutes
Servings: 4
Calories: 480 kcal per serving
#ChickenKiev #StuffedChicken #GarlicButterHeaven #ComfortFood #CrispyAndJuicy #DinnerGoals
Step-by-Step Guide
1. Pound the chicken breasts to an even 1/4-inch thickness between plastic wrap. This prevents tearing and ensures even cooking. 2. Mix the butter filling thoroughly and shape it into a log on plastic wrap. Freezing is crucial; the butter must be solid to prevent leaking. 3. Place a firm butter piece in the center of each seasoned breast. Fold the sides over the butter, then roll tightly from the bottom to create a sealed parcel. Use toothpicks to secure. 4. Set up your breading station: flour, beaten eggs, and panko in separate shallow dishes. Dredge each roll in flour, then egg, then press firmly into the panko for a complete, even coat. 5. Fry in 1/2-inch of oil at 350°F (175°C) just to set the golden crust. Finish in the oven to cook through without burning the coating.
Serving Suggestions
Present your Chicken Kiev sliced on the diagonal to showcase the flowing butter. Pair it with sides that complement the rich, garlicky flavor. A simple arugula salad with a lemon vinaigrette cuts through the richness beautifully. For heartier meals, serve with garlic mashed potatoes, buttered egg noodles, or steamed asparagus and green beans. The melted butter from the chicken makes a delicious instant sauce for your sides.
How-to Summary
To make Chicken Kiev, pound chicken breasts thin, then wrap them around a frozen log of garlic-herb butter. Seal tightly, then bread using a standard flour, egg, and panko breadcrumb coating. Briefly pan-fry to achieve a golden-brown crust, then finish cooking in a 375°F (190°C) oven until the internal temperature reaches 165°F (74°C). Serve immediately.
Frequently Asked Questions
Can I bake Chicken Kiev instead of frying? Yes, for a lighter version. Place breaded rolls on a rack over a baking sheet, spray lightly with oil, and bake at 400°F (200°C) for 25-30 minutes, flipping halfway. The crust will be less crisp but still delicious.
How do I prevent the butter from leaking? Ensure the butter is frozen solid, roll the chicken tightly, and seal all edges. A secure breading layer and not overcrowding the pan during frying also helps maintain structural integrity.
Can I prepare Chicken Kiev ahead of time? You can assemble and bread the chicken rolls, then store them covered in the refrigerator for up to 4 hours before cooking. Do not freeze uncooked, as the butter may seep out during thawing.
What's the best oil for frying? Use a neutral oil with a high smoke point, such as canola, vegetable, or avocado oil. This allows you to fry at the proper temperature without burning.
My chicken is golden but not cooked inside. What happened? The oil was likely too hot, causing the crust to brown before the interior cooked. Always finish in the oven to guarantee safe, even cooking throughout.
Common Mistakes to Avoid
- Not pounding the chicken evenly, leading to uneven cooking and potential butter leaks.
- Using softened or only refrigerated butter for the filling; it must be frozen to stay contained.
- Overcrowding the skillet during frying, which lowers the oil temperature and results in soggy, greasy breading.
- Skipping the oven step. Pan-frying alone often burns the coating before the chicken is fully cooked.
- Cutting into the chicken immediately after baking. Let it rest for 5 minutes to allow juices to redistribute.
Conclusion
Mastering Classic Chicken Kiev is a rewarding culinary achievement. While it requires careful technique—particularly in sealing the frozen butter and managing the two-stage cook—the result is an unforgettable dish. The contrast of the crispy, golden exterior with the eruption of fragrant garlic herb butter is the epitome of comfort food elegance. By following this detailed guide and avoiding common pitfalls, you can confidently create a restaurant-quality centerpiece that will impress any dinner guest.