Description
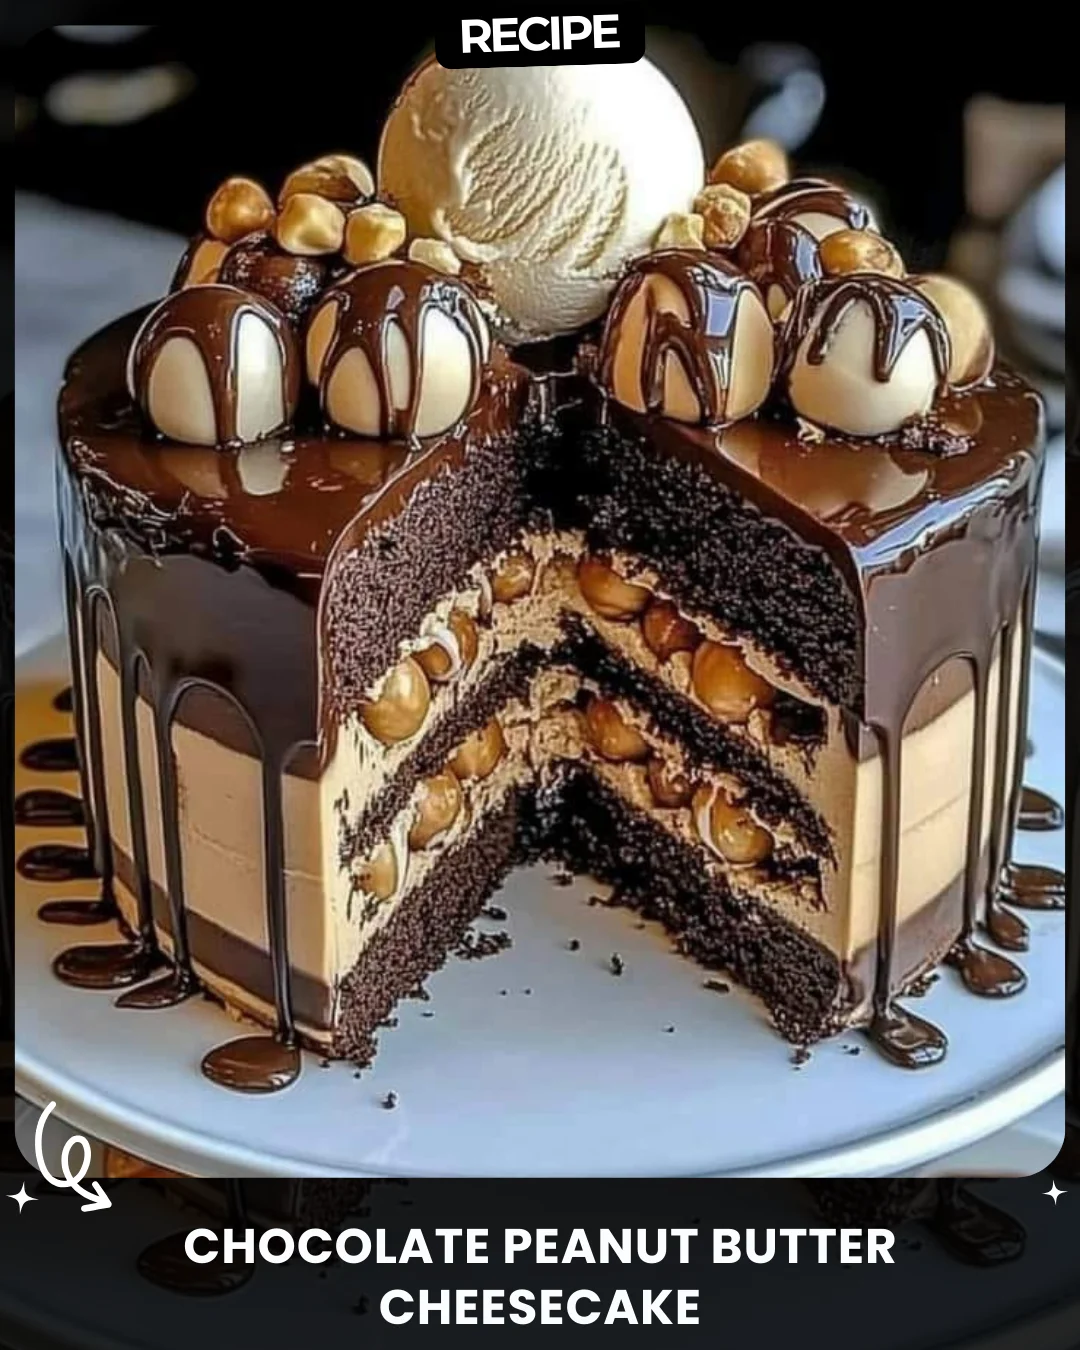
Chocolate Chip Cookie Dough Ice Cream Cake
A decadent, show-stopping dessert combining layers of chocolate cake, creamy cookie dough ice cream, and whipped topping. Perfect for special occasions or indulgent cravings!
Ingredients
Cake Layer:
1 cup all-purpose flour
1 cup granulated sugar
¼ + ⅛ cup cocoa powder
1 teaspoon baking soda
1 large egg
½ cup buttermilk
½ cup vegetable oil
¾ teaspoon vanilla extract
½ cup boiling water
Cookie Dough:
6 tablespoons unsalted butter, softened
½ cup brown sugar, packed
1 teaspoon vanilla extract
1 cup heat-treated flour (to make it safe to eat raw)
1–2 teaspoons milk
½ cup mini chocolate chips
Ice Cream Layer:
8 oz cream cheese, softened
½ cup brown sugar, packed
⅛ cup milk
2 teaspoons vanilla extract
8 oz Cool Whip, thawed
½ cup mini chocolate chips
¾ of the prepared cookie dough (formed into small balls)
Additional Toppings:
4–8 oz Cool Whip (for frosting)
Extra mini chocolate chips
Chocolate sauce (optional)
Instructions
Bake the Cake:
Preheat your oven to 300°F (150°C).
In a mixing bowl, whisk together flour, sugar, cocoa powder, and baking soda.
Add the egg, buttermilk, vegetable oil, and vanilla extract. Mix until smooth.
Stir in the boiling water (batter will be thin—this is normal).
Divide the batter evenly between two greased 8-inch cake pans.
Bake for 25–30 minutes, or until a toothpick inserted into the center comes out clean.
Let cakes cool completely on wire racks.
Prepare the Cookie Dough:
Cream the butter and brown sugar together until light and fluffy.
Mix in the vanilla extract and heat-treated flour. Add milk, one teaspoon at a time, until the dough reaches a scoopable consistency.
Stir in the mini chocolate chips.
Form ¾ of the cookie dough into small balls and refrigerate until firm. Save the remaining dough for garnish.
Make the Ice Cream Layer:
Beat the softened cream cheese and brown sugar until smooth and creamy.
Add the milk and vanilla extract, mixing until fully combined.
Gently fold in the Cool Whip, mini chocolate chips, and the prepared cookie dough balls.
Assemble the Cake:
Line a springform pan with parchment paper for easy removal.
Place one cooled cake layer at the bottom of the pan.
Spread the ice cream mixture evenly over the first cake layer.
Place the second cake layer on top.
Freeze for 6–8 hours, or until the ice cream layer is completely firm.
Decorate and Serve:
Remove the cake from the springform pan.
Frost the top and sides with additional Cool Whip.
Garnish with the remaining cookie dough balls, mini chocolate chips, and a drizzle of chocolate sauce (optional).
Slice and serve immediately for a creamy, indulgent treat!
Details
Prep Time: 20 minutes
Cook Time: 30 minutes
Freeze Time: 6–8 hours
Total Time: ~7 hours
Tags
#lovealletherecipes #dessert
Step-by-Step Guide
For a flawless assembly, follow this detailed guide. After baking and cooling your cake layers, line your springform pan with parchment paper, ensuring strips hang over the sides for easy lifting. Place the first cake layer in the bottom. When spreading the ice cream layer, work quickly to prevent melting. Use an offset spatula to create an even, smooth layer right to the edges. Carefully place the second cake layer on top, pressing down gently to ensure no air gaps. Before freezing, cover the pan tightly with plastic wrap to prevent freezer odors. When ready to decorate, run a warm towel around the outside of the springform pan for 30 seconds to release the cake cleanly.
Serving Suggestions
Let the cake sit at room temperature for 5-10 minutes before slicing for cleaner cuts. Serve each slice on a chilled plate to maintain its structure. Pair with a hot espresso to balance the sweetness. For a party, pre-slice the cake and store slices in an airtight container in the freezer for easy, individual servings.
How-to Summary
This Chocolate Chip Cookie Dough Ice Cream Cake is built in three key stages: 1) Bake and cool two chocolate cake layers. 2) Prepare edible cookie dough, forming most of it into balls. 3) Make a no-churn ice cream layer by blending cream cheese, sugar, and Cool Whip, then folding in chocolate chips and dough balls. Assemble in a springform pan with cake, ice cream, then the second cake. Freeze until solid, then decorate with more Cool Whip, dough balls, and chocolate chips.
Frequently Asked Questions
1. What is heat-treated flour and how do I make it?
Heat-treating flour kills potential bacteria. Spread flour on a baking sheet and bake at 350°F for 5-7 minutes. Let it cool completely before using.
2. Can I use a different ice cream?
Yes, but for structure, use a firm, high-quality store-bought ice cream, slightly softened, or this no-churn version. Avoid soft-serve or gelato.
3. How long can I store this cake?
When tightly wrapped, it keeps in the freezer for up to 2 weeks. Thaw briefly before serving.
4. Can I make this without a springform pan?
A springform is ideal. As a substitute, use a deep cake pan lined with parchment paper "slings" for lifting.
5. My cake layer sank in the middle. What happened?
This is often due to underbaking or opening the oven door too early. Ensure a toothpick comes out clean and the cake springs back when lightly touched.
Common Mistakes to Avoid
- Using warm cake layers: Assembling with warm cake will melt the ice cream layer. Ensure cakes are completely cool.
- Overmixing the ice cream filling: Fold in the Cool Whip gently to maintain its airy volume.
- Skipping the parchment paper: This crucial step prevents the cake from sticking to the pan.
- Not freezing long enough: The 6-8 hour freeze is essential for clean slicing. Do not rush it.
- Using regular flour raw: Always heat-treat the flour for the cookie dough to ensure food safety.
Conclusion
This Chocolate Chip Cookie Dough Ice Cream Cake is the ultimate celebration dessert, masterfully combining rich chocolate cake, safe-to-eat cookie dough, and creamy ice cream. While it requires patience for freezing, the impressive result is well worth the effort. By following the detailed steps and avoiding common pitfalls, you can create a stunning, crowd-pleasing treat that perfectly balances texture and decadent flavor for any special occasion.