Description
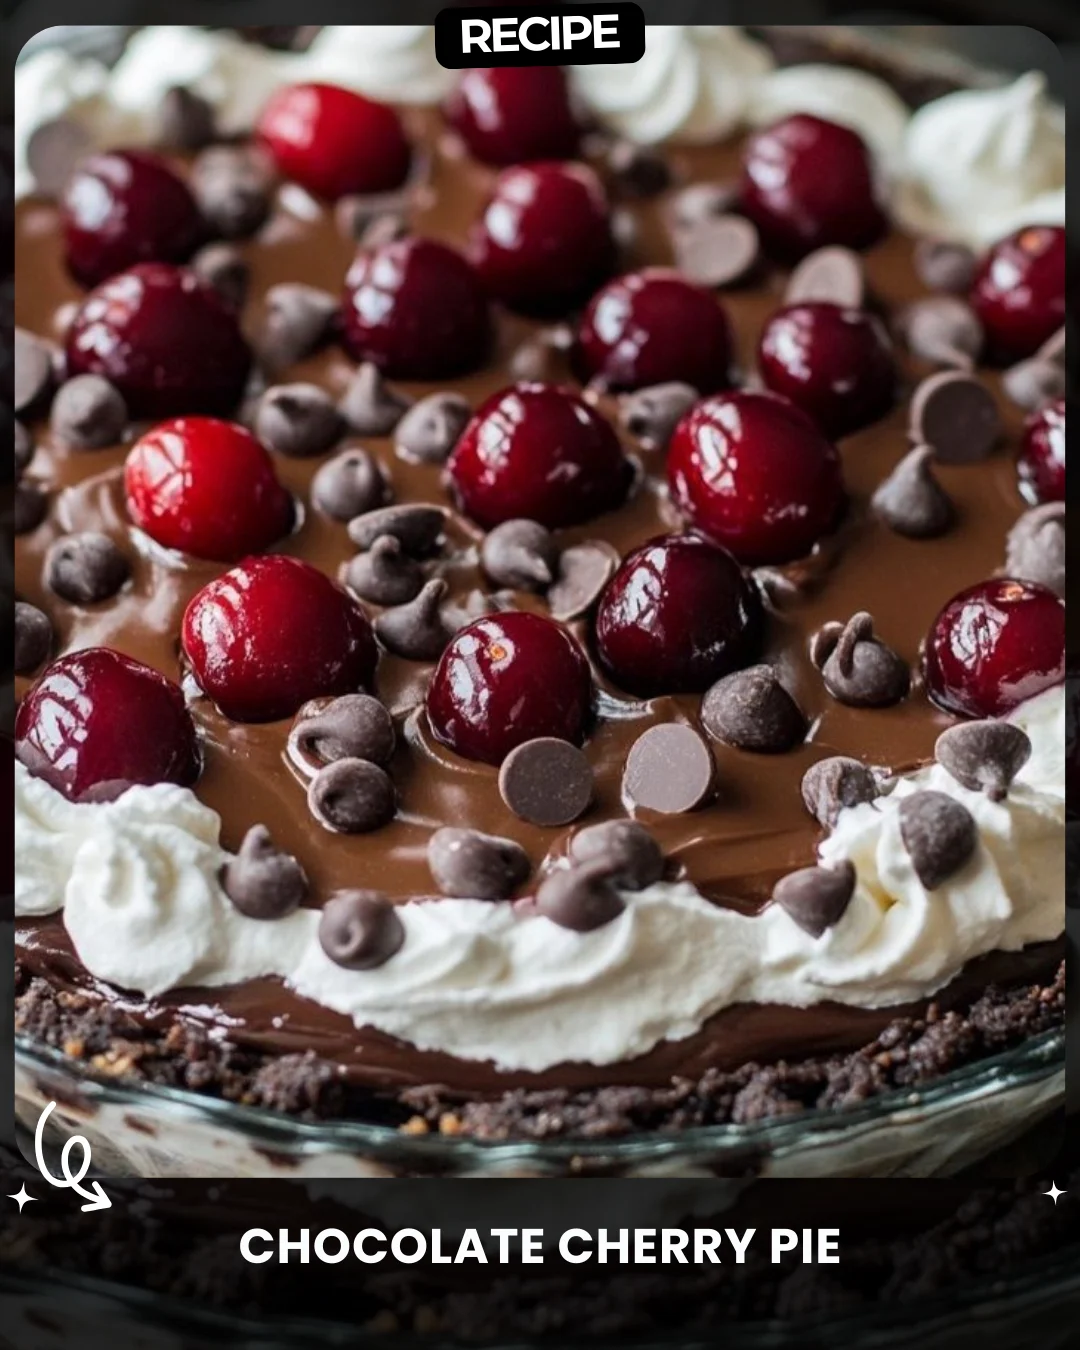
Chocolate Cherry Pie
Ingredients:
For the crust:
24 chocolate cookies (crushed)
5 tbsp melted butter
For the filling:
200g dark chocolate, melted
1 cup heavy cream
½ cup cream cheese, softened
¼ cup powdered sugar
For the topping:
1 cup cherry pie filling or fresh cherries
½ cup chocolate chips
1 cup whipped cream
Instructions:
Mix crushed cookies with melted butter and press into a pie pan. Chill for 15 minutes. In a bowl, whisk melted chocolate, heavy cream, cream cheese, and powdered sugar until smooth. Pour over the crust and refrigerate for 3 hours. Spread cherry pie filling on top. Pipe or spread whipped cream around the edges. Garnish with chocolate chips and fresh cherries. Chill for 1 hour before serving.
Step-by-Step Guide
Follow these detailed instructions for a perfect pie. First, ensure your chocolate cookies are finely crushed into uniform crumbs. Combine with the melted butter until the mixture resembles wet sand. Firmly press this into a 9-inch pie pan, working it up the sides to form an even crust. Chill for a full 15 minutes. For the filling, melt the dark chocolate gently in a double boiler or microwave, then let it cool slightly. In a large bowl, use an electric mixer to beat the softened cream cheese and powdered sugar until smooth. Gradually add the heavy cream, then the melted chocolate, and whisk until the mixture is completely homogenous and glossy. Pour this into the chilled crust, smoothing the top. Refrigerate for at least 3 hours, or until completely set.
Serving Suggestions
This rich pie is best served slightly chilled. For an elegant presentation, slice with a hot, dry knife for clean edges. Pair each slice with a scoop of vanilla bean ice cream or a dollop of extra whipped cream to balance the intensity. A drizzle of warm chocolate sauce or a sprinkle of sea salt over the whipped cream can elevate the flavors further. For a festive touch, serve with a small glass of port wine or a rich coffee.
How-to Summary
In brief: Create a crust from crushed cookies and butter, then chill. Make the filling by blending melted dark chocolate, cream cheese, heavy cream, and powdered sugar. Pour into the crust and refrigerate until set. Top with cherry pie filling, pipe whipped cream around the edges, and garnish with chocolate chips and fresh cherries. Chill once more before serving.
Frequently Asked Questions
Can I use a different type of cookie for the crust?
Yes, graham crackers or digestive biscuits work well. For a nuttier flavor, try using Oreos (with the filling) or adding finely chopped nuts to the crust mixture.
My filling is too soft. How can I fix it?
This usually means it needs more chilling time. Ensure it refrigerates for a full 3 hours, or even overnight. Also, confirm you used full-fat heavy cream and cream cheese for proper structure.
Can I make this pie ahead of time?
Absolutely. The pie can be assembled (without the final whipped cream garnish) up to two days in advance. Add the whipped cream and fresh cherries within a few hours of serving.
What's the best way to melt the chocolate?
Use a double boiler to prevent scorching. If using a microwave, heat in 30-second intervals, stirring between each, until just melted.
Can I use frozen cherries instead of pie filling?
Yes, but you must cook them first. Simmer 2 cups of frozen cherries with ¼ cup sugar and a tablespoon of cornstarch until thickened to create a homemade topping.
Common Mistakes to Avoid
- Not chilling the crust: Skipping this step can cause the crust to crumble when you add the filling.
- Using cold cream cheese: This will create a lumpy filling. Ensure it is softened at room temperature.
- Over-whipping the filling: Mix just until smooth. Over-whipping can incorporate too much air and affect the texture.
- Adding hot chocolate to the cream mix: Let the melted chocolate cool slightly to avoid melting the cream cheese or curdling the mixture.
Conclusion
This Chocolate Cherry Pie is a stunning dessert that masterfully combines rich, creamy chocolate with the bright, tart flavor of cherries. By following the step-by-step guide and heeding the common pitfalls, you can create a show-stopping treat that is surprisingly simple to make. Its make-ahead nature and elegant appearance make it perfect for both casual family dinners and special occasions. Enjoy the decadent result of your efforts!