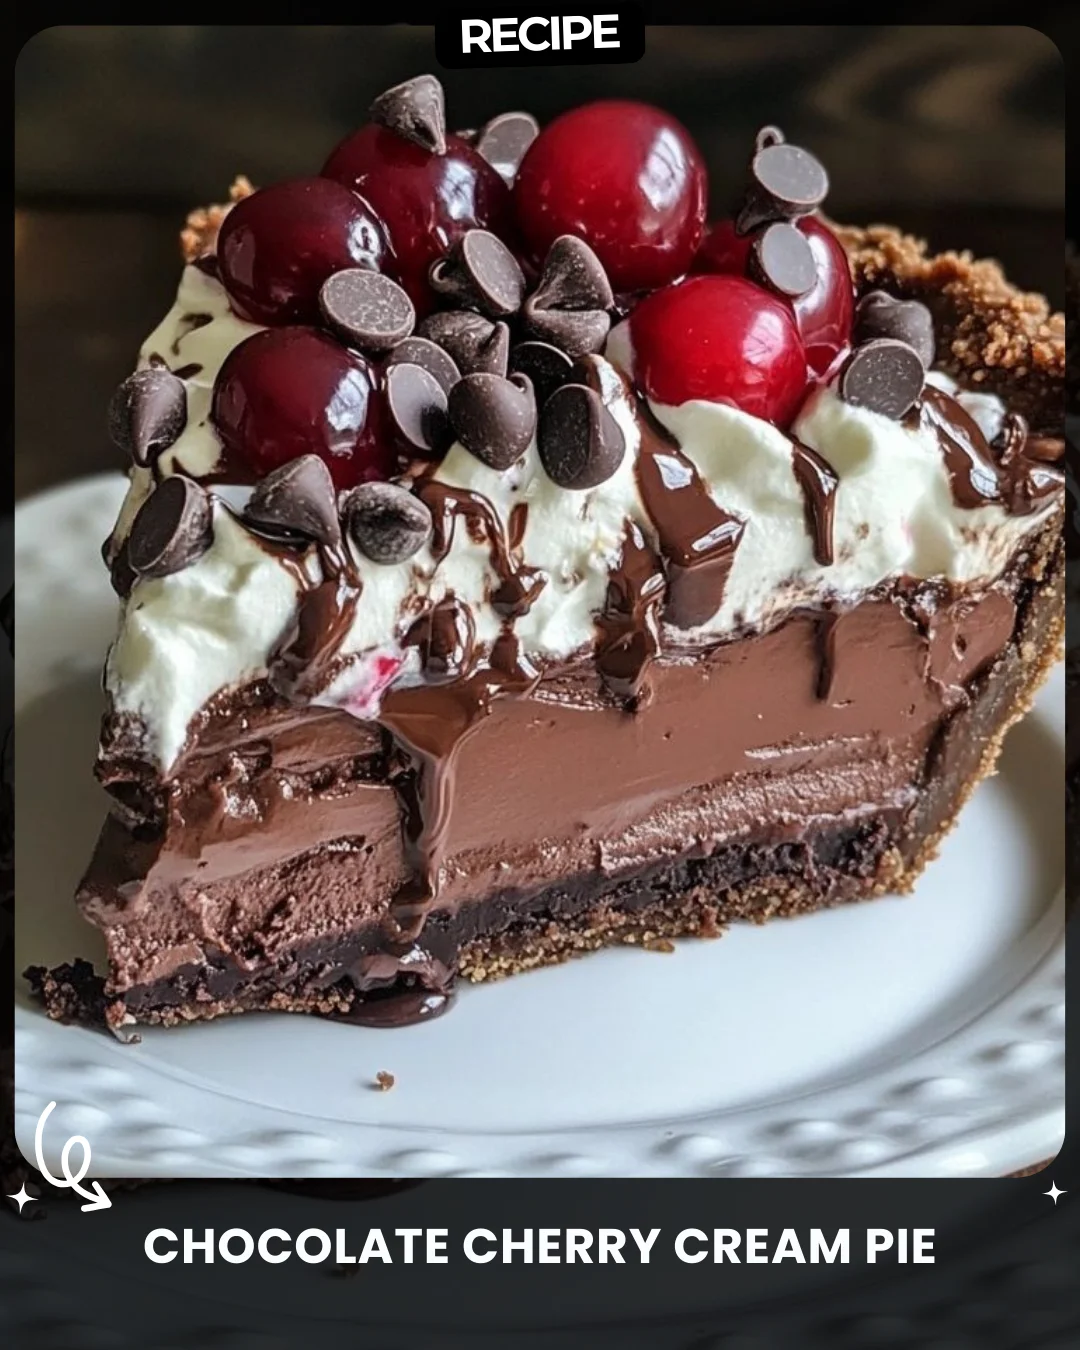
Chocolate Cherry Cream Pie
Description
Chocolate Cherry Cream Pie
Ingredients:
1 pre-made chocolate cookie crust
1 1/2 cups heavy cream
8 oz cream cheese, softened
1 cup semisweet chocolate chips, melted
1/2 cup powdered sugar
1 teaspoon vanilla extract
1/2 cup fresh cherries, pitted and halved
1/4 cup chocolate chips (for topping)
1/4 cup whipped cream (for topping)
2 tablespoons chocolate sauce (for drizzling)
Instructions:
1. In a bowl, beat cream cheese, powdered sugar, and vanilla extract until smooth.2. Add melted chocolate and mix until well combined.3. In a separate bowl, whip heavy cream until stiff peaks form, then fold into the chocolate mixture.4. Pour the filling into the chocolate cookie crust and smooth the top.5. Refrigerate for at least 4 hours or until firm.6. Before serving, top with whipped cream, fresh cherries, and chocolate chips.7. Drizzle with chocolate sauce and slice to serve.
Step-by-Step Guide
Follow these detailed instructions for a perfect pie. First, ensure your cream cheese is fully softened at room temperature for at least 30 minutes to avoid lumps. When melting the 1 cup of chocolate chips, use a double boiler or microwave in 20-second bursts, stirring between each, until completely smooth. Let it cool slightly before adding to the cream cheese mixture. For the whipped cream, chill your bowl and beaters beforehand; whip the heavy cream on medium-high speed until stiff peaks form—this means the peaks hold their shape when the beaters are lifted. Folding is crucial: use a spatula to gently cut through the center and fold over the top, rotating the bowl, until no white streaks remain. This keeps the filling light.
Serving Suggestions
This rich pie is best served chilled. For an elegant presentation, slice with a hot, dry knife (dip in hot water and wipe dry) for clean cuts. Pair each slice with a cup of strong black coffee or a glass of port wine to balance the sweetness. For a summer twist, serve with a small scoop of vanilla bean ice cream or a dollop of lightly sweetened mascarpone cheese instead of extra whipped cream.
How-to Summary
In brief: 1) Beat softened cream cheese, sugar, and vanilla. 2) Mix in cooled, melted chocolate. 3) Whip cold heavy cream to stiff peaks and fold into chocolate mix. 4) Pour into crust, chill for 4+ hours. 5) Garnish with whipped cream, cherries, chocolate chips, and a chocolate sauce drizzle.
Frequently Asked Questions
Can I use frozen cherries? Yes, but thaw and drain them thoroughly on paper towels to prevent a soggy topping and weeping onto the pie.
How long does this pie keep? Covered tightly in the refrigerator, it stays fresh for up to 3 days. The crust may soften slightly over time.
Can I make this pie without a stand mixer? Absolutely. A hand mixer works well for the cream cheese and whipping cream. Just ensure you have a sturdy bowl for whipping.
What can I use instead of a pre-made crust? You can make your own by combining 1.5 cups of chocolate cookie crumbs with 6 tablespoons of melted butter, pressing into a pie dish, and baking at 350°F for 8 minutes. Let it cool completely.
Why did my filling turn out grainy? This usually happens if the melted chocolate was too hot when added, causing the cream cheese to seize. Always let the chocolate cool to room temperature before incorporating.
Common Mistakes to Avoid
- Adding hot melted chocolate directly to the cream cheese, which can cause curdling.
- Overmixing when folding in the whipped cream, which deflates the filling and makes it dense.
- Not chilling the pie long enough; 4 hours is a minimum, overnight is ideal for a firm, sliceable texture.
- Using warm tools to whip the cream, which will prevent stiff peaks from forming.
- Topping the pie with garnishes too far in advance, as the cherries may release juice. Add toppings right before serving.
Conclusion
This Chocolate Cherry Cream Pie is a decadent, no-bake dessert that masterfully combines rich chocolate, tangy cream cheese, and fresh fruit. By following the detailed steps and avoiding common pitfalls, you can create an impressive treat perfect for any occasion. Its make-ahead nature and stunning presentation guarantee it will be a crowd-pleaser. Enjoy the process and the delicious results!