


Description
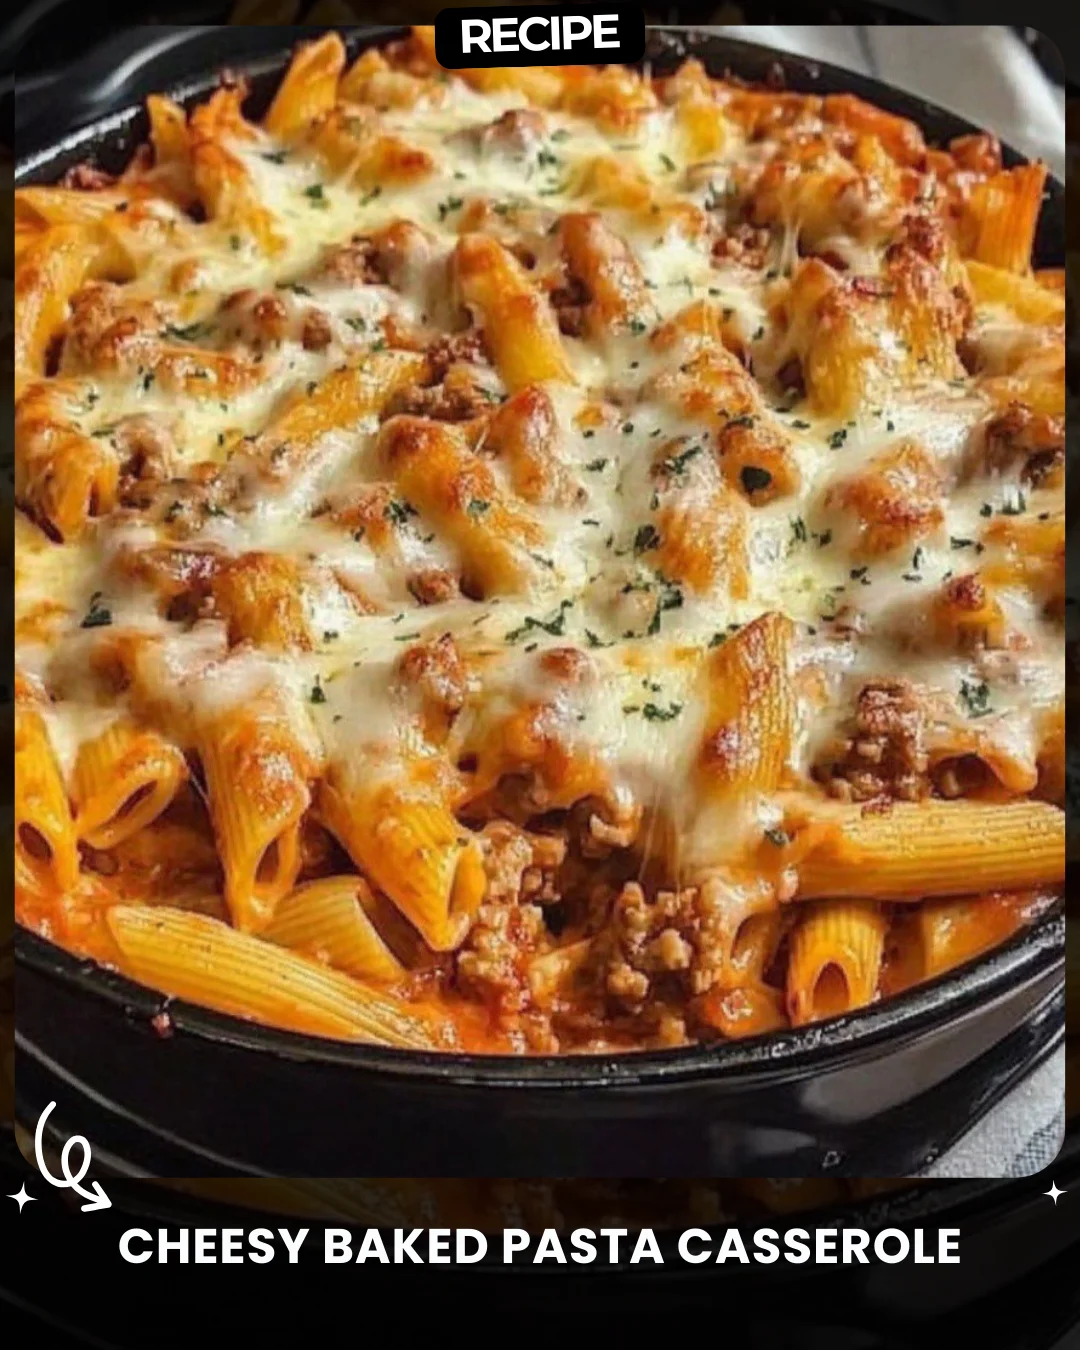
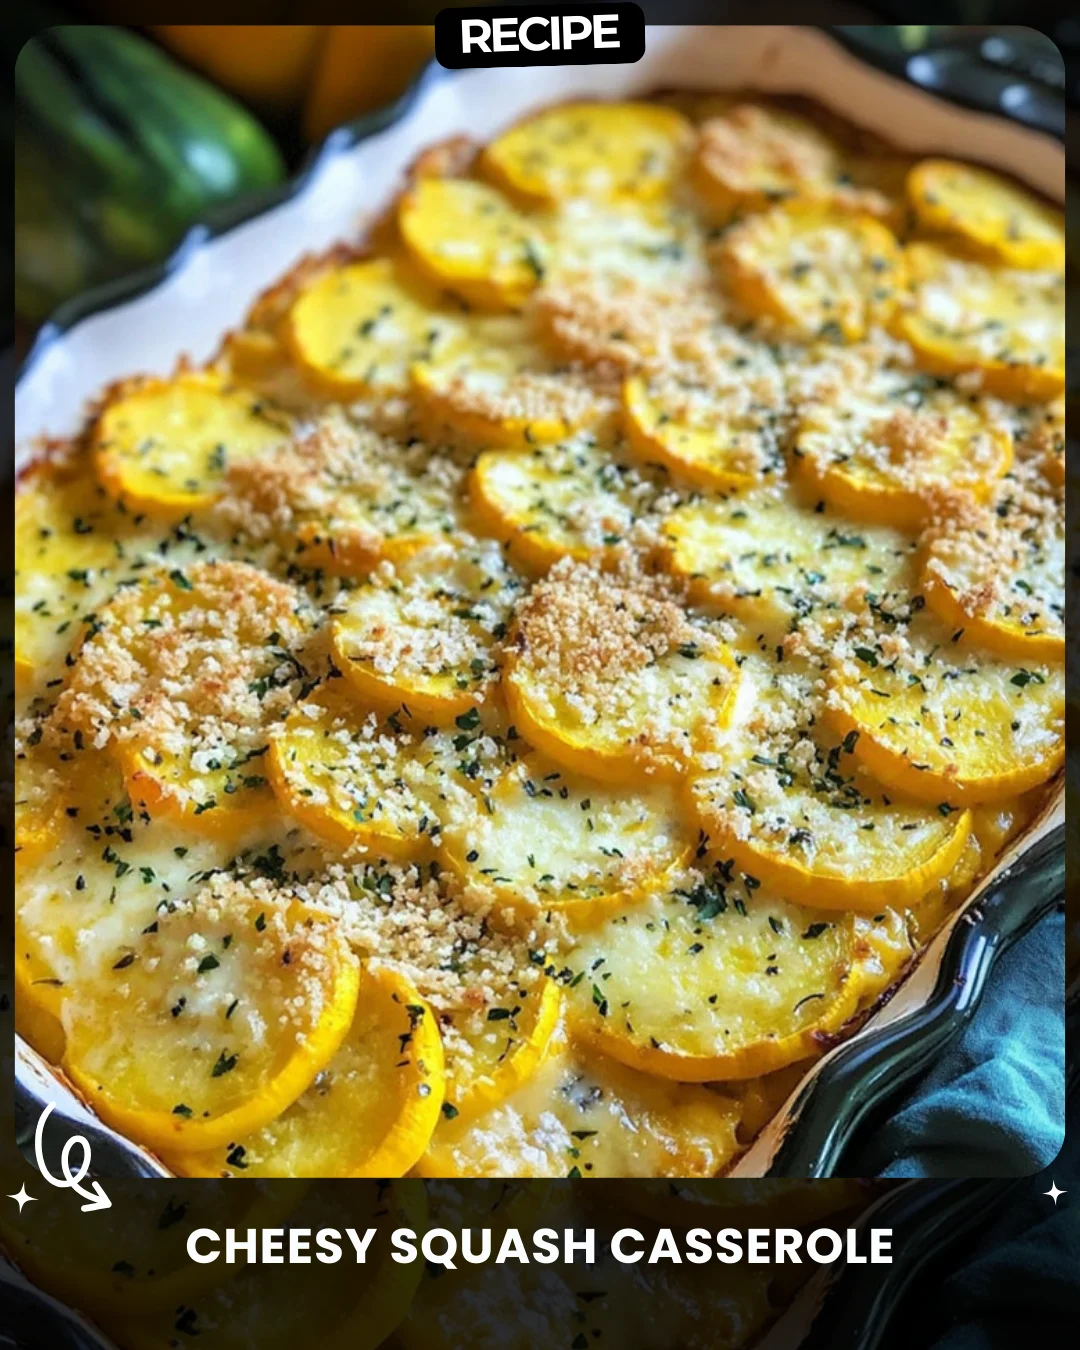
Cheesy Squash Casserole
This creamy casserole is loaded with cheesy squash and a crispy topping.
Ingredients:
4 cups sliced summer squash
1 cup chopped onion
1½ cups sharp cheddar cheese, grated
½ cup sour cream
1 cup panko breadcrumbs
2 tbsp olive oil
½ tsp smoked paprika
Salt and pepper to taste
Preparation:
Preheat oven to 180°C (350°F). Grease a casserole dish.
Steam squash and onion for 5 minutes. Drain thoroughly.
Mix squash, onion, cheese, sour cream, smoked paprika, salt, and pepper.
Spread into the dish and sprinkle with breadcrumbs. Drizzle olive oil on top.
Bake for 30 minutes until golden.
#SquashComfortBake
Step-by-Step Guide
Follow these detailed instructions for a perfect casserole every time.
- Prep Vegetables: Thinly slice 4 cups of summer squash and chop 1 cup of onion. Uniform sizes ensure even cooking.
- Steam and Drain: Steam the squash and onion together for 5 minutes until just tender. This step is crucial—place the drained vegetables in a clean kitchen towel and squeeze out ALL excess moisture to prevent a watery casserole.
- Mix the Filling: In a large bowl, combine the well-drained vegetables with 1½ cups grated sharp cheddar, ½ cup sour cream, ½ tsp smoked paprika, and salt and pepper. Stir until evenly incorporated.
- Assemble: Transfer the creamy squash mixture to a greased 9×13 inch casserole dish. Spread it into an even layer.
- Add the Topping: Sprinkle 1 cup of panko breadcrumbs evenly over the entire surface. Drizzle 2 tablespoons of olive oil directly over the breadcrumbs to help them crisp up.
- Bake: Place the dish in a preheated 350°F (180°C) oven. Bake for 30 minutes, or until the topping is a deep golden brown and the edges are bubbly.
- Rest: Let the casserole sit for 10 minutes after baking. This allows it to set for cleaner serving.
Serving Suggestions
This versatile casserole pairs beautifully with a variety of mains and sides.
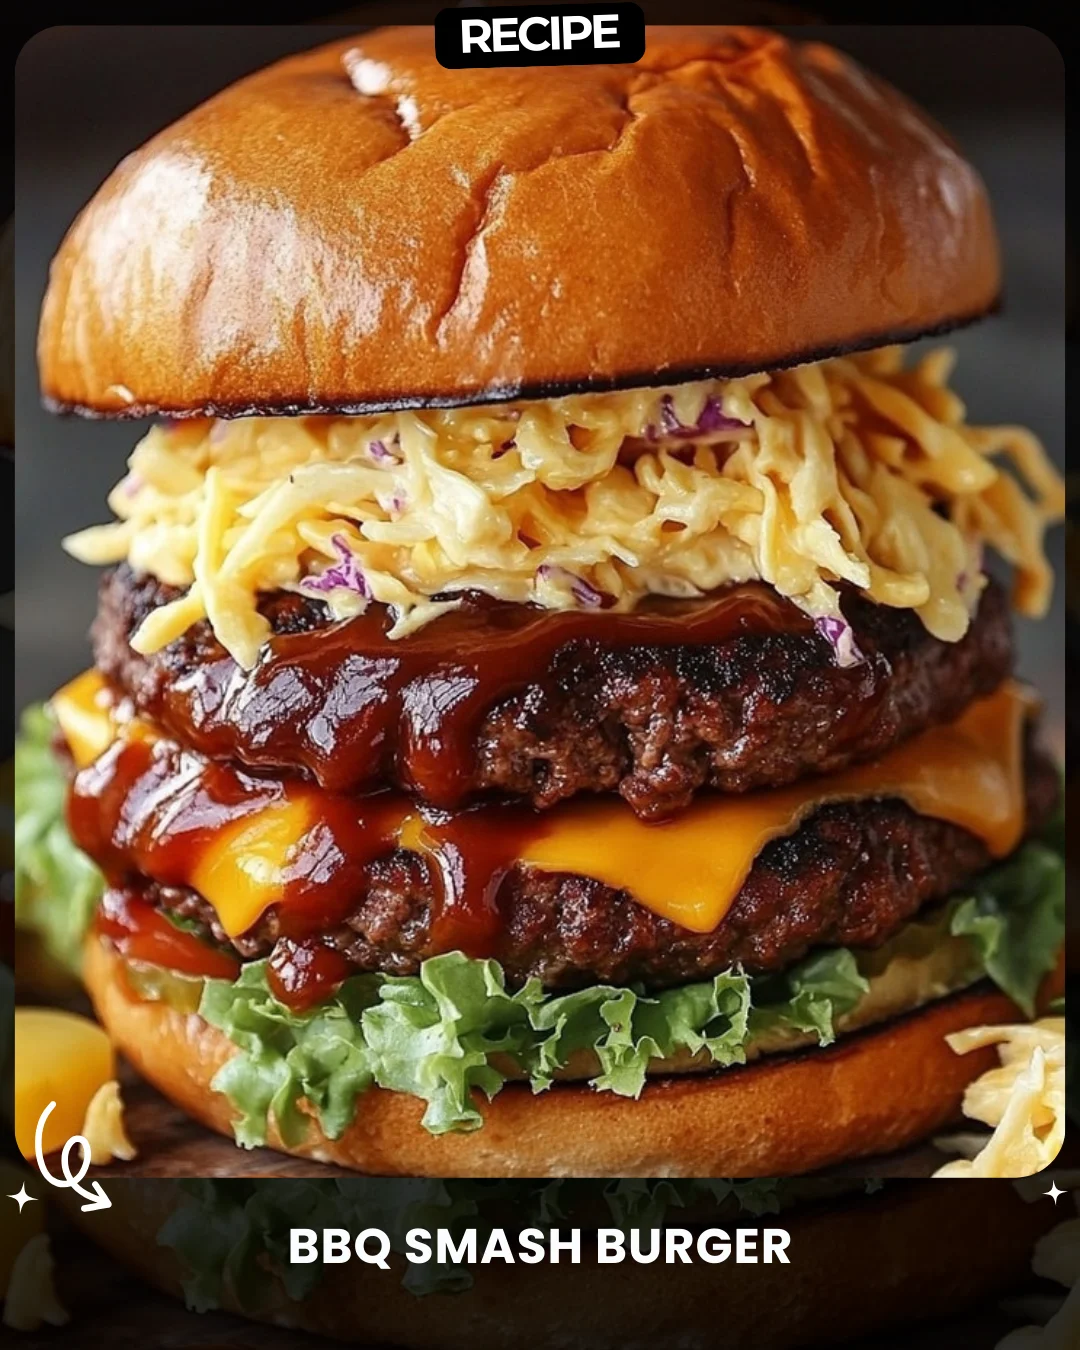
- Serve as a hearty side dish alongside grilled chicken, roasted pork chops, or baked ham.
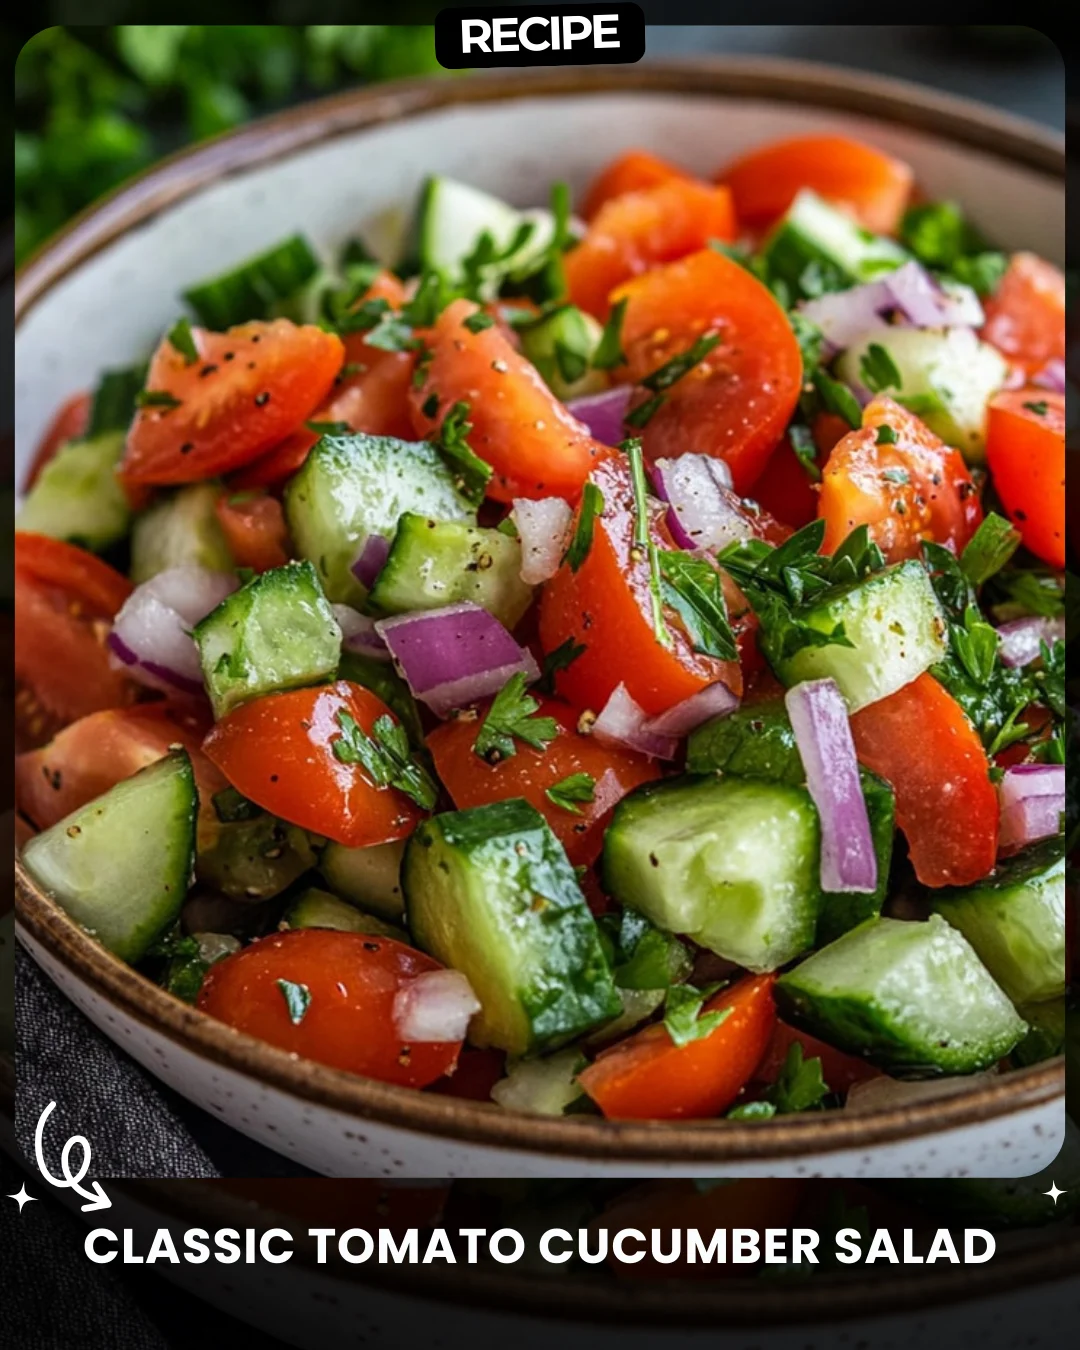
- For a vegetarian feast, pair it with a large garden salad and crusty garlic bread.
- Top individual servings with a dollop of extra sour cream, fresh chopped chives, or a sprinkle of crispy fried onions for added texture.
- It makes excellent leftovers and can be reheated in the oven to maintain the crispy topping.
How-to Summary
Steam and thoroughly drain squash and onion. Mix with cheese, sour cream, and seasoning. Spread in a dish, top with panko and oil, then bake at 350°F for 30 minutes until golden and bubbly.
Frequently Asked Questions
Can I use a different type of squash? Yes, yellow crookneck or pattypan squash work perfectly. For a firmer texture, try zucchini, but be sure to drain it very well.
How can I make this recipe gluten-free? Substitute the panko breadcrumbs with an equal amount of gluten-free breadcrumbs or crushed gluten-free crackers.
Can I prepare this casserole ahead of time? Absolutely. Assemble the casserole (without baking), cover tightly, and refrigerate for up to 24 hours. Add 5-10 minutes to the baking time when cooking from cold.
My casserole turned out watery. What happened? This is almost always due to insufficient draining of the steamed vegetables. Squeezing them in a towel is the most effective method to remove moisture.
What’s a good cheese substitute? For a different flavor, try Gruyère, Monterey Jack, or a pre-shredded Mexican blend. For a lighter version, reduced-fat cheddar works, but the sauce may be less creamy.
Common Mistakes to Avoid
- Skipping the Drain: Not removing enough liquid from the steamed vegetables will create a soupy, disappointing casserole.
- Over-Steaming: Cooking the squash until it’s mushy will ruin the texture. Steam just until fork-tender.
- Using Fresh Breadcrumbs: Panko breadcrumbs are essential for a light, crispy topping. Soft, fresh breadcrumbs will become soggy.
- Forgetting the Oil on the Topping: The drizzle of oil is what turns the panko golden and crispy. Don’t omit it.
Conclusion
This Cheesy Squash Casserole is the ultimate comfort food side dish, masterfully balancing a creamy, flavorful filling with a satisfyingly crispy crust. By following the detailed steps—especially the crucial draining process—and avoiding common pitfalls, you can create a crowd-pleasing dish that’s perfect for weeknight dinners or holiday gatherings. Its simplicity, versatility, and delicious cheesy goodness are sure to make it a regular in your recipe rotation.