Description
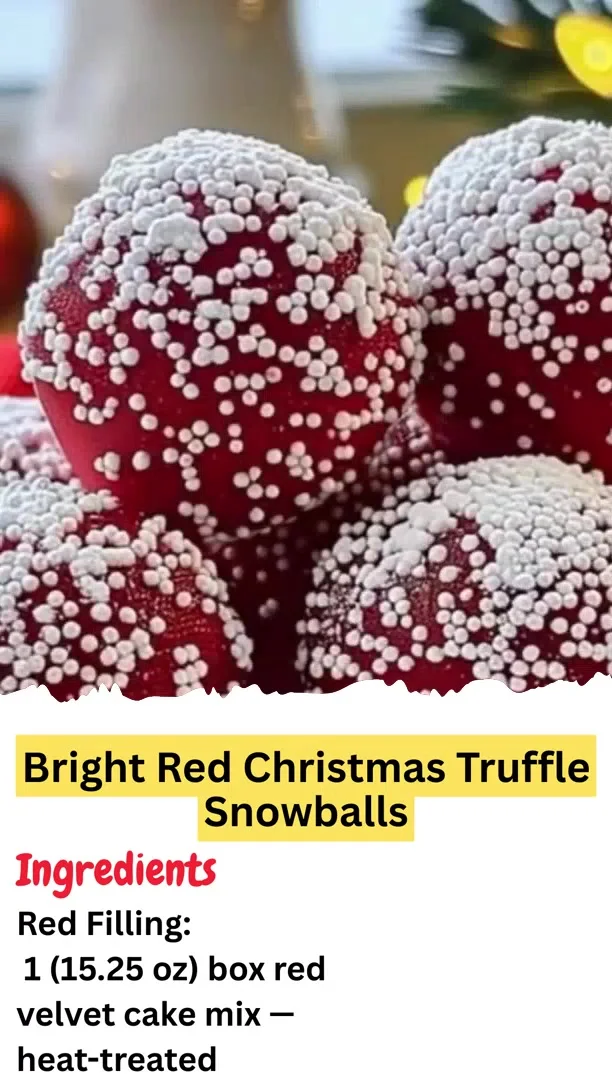
Fully red inside and out, smooth, glossy, and sprinkled with snowy white nonpareils! These no-bake truffles are festive, eye-catching, and melt-in-your-mouth delicious — perfect for holiday gifting or a dazzling dessert table.
Ingredients:
Red Filling:
1 (15.25 oz) box red velvet cake mix — heat-treated
8 oz cream cheese, softened
¼ cup powdered sugar (optional for extra sweetness)
1 teaspoon vanilla extract
½–1 teaspoon red gel food coloring (for vivid interior)
Red Coating:
12 oz red candy melts
1 tablespoon coconut oil or shortening
Decoration:
1 ½–2 cups white nonpareil sprinkles
Instructions:
Make the Red Filling – 10 minutes
Heat-treat the cake mix: microwave in a bowl for 1 minute, stirring halfway. Cool completely.
Beat cream cheese until smooth
.
Mix in cake mix, powdered sugar, and vanilla until a thick, rollable dough forms.
Add red gel food coloring until deep, uniform red.
Shape the Truffles – 5 minutes + 20–25 minutes freezing
Scoop 1-tablespoon portions and roll into smooth balls.
Place on a parchment-lined tray.
Freeze 20–25 minutes to keep centers firm for dipping
.
Melt the Coating – 3–4 minutes
Microwave red candy melts with coconut oil in 20-second intervals, stirring until smooth and glossy
.
Dip & Decorate – 10 minutes
Remove chilled balls from freezer.
Dip one at a time in melted red coating to fully cover.
Immediately roll or sprinkle with white nonpareils. Return to parchment sheet.
Set – 10–15 minutes
Refrigerate until the coating hardens.
Storage:
Refrigerate in an airtight container up to 5 days
Freeze up to 2 months
Prep Time: 15 minutes | Freezing Time: 25 minutes | Dipping & Decorating Time: 10 minutes | Total Time: 50–55 minutes
Kcal: 120–140 kcal per truffle | Servings: 20–24 truffles
#RedVelvetTruffles #ChristmasCandy #HolidaySweets #FestiveTreats
Step-by-Step Guide
Follow this detailed process for perfect truffles every time. First, ensure your cream cheese is fully softened to room temperature for a lump-free filling. Heat-treat the cake mix by microwaving it in a microwave-safe bowl for one minute, stirring halfway, then let it cool completely. In a large bowl, beat the cream cheese until completely smooth. Gradually add the cooled cake mix, optional powdered sugar, and vanilla extract, mixing until a thick, cohesive dough forms. Add red gel food coloring a few drops at a time until you achieve a deep, uniform red color. Use a tablespoon cookie scoop for even portions, rolling each into a smooth ball before freezing on a parchment-lined baking sheet for a full 20-25 minutes. This step is crucial for firm centers that won't fall apart during dipping. For the coating, melt the candy melts with coconut oil in short bursts, stirring thoroughly between each to prevent scorching.
Serving Suggestions
These truffles are versatile stars. Arrange them in mini paper candy cups on a festive platter for a dessert table centerpiece. Package them in clear cellophane bags tied with a ribbon for beautiful, edible gifts. For a special presentation, serve them alongside a cup of strong coffee or a glass of cold milk. They also make a stunning topping for a slice of cheesecake or a bowl of vanilla ice cream.
How-to Summary
Create these no-bake truffles by mixing heat-treated red velvet cake mix with softened cream cheese, vanilla, and red food coloring. Form the dough into balls and freeze. Dip the frozen balls into melted red candy coating, then immediately roll in white nonpareils. Chill until set.
Frequently Asked Questions
1. Can I use regular, non-heat-treated cake mix?
No. Raw flour in cake mix can contain harmful bacteria. Heat-treating (microwaving or baking) is an essential food safety step to make it safe for no-bake recipes.
2. My coating is too thick. What can I do?
Add more coconut oil or shortening, one teaspoon at a time, and stir until the melted coating reaches a smooth, dippable consistency similar to heavy cream.
3. How can I get a perfectly smooth coating on my truffles?
Use a fork or a specialty dipping tool. Drop a chilled ball into the coating, use the fork to roll it and ensure full coverage, then lift it out, tapping gently to let excess coating drip off.
4. Can I make these ahead of time?
Absolutely. They store well in the fridge for up to 5 days. For longer storage, freeze them in a single layer before transferring to an airtight container for up to 2 months.
5. The filling is too sticky to roll. How do I fix it?
The dough can be sticky. Chill it in the refrigerator for 15-20 minutes before scooping. You can also lightly dust your hands with powdered sugar to prevent sticking while rolling.
Common Mistakes to Avoid
- Skipping the heat-treatment: This is a food safety risk. Always heat-treat your dry cake mix.
- Not freezing the balls long enough: If the centers are soft, they can crack or fall apart during dipping. Ensure they are firm.
- Overheating the candy melts: This causes them to seize and become lumpy. Always melt in short intervals and stir well.
- Decorating after the coating sets: Nonpareils will only stick to wet coating. Have your sprinkles ready and decorate immediately after dipping each truffle.
- Using liquid food coloring: Gel food coloring provides vibrant color without altering the dough's consistency.
Conclusion
These stunning Red Velvet Truffles are a guaranteed hit, combining the beloved flavor of red velvet cake with the fun, festive appeal of a homemade candy. By following the detailed steps and avoiding common pitfalls, you can create an impressive treat that looks professional and tastes divine. Whether you're gifting them, serving them at a party, or simply enjoying a sweet moment, these truffles deliver holiday magic in every single bite.