Description
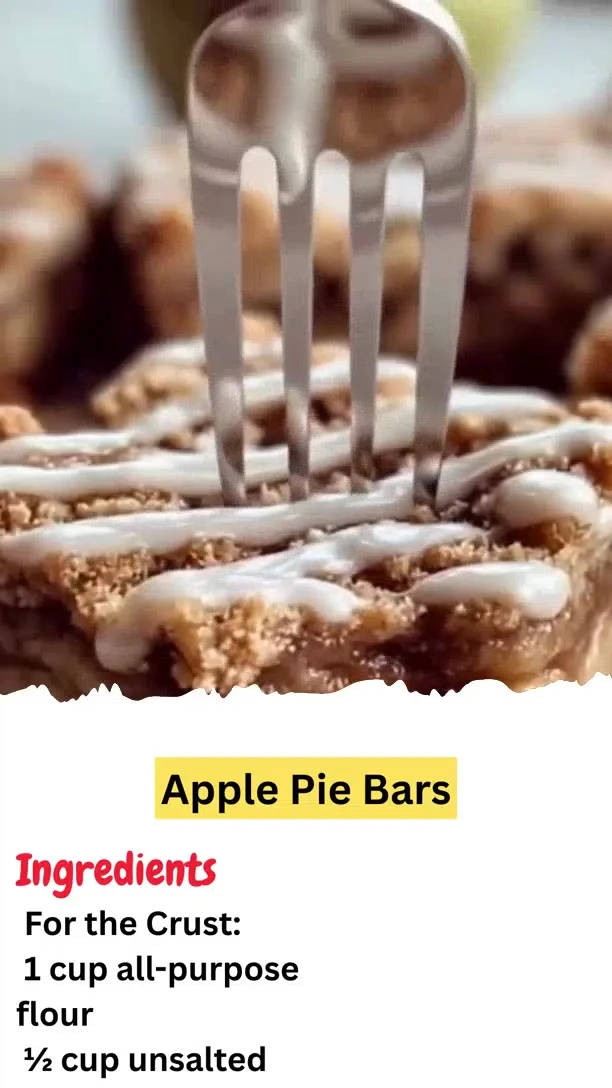
Sweet, spiced apples baked over a buttery crust and topped with a delicate glaze — the ultimate handheld fall treat!
Ingredients
For the Crust:
1 cup all-purpose flour
½ cup unsalted butter, softened
¼ cup granulated sugar
¼ tsp salt
For the Apple Layer:
2 cups apples, peeled and thinly sliced
1 tsp cinnamon
½ tsp nutmeg
1 tbsp lemon juice
¼ cup brown sugar
For the Glaze:
½ cup powdered sugar
1–2 tbsp milk
Directions
Preheat & Prep: Preheat oven to 350°F (175°C). Lightly grease an 8×8-inch or similar baking dish. (5 min)
Make the Crust: In a mixing bowl, combine flour, butter, sugar, and salt. Mix until crumbly, like damp sand. Press firmly into the prepared pan to create a smooth base. (5 min)
Prepare Apple Topping: In another bowl, toss apple slices with cinnamon, nutmeg, lemon juice, and brown sugar until evenly coated. (4 min)
Assemble: Spread the spiced apple mixture evenly over the crust. (2 min)
Bake: Place the pan in the oven and bake for 30–35 minutes, until apples are tender and the crust is lightly golden. (35 min)
Cool & Glaze: Let bars cool for 15–20 minutes. Whisk together powdered sugar and milk until smooth, then drizzle over the top. (5 min)
Slice & Serve: Cut into squares and enjoy the cozy apple goodness! (3 min)
Prep Time: 15 minutes
Cook Time: 35 minutes
Cooling & Glazing: 20 minutes
Total Time: 1 hour 10 minutes
Servings: 9–12 bars
Tips & Serving Ideas
Use a mix of tart and sweet apples for more depth of flavor.
Drizzle warm caramel over the glaze for extra indulgence.
Serve slightly warm with a scoop of vanilla ice cream for a crowd-pleasing dessert.
#ApplePieBars #BakingLove #DessertTime #FallFlavors
Step-by-Step Guide
Follow these detailed instructions for perfect apple pie bars every time. Start by preheating your oven to 350°F (175°C) and greasing your 8x8-inch pan. For the crust, use a pastry cutter, fork, or your fingertips to blend the softened butter into the flour, sugar, and salt until the mixture resembles coarse crumbs. Press this firmly and evenly into the pan's bottom. For the filling, ensure your apples are sliced uniformly thin (about 1/4-inch) so they cook evenly. Toss them thoroughly with the lemon juice first to prevent browning, then add the spices and brown sugar. Arrange the apples in a tight, even layer over the crust before baking. The bars are done when the crust edges are golden and the apples are fork-tender. Cooling is crucial before glazing and slicing to ensure clean bars.
Serving Suggestions
These bars are versatile. For a decadent dessert, serve them warm with a scoop of vanilla bean ice cream or a dollop of freshly whipped cream. For a brunch or afternoon treat, pair a bar with a hot cup of coffee or spiced chai tea. To elevate presentation, sprinkle a pinch of cinnamon over the glaze or add a light dusting of powdered sugar. They also pack well for picnics or lunchboxes when cooled completely.
How-to Summary
In short: Make a simple butter-flour crust and press it into a pan. Toss thinly sliced apples with cinnamon, nutmeg, and brown sugar. Layer the spiced apples over the crust. Bake at 350°F for 30-35 minutes until golden and tender. Cool, then drizzle with a simple powdered sugar and milk glaze before slicing into squares.
Frequently Asked Questions
1. Can I use pre-made pie crust?
Yes, you can use a refrigerated pie crust for a shortcut. Press one crust into the bottom of the pan, prick with a fork, and pre-bake for about 10 minutes before adding the apple layer.
2. What are the best apples to use?
A mix of firm, tart apples like Granny Smith and sweet varieties like Honeycrisp or Fuji creates the best flavor and texture balance, preventing the bars from becoming too mushy or too sweet.
3. How should I store these bars?
Store cooled bars in an airtight container at room temperature for up to 2 days, or in the refrigerator for up to 5 days. They can also be frozen (unglazed) for up to 3 months.
4. My crust is too crumbly. What went wrong?
This usually means the butter was too cold or not mixed in thoroughly. Ensure your butter is properly softened to room temperature so it blends completely with the dry ingredients, creating a cohesive, pressable dough.
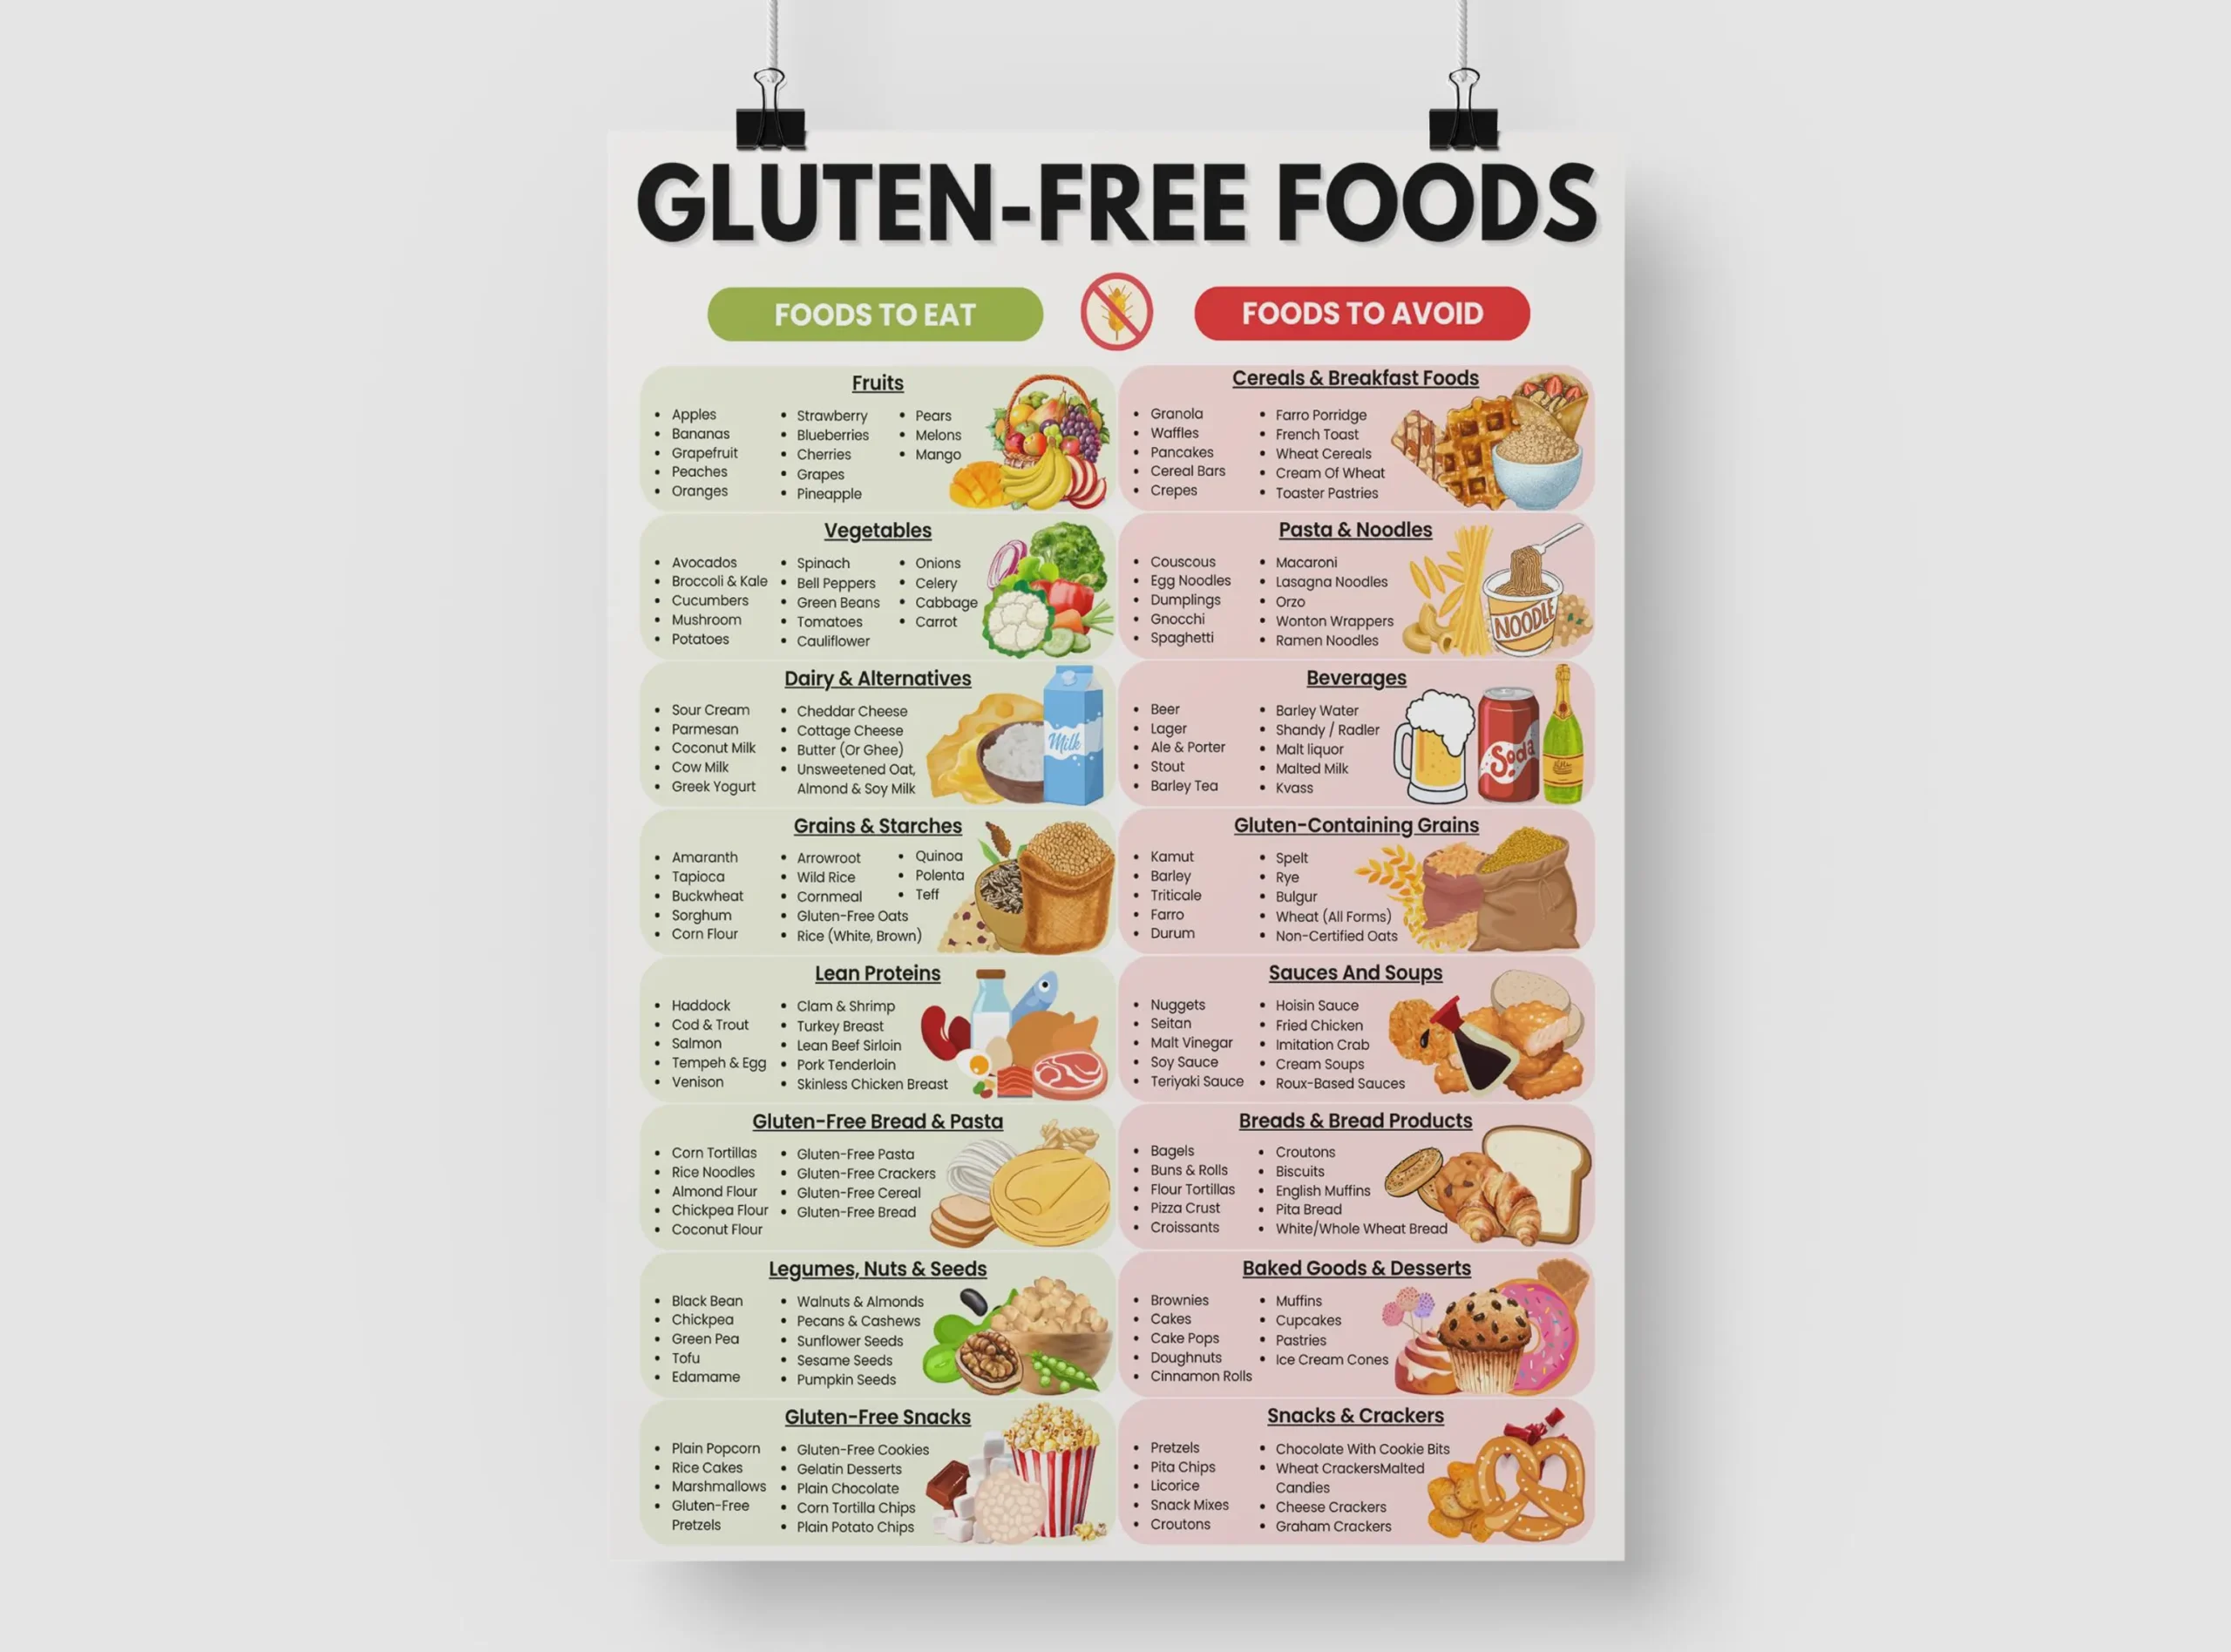
5. Can I make these gluten-free or dairy-free?
Absolutely. Use a 1:1 gluten-free flour blend for the crust. For dairy-free, use a plant-based butter substitute and replace the milk in the glaze with a non-dairy alternative like almond or oat milk.
Common Mistakes to Avoid
- Skipping the Cooling Step: Slicing while warm causes the bars to fall apart. Let them set for at least 15-20 minutes.
- Uneven Apple Slices: Thick slices won't soften properly, while paper-thin slices may turn to mush. Aim for consistent 1/4-inch slices.
- Over-mixing the Crust: Mix just until crumbly. Overworking can develop gluten, making the crust tough instead of tender and shortbread-like.
- Using Only One Apple Type: Using only very sweet apples can make the final product overly sweet and one-dimensional in flavor.
Conclusion
These apple pie bars capture all the comforting essence of a classic apple pie in a simple, portable form. With a buttery crust, warmly spiced apple filling, and sweet glaze, they are the perfect treat for any autumn gathering or cozy night in. By following this guide and avoiding common pitfalls, you'll achieve bakery-worthy results that are sure to impress. Enjoy the process and the delicious, homemade fall flavors!