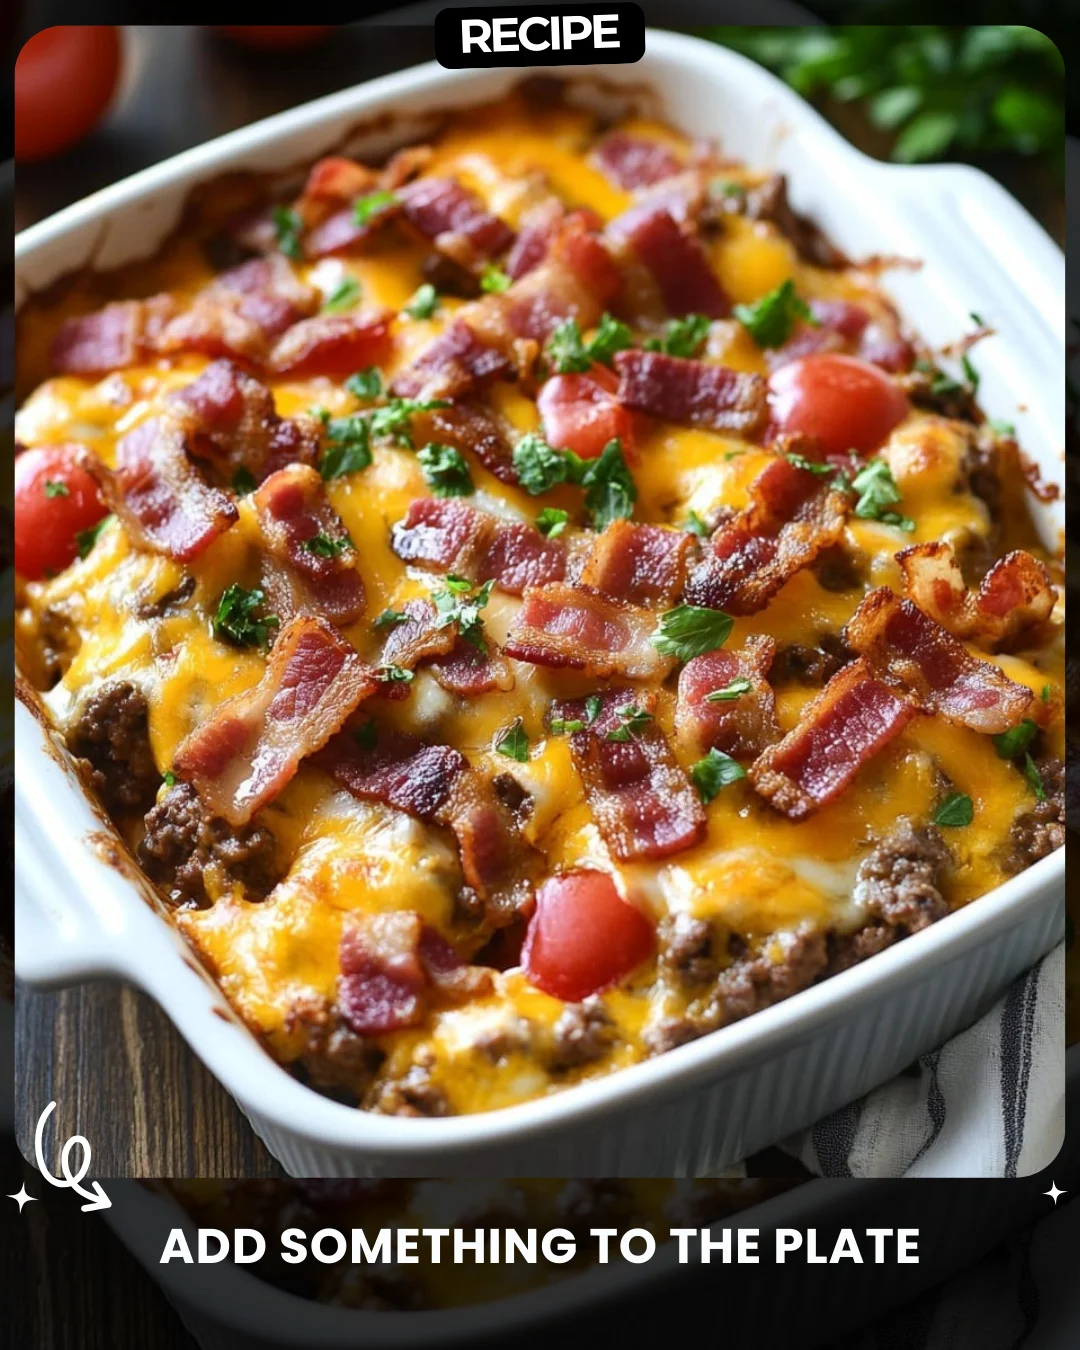
Add something to the plate
Description
Add something to the plate
Step-by-Step Guide
Follow this simple process to add a new dish to your restaurant’s menu. First, log into your WordPress admin dashboard. Navigate to the ‘Menu’ section, typically found under ‘Appearance’. Click on the menu where you want the new item to appear. On the left, you will see a box labeled ‘Add menu items’. Here, you can either select an existing page or create a custom link. For a new dish, you will usually create a custom link. Enter the name of the dish as the link text and use a ‘#’ as the URL placeholder. Drag the new item to its desired position in the menu structure. Finally, remember to click the ‘Save Menu’ button to publish your changes live on the site.
Serving Suggestions
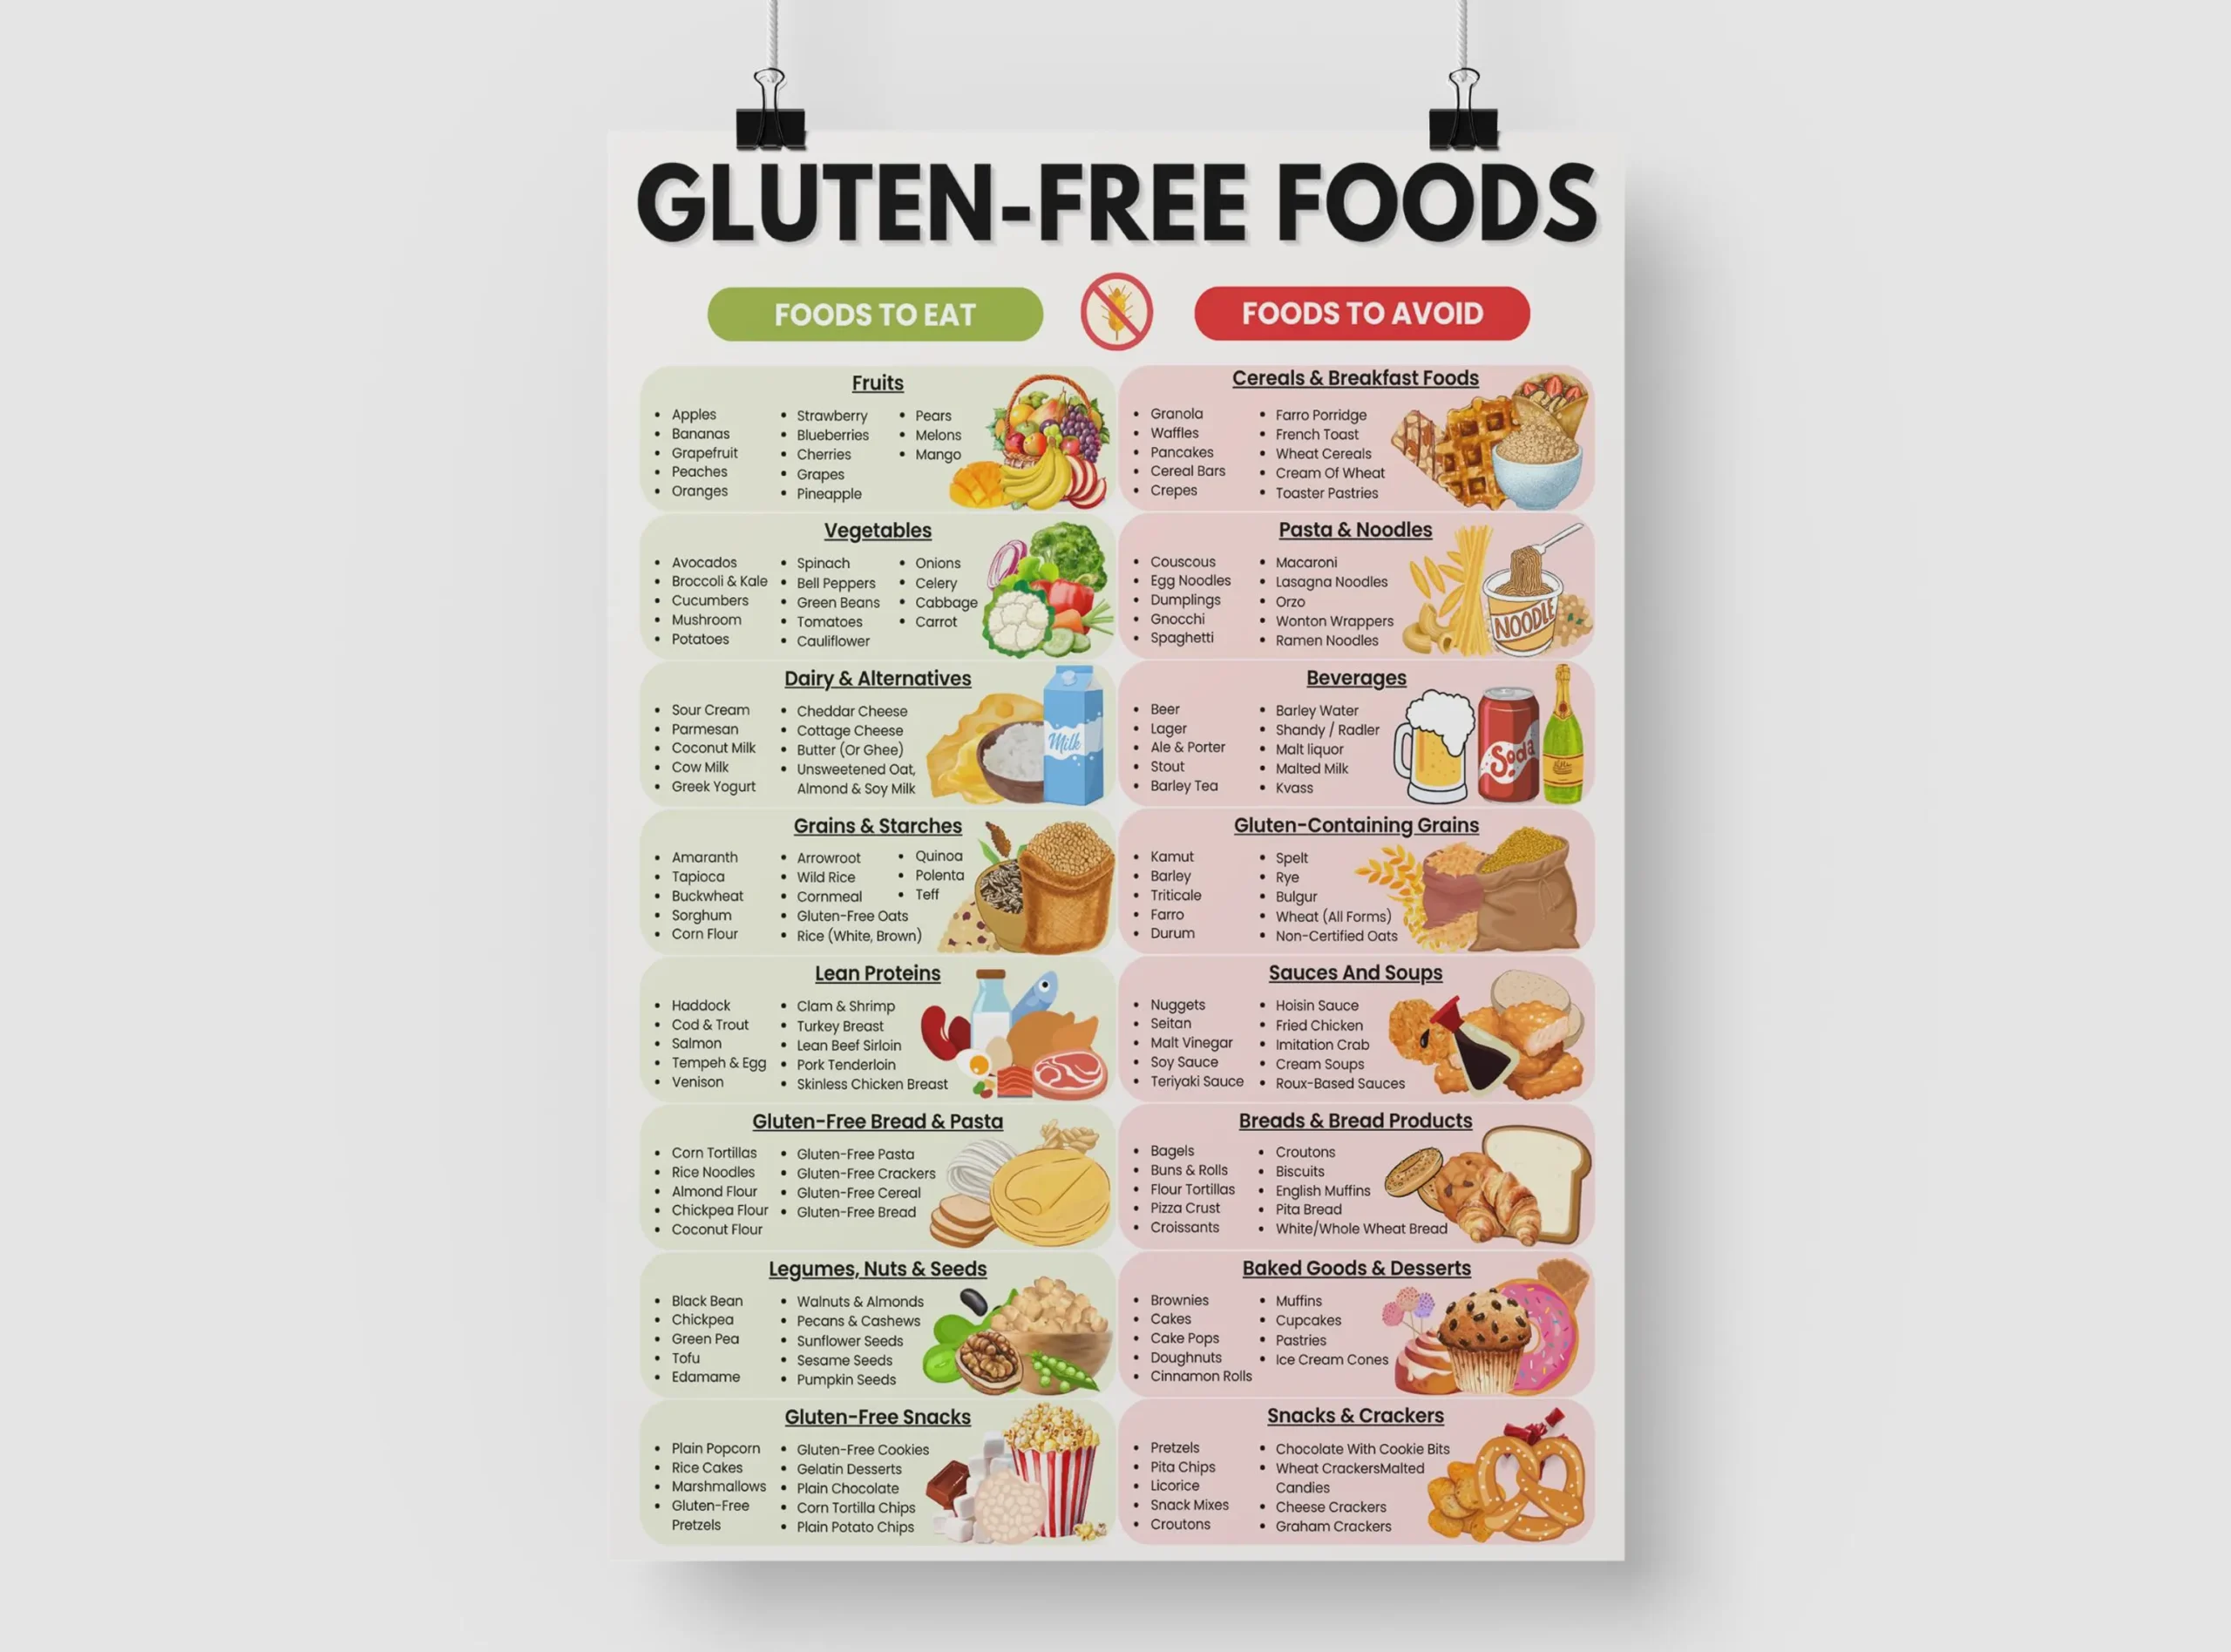
When adding a new item, consider its presentation. Create a dedicated page or post for the dish with a high-quality image and a compelling description. Link this page to the menu item by updating the custom link URL. Enhance the customer experience by adding relevant tags like “Chef’s Special” or “Seasonal” and consider including pairing suggestions or dietary information (e.g., Vegan, Gluten-Free) directly in the item description.
How-to Summary
To quickly recap: Access your WordPress dashboard, go to Appearance > Menus. Add a new custom link item, name it after your dish, and position it within your menu. Always save your work. For a complete presentation, create supporting content for the dish and link it to the menu item.
Frequently Asked Questions
- Can I add a description or price to the menu item? Yes, but it may require your theme’s support or a plugin. In the menu editor, click the downward arrow on the menu item to reveal a ‘Description’ field where you can add details. For advanced features like prices, a dedicated restaurant menu plugin is recommended.
- Why is my new menu item not showing up on the website? First, ensure you clicked ‘Save Menu’. Second, check if your theme displays the menu location you edited. Some themes have multiple menu areas (e.g., Header, Footer). Confirm you assigned the saved menu to the correct theme location.
- How do I create a dropdown/sub-item for my new dish? After adding the main item, add another item below it. Then, drag the new item slightly to the right underneath the main item to nest it. This creates a hierarchical dropdown menu.
- What if I want to link the dish to a section on the same page? Instead of a ‘#’, use a URL with an anchor link (e.g., #desserts). This requires the target section on the page to have a matching HTML ID.
- Is it possible to add an icon next to the menu item? This functionality is typically theme-dependent. Some themes offer icon selection in the menu item settings. Alternatively, you can use CSS or a menu icon plugin for more customization.
Common Mistakes to Avoid
- Forgetting to Save: The most common error is editing the menu but not clicking the ‘Save Menu’ button, leaving all changes unpublished.
- Using Broken Links: Placing a ‘#’ as a permanent URL creates a non-clickable link. Always update it to point to a real page or post describing the dish.
- Ignoring Mobile View: Complex menus with many items may not display well on mobile. Test your new menu structure on different screen sizes.
- Overcrowding the Menu: Adding too many items can overwhelm customers. Keep your navigation clean and organized, using dropdowns logically.
Conclusion
Adding a new dish to your WordPress menu is a straightforward process that instantly updates your online presence. By following the step-by-step guide and utilizing the serving suggestions, you can ensure the new item is both functional and appealing. Paying attention to the common pitfalls and FAQs will help you manage your menu effectively, keeping it user-friendly and up-to-date to best showcase your culinary offerings to visitors.