Description
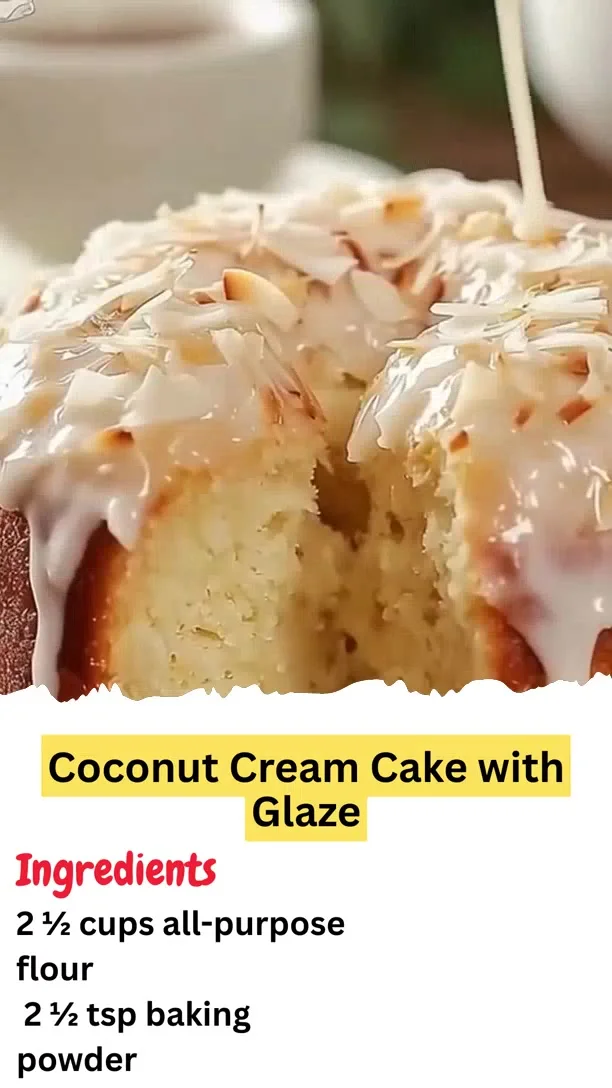
A soft, fluffy cake layered with dreamy coconut cream filling, topped with a sweet glaze, whipped cream, and toasted coconut flakes. A tropical delight for any celebration!
Ingredients:
2 ½ cups all-purpose flour
2 ½ tsp baking powder
½ tsp salt
1 cup unsalted butter, softened
2 cups granulated sugar
4 large eggs, room temperature
1 tsp vanilla extract
1 tsp coconut extract (optional)
1 cup coconut milk
1 cup sweetened shredded coconut
For the filling:
1 cup coconut milk
½ cup heavy cream
½ cup granulated sugar
3 tbsp cornstarch
1 tsp vanilla extract
For the glaze & topping:
½ cup powdered sugar
1–2 tbsp coconut milk (for the glaze)
1 ½ cups heavy whipping cream
¼ cup powdered sugar
½ cup toasted coconut flakes
Instructions:
Preheat oven to 350°F (175°C). Grease and flour two 9-inch round cake pans. (
10 minutes)
In a medium bowl, whisk together flour, baking powder, and salt. (
3 minutes)
In a large mixing bowl, cream butter and sugar until fluffy. Beat in eggs one at a time, then add vanilla and coconut extract. (
5 minutes)
Alternately add dry ingredients and coconut milk, mixing gently. Fold in shredded coconut. (
7 minutes)
Pour batter evenly into pans and bake for 25–30 minutes, or until a toothpick comes out clean. (
30 minutes)
Cool cakes in pans for 10 minutes, then transfer to a wire rack to cool completely. (
40 minutes)
For the filling: combine coconut milk, cream, sugar, and cornstarch in a saucepan. Cook over medium heat, whisking until thickened (about 5 minutes). Stir in vanilla, then cool. (
8 minutes)
Prepare glaze: whisk powdered sugar with coconut milk until smooth and pourable. (
3 minutes)
For the topping: whip cream with powdered sugar until stiff peaks form. (
5 minutes)
Spread the filling between cake layers, drizzle glaze over the top, frost with whipped cream, and sprinkle with toasted coconut flakes. (
12 minutes)
Prep Time: 30 minutes | Baking Time: 30 minutes | Cooling & Assembly: 55 minutes | Total Time: ~1 hour 55 minutes
Kcal: 440 kcal | Servings: 12 slices
#CoconutDream #LayeredCake #GlazedDessert #TropicalTreat
Step-by-Step Guide
Follow these detailed instructions for a perfect Coconut Dream Cake. Begin by preheating your oven to 350°F (175°C) and thoroughly greasing and flouring two 9-inch round cake pans. In a medium bowl, whisk together the 2 ½ cups of flour, 2 ½ tsp baking powder, and ½ tsp salt. In a large bowl, use an electric mixer to cream 1 cup of softened butter with 2 cups of granulated sugar for 3-4 minutes until light and fluffy. Beat in the 4 eggs, one at a time, ensuring each is fully incorporated before adding the next. Mix in 1 tsp each of vanilla and coconut extract.
With the mixer on low speed, add the dry ingredients and 1 cup of coconut milk to the butter mixture in three alternating additions, beginning and ending with the dry ingredients. Gently fold in 1 cup of sweetened shredded coconut with a spatula. Divide the batter evenly between the prepared pans and bake for 25-30 minutes. A toothpick inserted into the center should come out clean. Let the cakes cool in the pans for exactly 10 minutes before turning them out onto a wire rack to cool completely.
Serving Suggestions
This cake is a showstopper on its own but can be elevated with simple pairings. Serve each slice with a side of fresh mango or pineapple chunks to enhance the tropical theme. For a dinner party, a light pour of rum or a scoop of coconut ice cream makes it decadent. Garnish individual plates with a mint sprig for a touch of color. The cake is best enjoyed the day it’s assembled but can be refrigerated for up to 3 days.
How-to Summary
To summarize: Prepare two cake layers by creaming butter and sugar, adding eggs and extracts, then alternating dry ingredients with coconut milk. Bake and cool. Create the filling by cooking coconut milk, cream, sugar, and cornstarch into a thick pastry cream. Assemble by spreading the filling between the layers, drizzling with a simple powdered sugar glaze, frosting the outside with sweetened whipped cream, and finishing with toasted coconut flakes.
Frequently Asked Questions
Can I use canned coconut cream instead of coconut milk?
Yes, for a richer filling, you can use full-fat canned coconut cream. For the cake batter, stick to coconut milk for the correct consistency.
How do I properly toast coconut flakes?
Spread sweetened shredded coconut in a thin layer on a baking sheet. Toast in a 325°F oven for 5-10 minutes, stirring occasionally, until golden brown.
My filling is too runny. How can I fix it?
Ensure you cook the filling mixture over medium heat, whisking constantly, until it comes to a full boil and thickens significantly. If it’s still thin, create a slurry with 1 more tbsp of cornstarch and 2 tbsp of cold milk, whisk it into the warm filling, and cook for another 2 minutes.
Can I make this cake ahead of time?
You can bake the cake layers 1 day in advance. Wrap them tightly in plastic wrap once cool and store at room temperature. Prepare the filling and whip the cream on the day of assembly for best results.
What’s a good substitute for coconut extract?
If you don’t have coconut extract, you can use an additional teaspoon of vanilla extract. For more coconut flavor, try adding 2 tablespoons of coconut rum to the batter.
Common Mistakes to Avoid
- Using cold ingredients: Ensure eggs, butter, and coconut milk are at room temperature for a smooth, evenly mixed batter.
- Overmixing the batter: Mix only until the flour is incorporated after the final addition to avoid a dense, tough cake.
- Assembling a warm cake: The filling and whipped cream will melt if the cake layers are not completely cool.
- Undertoasting the coconut: Pale, untoasted flakes lack the nutty flavor and crunch that define this dessert’s topping.
- Not whipping cream to stiff peaks: Soft peaks will cause the frosting to slide off the cake.
Conclusion
The Coconut Dream Cake is a breathtaking dessert that marries soft, fluffy layers with luxurious coconut cream. While the process has several components, each step is straightforward and leads to an impressive result. By following the detailed guide and avoiding common pitfalls, you can create a tropical masterpiece perfect for celebrations or a special weekend treat. The combination of textures and flavors is sure to transport you and your guests to a paradise with every bite.