Description
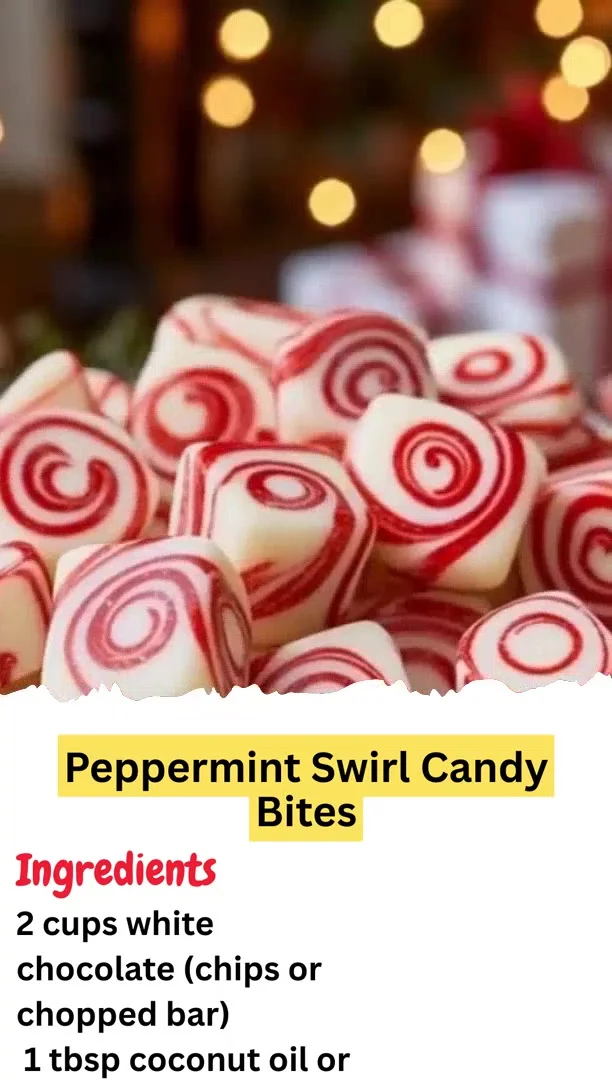
Festive, glossy, and beautifully swirled — these holiday peppermint cubes melt in your mouth with the perfect mix of creamy white chocolate and bright peppermint!
Perfect for gifting or adding to any Christmas dessert tray.
Ingredients:
2 cups white chocolate (chips or chopped bar)
1 tbsp coconut oil or cocoa butter
1 cup red candy melts
½ tsp peppermint extract (oil-based)
Optional: ¼ tsp extra peppermint extract
Optional: 1 tsp vegetable oil
Silicone swirl or cube mold
Piping bags
Toothpick
Instructions:
Melt the white chocolate
Combine white chocolate and coconut oil in a microwave-safe bowl.
Heat in 20–30 second bursts, stirring between each.
Mix in peppermint extract until smooth and silky.
Duration: 3–4 minutes
Melt the red candy melts
Melt red candy melts in a separate bowl.
Add peppermint extract and a splash of vegetable oil if too thick.
Stir until smooth and pourable.
Duration: 2–3 minutes
Prepare the mold
Place silicone mold on a flat tray and ensure it’s fully dry.
Duration: 1 minute
Create the swirl effect
Pipe a small dot or thin spiral of red candy in each cavity.
Fill the rest with white chocolate.
Drag a toothpick gently through the red to create a swirl (2–3 small pulls).
Duration: 5 minutes
Tap & set
Tap the mold on the counter to release air bubbles.
Chill in the refrigerator until firm.
Duration: 20–25 minutes
Unmold the candies
Gently pop out each glossy swirl cube.
Store in an airtight container for freshness.
Duration: 1–2 minutes
Prep Time: 10 minutes | Chilling Time: 25 minutes | Total Time: 35 minutes
Kcal: 70–90 kcal | Servings: 20–24 pieces
#PeppermintCandy #ChristmasTreats #HolidaySweets #FestiveBites
Step-by-Step Guide
Follow these detailed steps for perfect peppermint cubes every time. First, ensure all equipment is clean and dry. Melt the white chocolate with the coconut oil using the microwave method, stirring thoroughly until completely smooth. In a separate bowl, melt the red candy melts. If the mixture seems stiff, add the optional vegetable oil to improve its fluidity for swirling. Once both mixtures are ready, stir the peppermint extract into each. Use a piping bag or a small spoon to place a small dot or thin spiral of red candy melt into the center of each mold cavity. Immediately fill the cavity to the top with the white chocolate mixture. Working quickly before the chocolate sets, use a toothpick to drag the red color outward in 2-3 gentle, circular motions to create a marbled effect. Avoid over-mixing.
Serving Suggestions
These elegant cubes are versatile beyond simple snacking. Arrange them on a festive dessert platter alongside other holiday cookies and fudge. Package them in clear cellophane bags tied with a ribbon for a heartfelt homemade gift. For a stunning dessert presentation, crumble a few cubes over vanilla ice cream or use them as a garnish on a peppermint cheesecake. They also make a beautiful and delicious addition to a holiday charcuterie board, pairing wonderfully with fresh berries and nuts.
How-to Summary
In summary, create these candies by melting white chocolate and red candy melts separately, flavoring both with peppermint. Pipe a dot of red into a mold, fill with white chocolate, and swirl with a toothpick. Tap to remove bubbles and chill until firm before unmolding.
Frequently Asked Questions
Can I use regular chocolate instead of candy melts?
For the red portion, candy melts are recommended as they set firmly and hold color. You can use red-tinted white chocolate, but it may not achieve the same vibrant color or snap.
My chocolate seized or got lumpy. What happened?
This usually means moisture got into the chocolate. Ensure all bowls and tools are completely dry. If using peppermint extract, ensure it is oil-based, not water-based.
How far in advance can I make these?
Stored in an airtight container in a cool place, they will keep for 1-2 weeks. For best texture and flavor, consume within 10 days.
Can I freeze the peppermint cubes?
Yes, you can freeze them for up to 2 months in an airtight container. Thaw in the refrigerator to prevent condensation from making them sticky.
I don’t have a silicone mold. What can I use?
A mini muffin tin lined with paper liners works well. The swirl technique is the same, though the shape will differ.
Common Mistakes to Avoid
- Overheating the Chocolate: Always melt in short bursts and stir. Burnt chocolate cannot be salvaged.
- Using Water-Based Extract: This will cause the chocolate to seize. Only use oil-based peppermint flavoring.
- Over-Swirling: Too many passes with the toothpick will muddy the colors instead of creating a clean swirl.
- Skipping the Tap: Not tapping the mold releases air bubbles, leading to uneven surfaces and holes in your candies.
- Warm Unmolding: If the cubes don’t pop out easily, they need more chilling time. Forcing them can break the shape.
Conclusion
These Holiday Peppermint Swirl Cubes are a stunning and surprisingly simple treat that captures the festive spirit. With their creamy texture, refreshing peppermint flavor, and beautiful marbled appearance, they are sure to impress at any gathering or as a cherished homemade gift. By following this guide and avoiding common pitfalls, you can confidently create a professional-looking confection that adds a special touch to your holiday celebrations.