Description
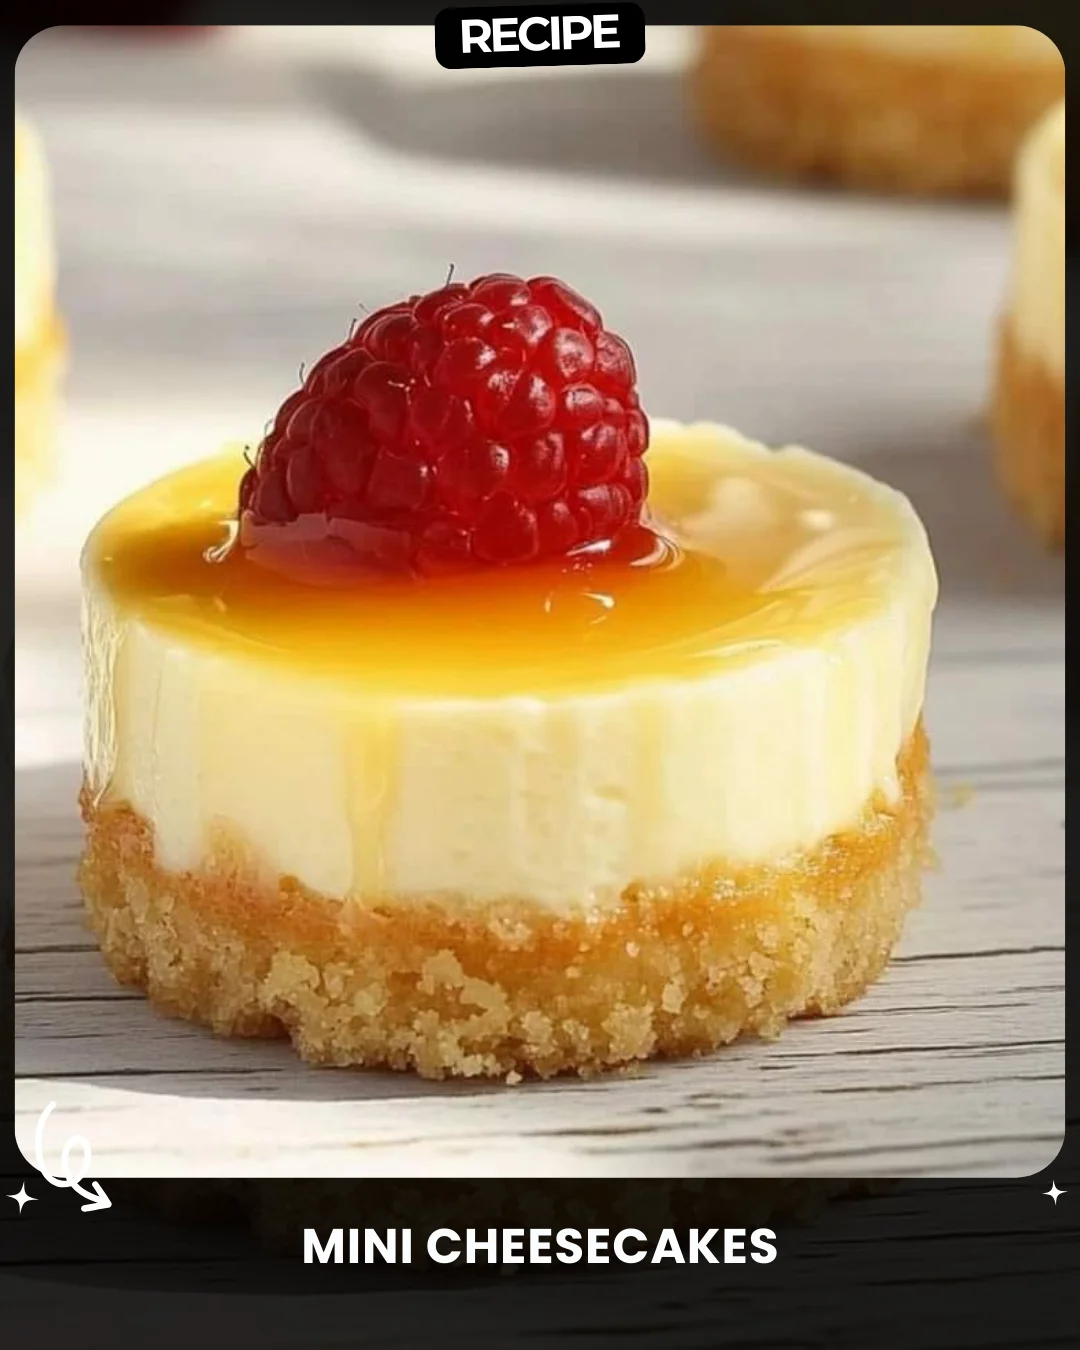
Mini Cheesecakes
These mini cheesecakes are perfectly portioned, rich, and creamy with a classic graham cracker crust. They’re a great make-ahead dessert for any occasion!
Ingredients
For the Graham Cracker Crust:
1.5 cups (165 g) graham cracker crumbs
3 tablespoons granulated sugar
¼ cup unsalted butter, melted
For the Cheesecake Filling:
16 ounces (454 g) cream cheese, room temperature
½ cup (99 g) granulated sugar
2 large eggs, room temperature
½ cup (114 g) sour cream, room temperature
1 teaspoon vanilla extract
Instructions
1. Prepare the Crust:
Preheat Oven: Preheat your oven to 350°F (175°C). Line a standard-sized cupcake pan with 18 paper liners and set aside.
Mix Crust Ingredients: In a bowl, combine graham cracker crumbs and granulated sugar. Add melted butter and mix until fully incorporated.
Form Crusts: Divide the crust mixture evenly between the 18 cupcake liners. Use the back of a measuring cup to press the graham cracker mixture firmly into the bottom of each cup. Set aside.
2. Make the Cheesecake Filling:
Mix Cream Cheese: In a large bowl, add cream cheese. Using a stand mixer or hand mixer, beat until smooth.
Incorporate Sugar: Add granulated sugar and mix until smooth.
Add Eggs: Add the eggs one at a time, mixing until incorporated after each addition.
Add Sour Cream: Add sour cream and mix until fully incorporated.
Add Vanilla: Add vanilla extract and mix until incorporated. Be careful not to over-mix or introduce too much air, as this can cause the cheesecakes to sink.
3. Bake the Mini Cheesecakes:
Distribute Batter: Distribute the cheesecake batter evenly among the prepared cupcake liners.
Tap and Bake: Gently tap the pan on the counter a few times to level the batter and remove excess air bubbles. Bake for about 17-19 minutes, or until the cheesecakes are set and the centers jiggle slightly.
Cool in Oven: Turn off the oven and crack the door open a few inches. Let the cheesecakes rest in the oven for 2-3 minutes before removing.
Cool and Chill: Remove from the oven and allow the cheesecakes to cool at room temperature for 30 minutes. Refrigerate for at least 2 hours, or up to 1 day. The cheesecakes will slightly sink as they chill.
4. Serve:
Top and Enjoy: Optionally, top with strawberry sauce, cherries, or whipped cream before serving.
These mini cheesecakes are perfect for parties or a sweet treat anytime. Their rich flavor and c
reamy texture make them a favorite! Enjoy!
#lovealletherecipes
Step-by-Step Guide
Follow these detailed steps for perfect mini cheesecakes every time. First, ensure all your filling ingredients are at room temperature for a smooth, lump-free batter. Preheat your oven to 350°F and line your cupcake pan. When mixing the crust, aim for a texture like wet sand. Press it firmly into each liner to create a solid base. For the filling, beat the cream cheese alone first until completely smooth. This is the most crucial step to avoid graininess. Scrape down the bowl often. After adding the eggs, mix only until just combined. Over-beating incorporates too much air, which leads to cracking and sinking. Fill the liners ¾ full. The gentle tap on the counter is essential to release trapped air bubbles. Bake until the edges are set but the centers still have a slight jiggle. The residual heat from cooling in the turned-off oven finishes the cooking gently.
Serving Suggestions
These versatile mini cheesecakes are a blank canvas for creativity. For a classic touch, top with a dollop of whipped cream and a fresh cherry or berry. A drizzle of salted caramel or hot fudge sauce adds decadence. For a fruit-forward option, spoon on homemade strawberry, blueberry, or raspberry compote. Consider garnishing with lemon zest, chocolate shavings, or a sprinkle of crushed cookies matching the crust. They are perfect for dessert platters, bridal showers, holiday parties, or as elegant individual treats.
How-to Summary
In summary: Combine graham crumbs, sugar, and butter for the crust; press into lined cups. Beat room-temperature cream cheese until smooth, then blend in sugar, eggs, sour cream, and vanilla without over-mixing. Divide batter among cups, tap pan to remove bubbles, and bake at 350°F for 17-19 minutes until set but slightly jiggly. Cool in the turned-off oven with the door ajar, then chill thoroughly before serving with desired toppings.
Frequently Asked Questions
Can I make these gluten-free?
Yes. Simply replace the graham cracker crumbs with an equal amount of gluten-free graham-style crumbs or crushed gluten-free cookies.
How long do they last in the fridge?
Stored in an airtight container, they will stay fresh for up to 5 days. The crust may soften slightly over time.
Can I freeze mini cheesecakes?
Absolutely. Freeze them unfrosted on a baking sheet, then transfer to a freezer bag for up to 2 months. Thaw overnight in the refrigerator.
Why did my cheesecakes crack?
Cracking is usually caused by over-mixing the batter (incorporating too much air) or a sudden temperature change. Cooling them gradually in the oven helps prevent this.
Can I use muffin liners without a pan?
No. The pan provides necessary structure for the sides. Without it, the liners will not hold their shape during baking and filling.
Common Mistakes to Avoid
- Using cold ingredients: Cold cream cheese, eggs, or sour cream will never blend smoothly, leading to a lumpy batter.
- Over-mixing after adding eggs: This incorporates excess air, causing the cheesecakes to puff and then collapse and crack.
- Pressing the crust too lightly: A loose crust will crumble when you bite into it. Press it down firmly.
- Overbaking: Baking until completely firm will result in a dry, dense texture. The centers should still jiggle slightly when you remove them.
- Skipping the chill time: Serving before fully chilled means the cheesecakes won’t be set and won’t have developed their full, rich flavor.
Conclusion
These mini cheesecakes are the ultimate foolproof dessert, combining the rich, creamy satisfaction of classic cheesecake with individual convenience. By following the detailed steps and avoiding common pitfalls, you can achieve a perfectly smooth texture and delicious flavor every time. Their make-ahead nature and endless topping possibilities make them an indispensable recipe for any occasion, from casual gatherings to formal events. Master this simple technique, and you’ll have a crowd-pleasing dessert ready to impress.