Description
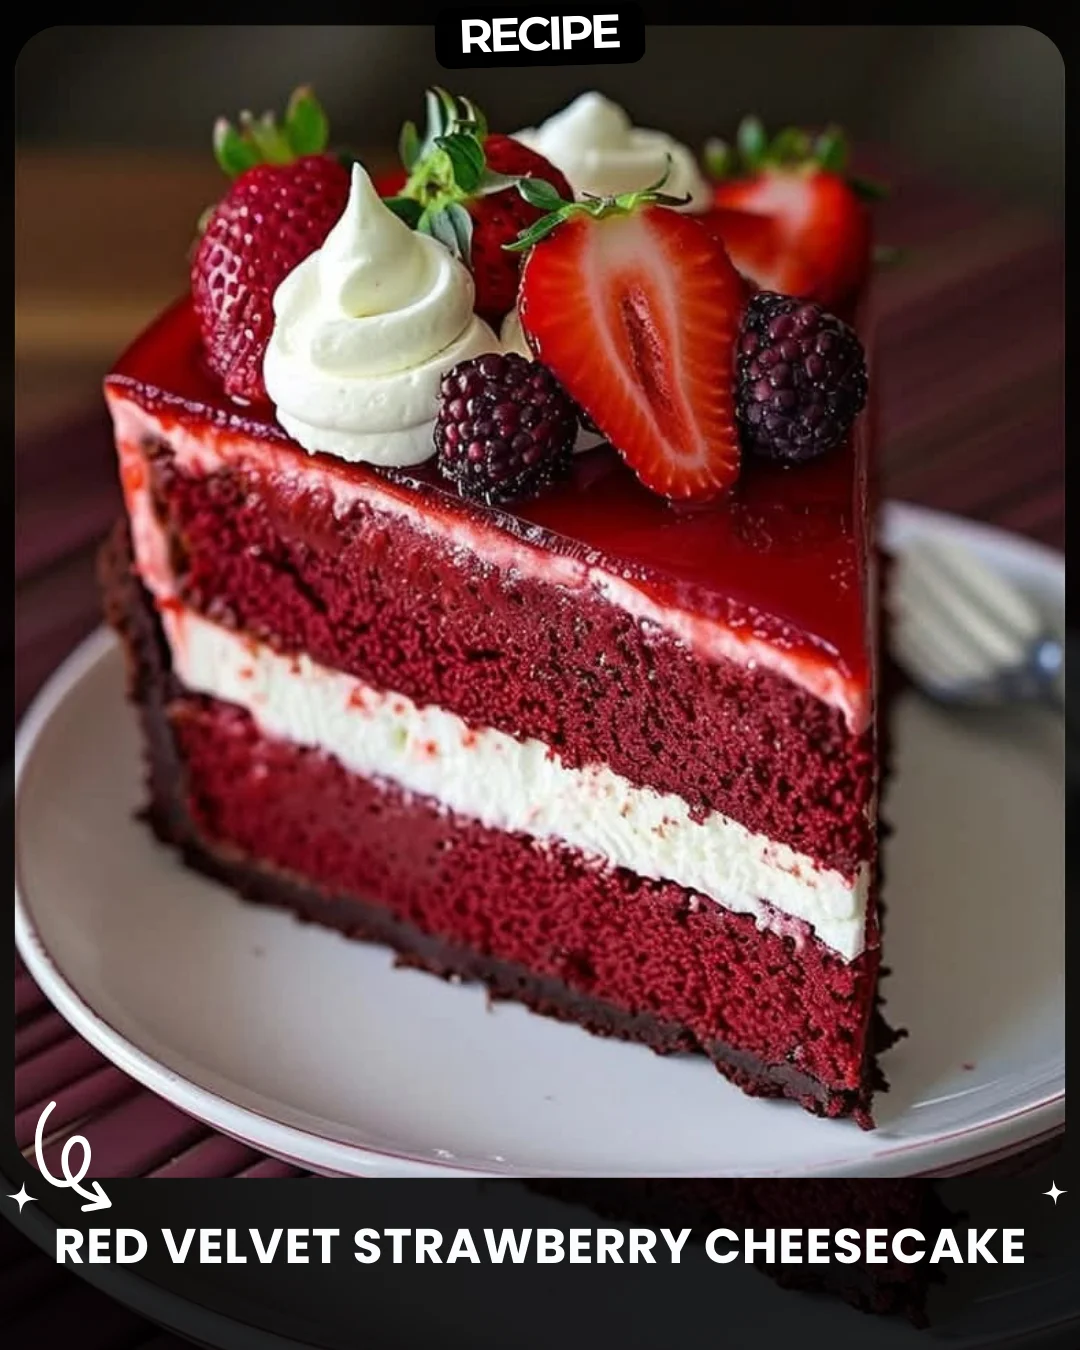
Red Velvet Strawberry Cheesecake
Ingredients
For the Cheesecake Layer:
2 large eggs
½ cup (120ml) sour cream
1 tsp vanilla extract
2 (8 oz / 226g) blocks cream cheese, softened
½ cup (100g) granulated sugar
For the Strawberry Glaze:
¼ cup (50g) granulated sugar
1 tbsp cornstarch
2 tbsp water
1 cup (150g) fresh strawberries, chopped
For the Decoration:
Whipped cream
Optional: blueberries or other berries
Fresh strawberries
For the Red Velvet Cake Layers:
1 large egg
¾ cup (180ml) vegetable oil
½ cup (120ml) buttermilk
2 tsp red gel food coloring
1 tsp vanilla extract
1 tsp white vinegar
1 ½ cups (190g) all-purpose flour
1 cup (200g) granulated sugar
1 tbsp cocoa powder
1 tsp baking soda
½ tsp salt
Instructions
1. Make the Red Velvet Cake:
Preheat your oven to 350°F (175°C). Grease and line two 8-inch (20cm) round cake pans with parchment paper.
In a large bowl, sift together flour, sugar, cocoa powder, baking soda, and salt.
In a separate bowl, whisk together the egg, vegetable oil, buttermilk, food coloring, vanilla extract, and vinegar.
Gradually add the wet ingredients to the dry ingredients and mix until just combined.
Divide the batter evenly between the prepared pans and bake for 20-25 minutes, or until a toothpick inserted in the center comes out clean.
Let the cakes cool completely before removing them from the pans.
2. Make the Cheesecake Layer:
Lower the oven temperature to 325°F (163°C).
In a large bowl, beat the cream cheese and sugar until smooth.
Add the eggs, one at a time, mixing well after each addition. Then, mix in the sour cream and vanilla extract.
Pour the cheesecake batter into a greased and parchment-lined 8-inch (20cm) springform pan.
Bake for 40-50 minutes, or until the edges are set but the center is slightly jiggly.
Cool to room temperature, then chill in the refrigerator for at least 4 hours or overnight.
3. Make the Strawberry Glaze:
In a small saucepan, combine the strawberries and sugar. Cook over medium heat until the strawberries release their juices.
In a small bowl, mix the cornstarch and water until smooth. Stir this mixture into the strawberries and cook until the glaze thickens. Let cool.
4. Assemble the Cake:
Place one red velvet cake layer on a serving plate.
Spread a thin layer of whipped cream or cream cheese frosting (optional) and carefully place the chilled cheesecake layer on top.
Add the second red velvet cake layer on top of the cheesecake.
Spread the cooled strawberry glaze over the top.
Enjoy your homemade Red Velvet Strawberry Cheesecake!
#lovealletherecipes #dessert
Step-by-Step Guide
Follow this detailed sequence for a flawless cake. First, bake and cool the red velvet layers completely. While they cool, prepare the cheesecake layer. Crucially, ensure your cream cheese is at room temperature to avoid lumps. After baking the cheesecake, allow it to cool at room temperature for one hour before refrigerating; this prevents cracking. Make the strawberry glaze while the cheesecake chills. For assembly, use a serrated knife to level the red velvet cake tops if they have domed. Spread a thin layer of whipped cream on the first cake layer to act as “glue” for the cheesecake. Unmold the cheesecake and peel off the parchment before placing it. Finally, apply the glaze just before serving for the freshest look and taste.
Serving Suggestions
Serve each slice with an extra dollop of freshly whipped cream and a garnish of a whole strawberry and a few blueberries. For a festive touch, drizzle plates with a little extra strawberry glaze or melted chocolate. This rich cake pairs beautifully with a cup of black coffee or a glass of cold milk to balance the sweetness. Store any leftovers covered in the refrigerator for up to 3 days.
How-to Summary
This impressive dessert is built in three main components: 1) Bake two red velvet cake layers and let cool. 2) Prepare a classic baked cheesecake layer and chill thoroughly. 3) Create a simple cooked strawberry glaze. Assemble by stacking cake, cheesecake, and the second cake, finishing with the glaze on top.
Frequently Asked Questions
Can I use frozen strawberries for the glaze? Yes, thaw and drain them well first. The cooking time may be slightly longer to reduce the extra liquid.
My cheesecake cracked. What went wrong? Over-baking is the most common cause. The center should still jiggle slightly when you remove it from the oven. Cooling it gradually in the turned-off oven with the door slightly ajar can also prevent cracks.
Can I make this cake ahead of time? Absolutely. You can bake the red velvet layers and the cheesecake layer up to two days in advance. Wrap the cakes and store the cheesecake in the fridge. Assemble the day you plan to serve it.
What can I use instead of buttermilk? Make a quick substitute by adding 1/2 tablespoon of white vinegar or lemon juice to 1/2 cup of regular milk. Let it sit for 5 minutes before using.
Is gel food coloring necessary? Gel or paste coloring is highly recommended as it provides vibrant red color without adding excess liquid, which could alter the cake’s texture.
Common Mistakes to Avoid
- Using cold cream cheese: This leads to a lumpy batter. Ensure it is fully softened.
- Over-mixing the red velvet batter: Mix until just combined to keep the cake tender.
- Not chilling the cheesecake long enough: A minimum of 4 hours is essential for it to set properly for slicing.
- Assembling with a warm cheesecake: This will melt the whipped cream and make the layers slide.
- Spreading glaze on a warm cake: The heat will cause the glaze to become runny and soak in.
Conclusion
This Red Velvet Strawberry Cheesecake is a stunning showstopper that masterfully combines the tangy richness of cheesecake with the classic flavor of red velvet and the fresh sweetness of strawberry. While it involves multiple steps, each component is straightforward. By following the guide and avoiding common pitfalls, you can create a professional-quality dessert that is sure to impress. The final result—a beautiful, layered cake with contrasting textures and flavors—is well worth the effort.