Description
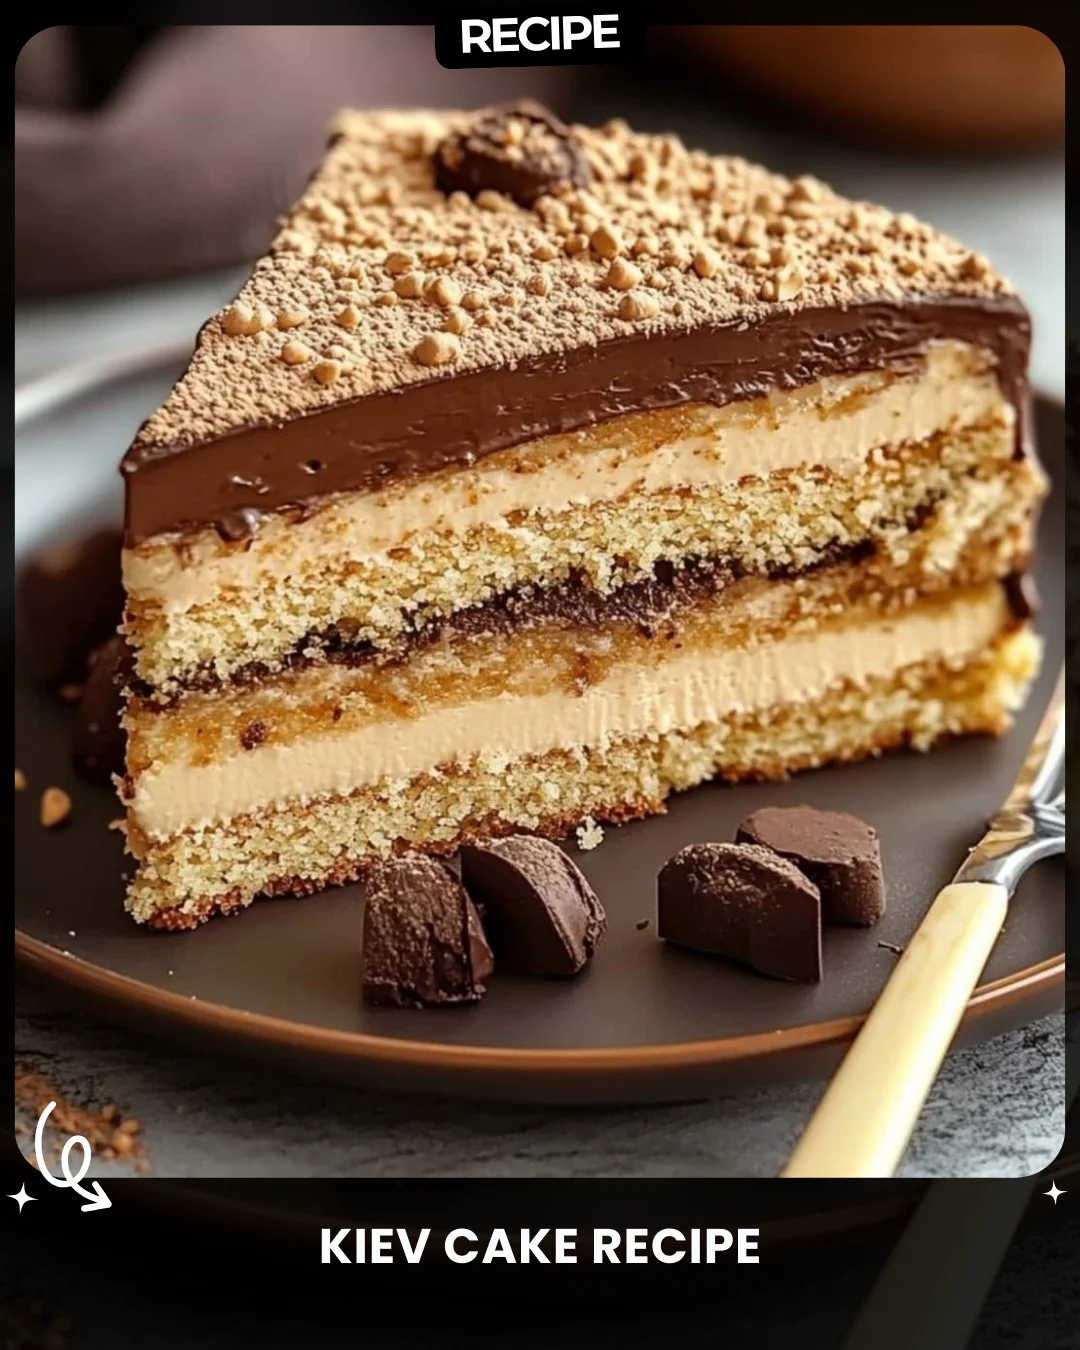
Kiev Cake Recipe
A delightful, rich Ukrainian cake made with layers of meringue, nuts, and a creamy custard filling. This cake is known for its crispy and chewy meringue layers combined with a decadent buttercream and chocolate glaze. Perfect for special occasions!
Ingredients
Meringue Layers:
12 egg whites
2.5 cups sugar
7 oz (200 g) cashews, coarsely chopped
5 oz (140 g) peanuts, coarsely chopped
3/4 cup flour
1 tsp vanilla extract
Buttercream:
12 egg yolks
2 cups milk
1.5 cups sugar
1 lb (450 g) butter, softened
2 Tbsp cognac (optional)
2 Tbsp cocoa powder
Chocolate Glaze:
1 cup chocolate chips
4 Tbsp oil (vegetable or sunflower oil)
Instructions
Day 1: Meringue Layers
Prepare the Meringue:
In a large mixing bowl, beat the egg whites until foamy.
Gradually add the sugar and vanilla extract while mixing, continuing to beat until stiff peaks form.
Prepare the Nut Mixture:
In a separate bowl, mix the chopped cashews, peanuts, and flour.
Gently fold the nut mixture into the beaten egg whites using a silicone spatula until well combined.
Bake the Meringue Layers:
Line two 10-inch round cake pans with parchment paper.
Divide the meringue mixture evenly between the two pans.
Bake in a preheated oven at 300°F (150°C) for 1 hour and 45 minutes.
Once baked, allow the meringue layers to cool on wire racks. Leave them to set overnight.
Prepare the Custard:
In a medium saucepan, bring the milk and sugar to a boil over medium heat.
In a separate bowl, slightly whisk the egg yolks.
Temper the egg yolks by adding a small amount of the boiling milk mixture to them while stirring.
Gradually pour the tempered yolks back into the boiling milk, stirring continuously until the mixture thickens and comes to a boil.
Remove from heat, cover, and allow it to cool completely. Refrigerate the custard overnight.
Day 2: Buttercream and Assembly
Make the Buttercream:
In a large mixing bowl, beat the softened butter until creamy.
Gradually add the cooled custard cream to the butter while continuing to beat until smooth and well combined.
Add the cognac (optional) and beat again.
Assemble the Cake:
Remove the meringue layers from the pans and peel off the parchment paper.
Place the first meringue layer onto a serving plate and fit a springform ring around it.
Spread 3/4 of the buttercream evenly over the first layer.
Place the second meringue layer on top, inverted so that the bottom of the second layer becomes the top of the cake.
Add the cocoa powder to the remaining buttercream, mix well, and spread it over the top layer of the cake.
Refrigerate the assembled cake for several hours or overnight to set.
Chocolate Glaze:
Make the Glaze:
In a microwave-safe bowl, combine the chocolate chips and oil.
Microwave for 1 minute, then stir until the chocolate is fully melted and smooth.
Glaze the Cake:
Once the cake is set, remove the springform ring and pour the chocolate glaze over the top, allowing it to drip down the sides for a smooth, glossy finish.
Serving Suggestions
Let the cake chill for a few hours before serving.
Slice and enjoy the perfect combination of crunchy, chewy meringue, rich buttercream, and chocolate glaze!
This Kiev Cake is a classic dessert, combining various textures and flavors, making it a show-stopping treat for any special occasion.
#lovealletherecipes
Step-by-Step Guide
This detailed guide clarifies the two-day process. Day 1 is dedicated to preparation: Bake the meringue-nut layers low and slow to achieve a crisp exterior and chewy interior. Simultaneously, prepare the custard base for the buttercream, ensuring it cools completely overnight. Day 2 is for assembly: Whip the butter until pale and fluffy, then incorporate the chilled custard to create the silky buttercream. Use a springform pan ring as a mold for neat assembly. Spread most of the plain buttercream between the layers. Invert the top layer for a flat surface, then mix cocoa into the reserved buttercream for the top coating. Chill thoroughly before the final chocolate glaze.
Serving Suggestions
For an elegant presentation, garnish each slice with a sprinkle of crushed, toasted cashews or gold leaf. Pair with a strong black coffee, espresso, or a glass of dessert wine like a Muscat to balance the cake’s richness. Serve chilled, but let it sit at room temperature for 10-15 minutes before eating to soften the buttercream slightly for the best texture.
How-to Summary
Kiev Cake is a two-day project. Day 1: Make and bake the nut-meringue layers; cook and chill the custard. Day 2: Whip custard with butter to make buttercream. Assemble layers with buttercream in a springform ring. Chill. Top with a simple chocolate-oil glaze.
Frequently Asked Questions
Can I use different nuts? Yes. Traditional recipes often use hazelnuts or walnuts. Ensure they are coarsely chopped and toasted for maximum flavor.
Why did my meringue layers crack or weep? This is often due to oven temperature being too high. Bake low and slow (300°F) and allow them to cool gradually in the oven with the door slightly ajar.
Can I make this cake ahead of time? Absolutely. In fact, it benefits from 24-48 hours of chilling, which allows the flavors to meld and the meringue to soften slightly into the perfect texture.
My buttercream curdled. How can I fix it? Ensure both the custard and butter are at similar, cool room temperature. If it separates, gently warm the bowl over a hot water bath for a few seconds while whisking to re-emulsify.
Is the cognac necessary? No, it’s optional, but it adds a classic, sophisticated flavor that cuts the sweetness. You can substitute with vanilla extract or a coffee liqueur.
Common Mistakes to Avoid
- Adding sugar to egg whites too quickly. Incorporate it gradually for a stable meringue.
- Using warm custard or butter for the buttercream, which will cause it to become soupy.
- Overfolding the nut mixture into the meringue, which can deflate the air you worked hard to incorporate.
- Not letting the assembled cake chill long enough before glazing, which can cause the glaze to set unevenly or the layers to shift when sliced.
- Rushing the baking of the meringue layers. A higher temperature will cause browning and a brittle texture instead of a pale, crisp-chewy one.
Conclusion
The Kiev Cake is a rewarding baking project that yields an extraordinarily impressive dessert. Its genius lies in the contrast of textures—crispy, chewy meringue against rich, silky buttercream, all sealed with a glossy chocolate glaze. While it requires patience across two days, each step is straightforward. The result is a stunning centerpiece, deeply rooted in tradition, that is sure to delight and earn its place as a celebrated treat for your most special occasions.