Description
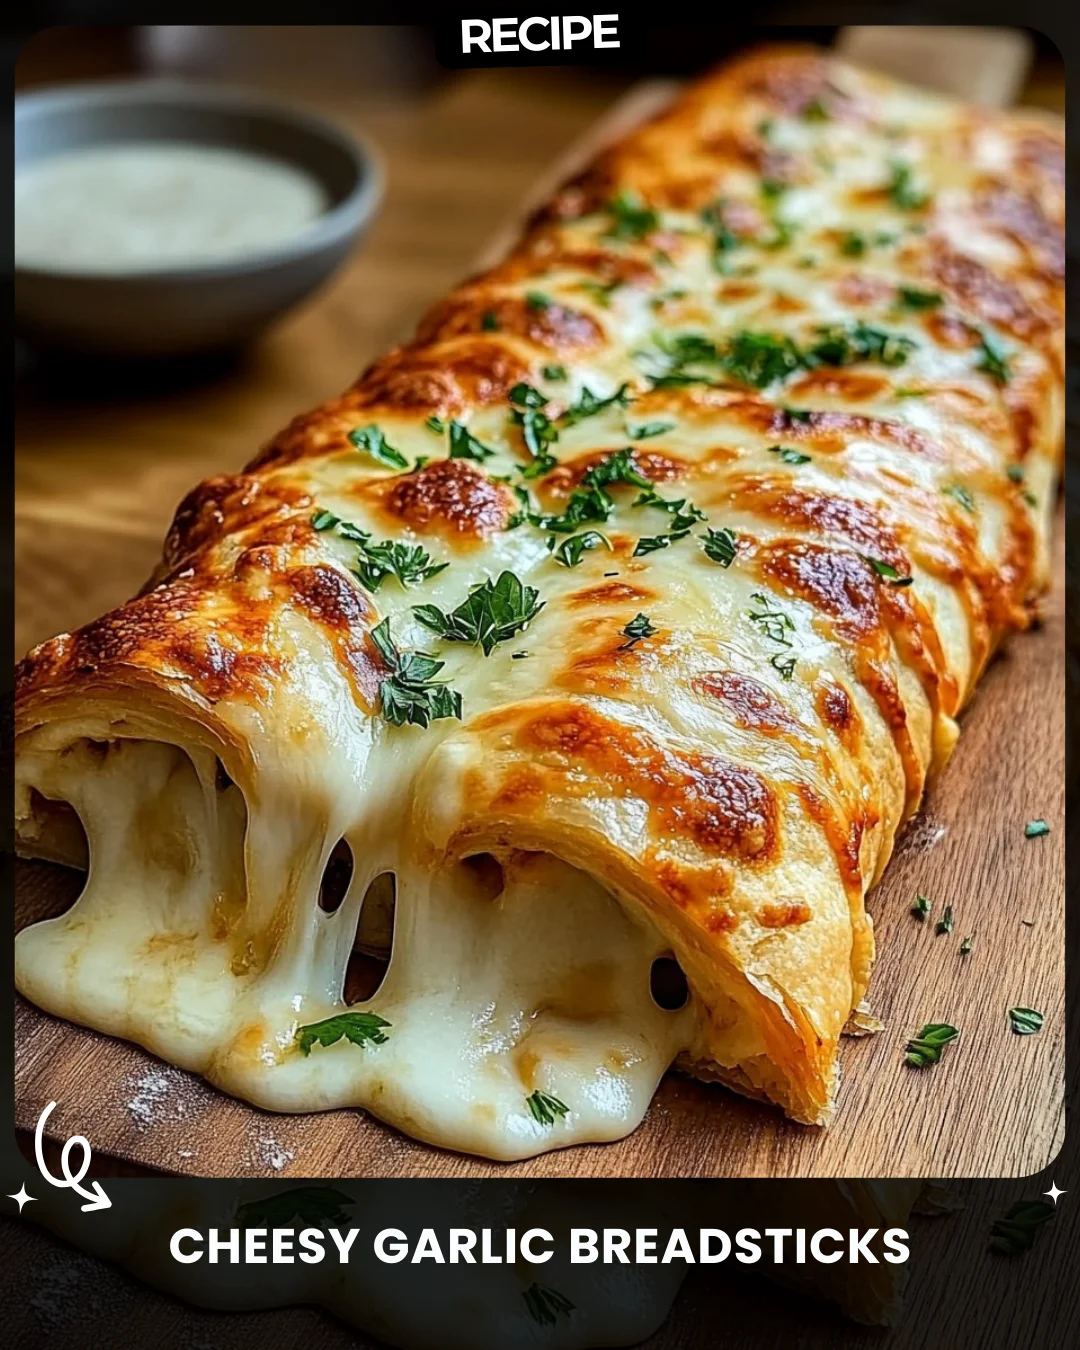
Cheesy Garlic Breadsticks
Ingredients:
1 lb pizza dough
1 cup shredded mozzarella cheese
1/4 cup grated Parmesan cheese
2 tbsp olive oil
2 cloves garlic, minced
Salt and pepper to taste
Dried parsley (for garnish)
Optional: Ranch dressing for dipping
Instructions:
Start by preheating your oven to 400°F (200°C). On a lightly floured surface, roll out the pizza dough into a large rectangle. Brush the edges of the dough with olive oil.
In a small bowl, mix together the minced garlic, salt, and pepper. Spread the garlic mixture evenly over the rolled-out dough. Sprinkle the shredded mozzarella cheese and grated Parmesan cheese over the garlic mixture.
Carefully roll up the dough from one end to the other, tucking in the sides as you go. Place the rolled-up breadsticks on a baking sheet lined with parchment paper. Brush the top of the breadsticks with olive oil and sprinkle with dried parsley.
Bake for about 20-25 minutes until the breadsticks are golden brown and the cheese is melted and bubbly. Remove from the oven and let them cool slightly before slicing.
Serve the Cheesy Garlic Breadsticks hot, accompanied by a small bowl of ranch dressing for dipping. This dish is perfect for a satisfying snack or appetizer that combines the rich flavors of melted cheese and savory garlic. Enjoy your delicious Cheesy Garlic Breadsticks!
Step-by-Step Guide
Follow these detailed instructions for perfect breadsticks every time. First, ensure your pizza dough is at room temperature for easy handling. On a floured surface, roll the dough into a 12×9 inch rectangle. Use a pastry brush to apply a thin layer of olive oil to the entire surface, not just the edges. For the garlic mixture, consider using a garlic press for a finer mince and more potent flavor distribution. When sprinkling the cheeses, leave a half-inch border on one long edge to allow for a clean seal when rolling. Roll the dough tightly from the opposite long edge, using a bench scraper to help lift it. Pinch the final seam and ends firmly closed. Before baking, use a sharp serrated knife to score the top of the log lightly every 1.5 inches; this makes slicing after baking cleaner.
Serving Suggestions
While delicious alone, these breadsticks can be the star of various occasions. Serve them as an appetizer with marinara sauce, warm pizza sauce, or a creamy alfredo dip alongside the suggested ranch. For a main course, pair them with a hearty bowl of tomato soup or a fresh garden salad. To elevate a party platter, slice them into one-inch pieces and skewer each with a toothpick for easy grabbing. For a fun twist, sprinkle everything bagel seasoning or red pepper flakes over the olive oil before baking.
How-to Summary
In short: roll out dough, coat with oil and garlic, cover with cheese, roll into a log, bake until golden, slice, and serve. The key steps are achieving an even rectangle, sealing the roll tightly, and allowing a brief cool before slicing for neat portions.
Frequently Asked Questions
Can I use pre-made garlic butter instead of oil and fresh garlic?
Absolutely. Using 3 tablespoons of softened garlic butter brushed over the dough will add incredible richness and flavor.
How can I make these breadsticks ahead of time?
You can assemble the log, wrap it tightly in plastic wrap, and refrigerate for up to 24 hours. Let it sit at room temperature for 30 minutes before baking.
My cheese leaked out during baking. How do I prevent this?
Ensure you are not overfilling, and crucially, seal the long seam and the two ends of the dough log very tightly before baking.
Can I freeze the baked breadsticks?
Yes. Once fully cooled, freeze them on a baking sheet before transferring to a freezer bag. Reheat in a 350°F oven for 10-15 minutes.
What’s the best way to reheat leftovers?
Reheat in an oven or toaster oven at 375°F for 5-8 minutes to restore crispiness. The microwave will make them chewy.
Common Mistakes to Avoid
- Using cold dough: This makes it difficult to roll and can cause tearing.
- Overloading with cheese: This makes rolling messy and causes leakage during baking.
- Not sealing the dough log: A poor seal guarantees cheese spillage.
- Slicing immediately after baking: Let the breadsticks rest for 5 minutes so the cheese sets, ensuring clean cuts.
- Using a dull knife to slice: A serrated knife is essential for cutting through the crispy exterior without squishing.
Conclusion
These Cheesy Garlic Breadsticks are a versatile and crowd-pleasing treat that masterfully combines simple ingredients into something extraordinary. By following the detailed guide and avoiding common pitfalls, you can consistently create a perfect appetizer or snack. The process is straightforward, the results are deeply satisfying, and the customization options are endless. Whether for a game day, family dinner, or party platter, this recipe is sure to become a cherished favorite in your culinary repertoire.