Description
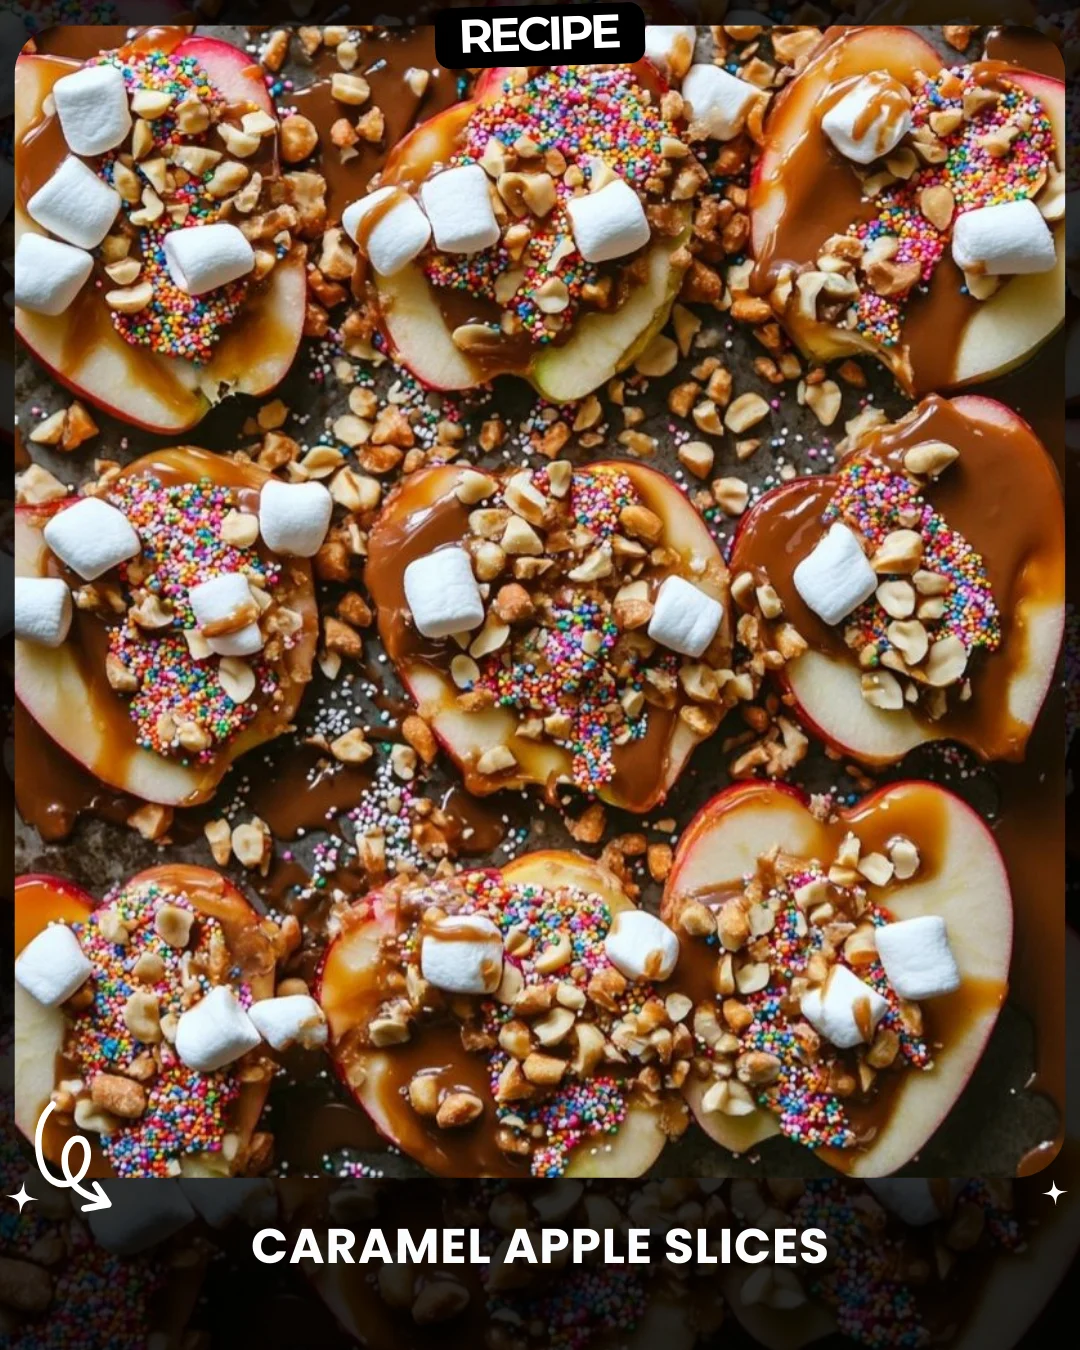
Caramel Apple Slices
Ingredients:
2 large apples, sliced
1 cup caramel sauce
1/2 cup chopped peanuts
1/4 cup mini marshmallows
2 tbsp rainbow sprinkles
Instructions:
1. Prepare Apples: Wash and slice apples into thick wedges. Arrange them on a parchment-lined baking sheet.
2. Add Caramel: Drizzle caramel sauce generously over each apple slice.
3. Top with Peanuts: Sprinkle chopped peanuts evenly over the caramel.
4. Add Toppings: Place mini marshmallows on each slice and scatter rainbow sprinkles for a colorful finish.
5. Chill: Refrigerate for 10 minutes to set the caramel slightly. Serve immediately for a fun treat.
##CaramelApples ##DessertIdeas
Step-by-Step Guide
Follow these detailed instructions for perfect caramel apple slices every time. First, select firm apples like Granny Smith or Honeycrisp. Wash and dry them thoroughly. Using a sharp knife, slice the apples into 1/2-inch thick wedges. Immediately place the wedges in a bowl of cold water with a squeeze of lemon juice to prevent browning. Pat the slices completely dry with a paper towel before arranging them on a parchment-lined baking sheet. This step is crucial, as any water will prevent the caramel from sticking properly. Next, gently warm your caramel sauce in the microwave for 15-20 seconds to make it more pourable. Using a spoon, drizzle a generous amount of caramel over each slice, ensuring coverage from the center to the edges. Work quickly before the caramel cools.
Serving Suggestions
These caramel apple slices are versatile. For a party, serve them on a large platter as a finger-food dessert. For an elegant touch, drizzle melted chocolate over the set caramel before adding other toppings. They pair wonderfully with a scoop of vanilla ice cream or a dollop of whipped cream. For an adult twist, sprinkle a tiny bit of sea salt over the caramel before adding the other toppings to create a sweet-and-salty flavor profile.
How-to Summary
In short: Slice and dry apples, arrange on parchment, drizzle with warm caramel, and top with peanuts, marshmallows, and sprinkles. Chill briefly to set before serving.
Frequently Asked Questions
Can I make these ahead of time? It’s best to assemble them no more than 2-3 hours in advance. The apples will eventually release moisture and soften the caramel and toppings. For longer prep, store the dry apple slices in lemon water and the toppings separately, assembling just before serving.
What’s the best caramel to use? A thick, store-bought caramel sauce or dip works perfectly. You can also use melted caramel candies with a tablespoon of heavy cream. Avoid thin, ice cream-style sauces as they will not set.
How do I prevent the apples from browning? The lemon water bath (1 tbsp lemon juice per cup of water) is the most effective method. Patting them completely dry is the next critical step.
Can I use different toppings? Absolutely! Try crushed pretzels, toffee bits, shredded coconut, or chopped chocolate candies instead of or in addition to the suggested toppings.
Why must I chill them? The brief 10-minute chill helps the caramel set slightly so it doesn’t drip everywhere when picked up. It also helps the toppings adhere better.
Common Mistakes to Avoid
Avoid these pitfalls: Using wet apple slices, which causes the caramel to slide off. Skipping the parchment paper, leading to a sticky mess. Using cold, thick caramel that is impossible to drizzle evenly. Overloading the slices with heavy toppings, which can cause them to topple over. Chilling for too long (more than 30 minutes), as the apples can become too soft and the caramel overly hard.
Conclusion
These caramel apple slices are the ultimate easy, fun, and customizable treat. They capture all the nostalgic flavor of a classic caramel apple but in a much more convenient, shareable form. By following the detailed steps and avoiding common mistakes, you can create a stunning dessert that is sure to impress at any gathering. Experiment with different apple varieties and topping combinations to make it your own signature snack.