Description
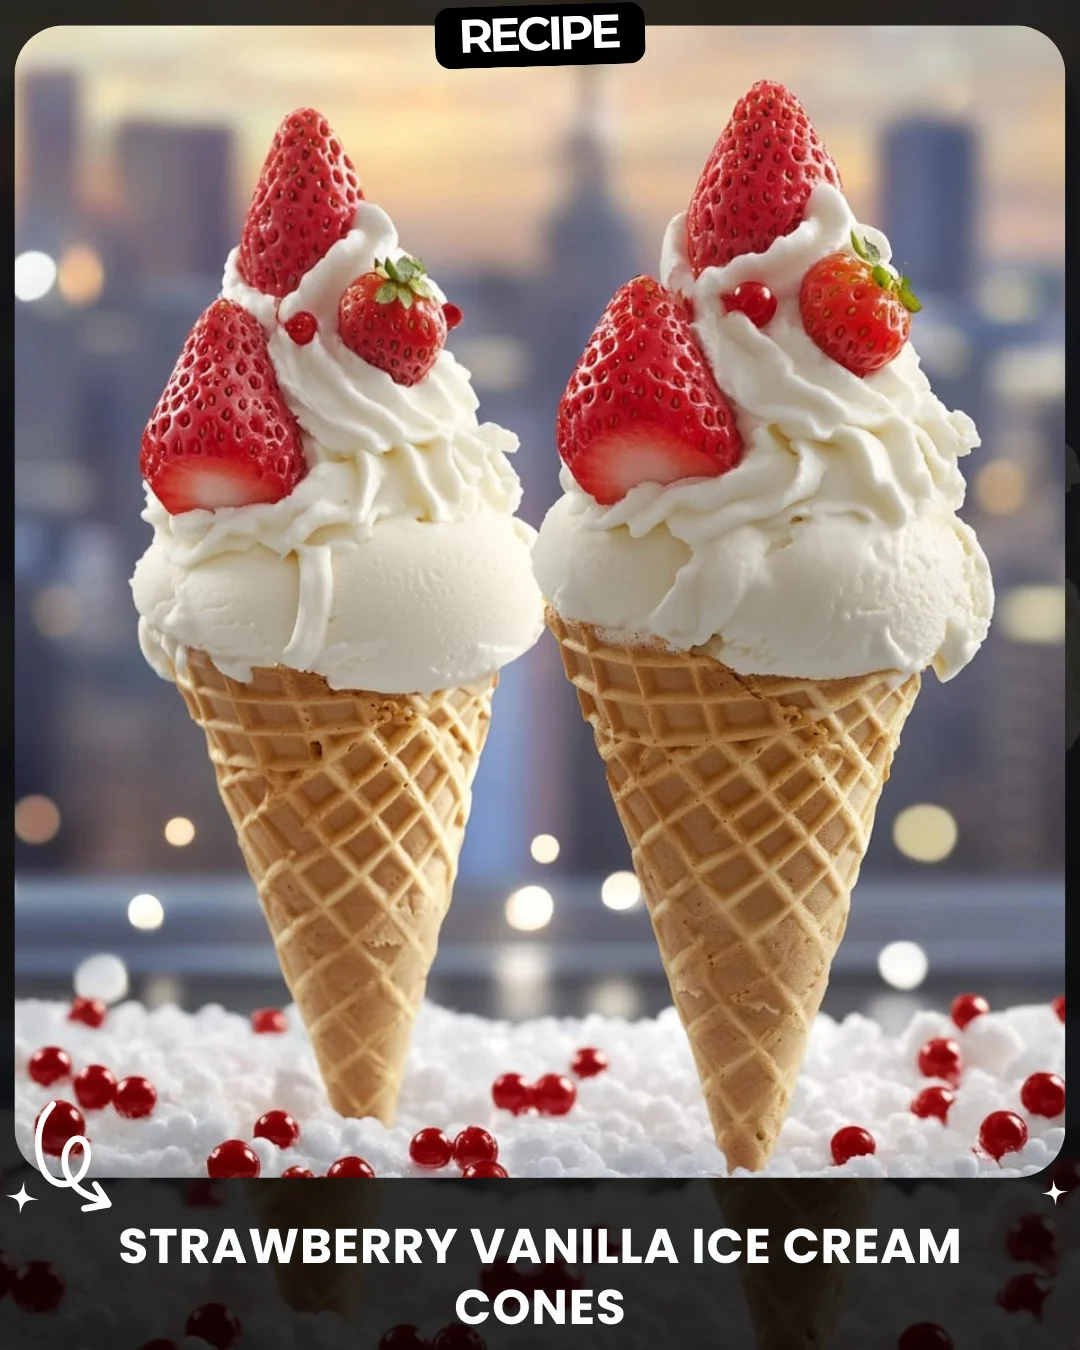
Strawberry Vanilla Ice Cream Cones
Ingredients:
2 waffle cones
4 scoops of vanilla ice cream
1 cup whipped cream
Fresh strawberries, halved
Red currants (optional, for garnish)
—
Instructions:
1. Prepare the cones:
Place two waffle cones upright on a stable surface or use a cone holder.
2. Add the ice cream:
Scoop two generous scoops of vanilla ice cream into each cone, making sure they are well-balanced.
3. Decorate with whipped cream:
Pipe a swirl of whipped cream on top of the ice cream for a creamy peak.
4. Garnish with strawberries and currants:
Gently press the halved strawberries into the whipped cream. Add a few red currants on top for a touch of color and elegance.
5. Serve immediately:
Enjoy these delightful strawberry vanilla ice cream cones with your favorite view!
Step-by-Step Guide
Follow these detailed instructions to create picture-perfect ice cream cones every time.
- Prep Your Station: Ensure all ingredients are ready. Have your cones, a sturdy holder or cups to keep them upright, and pre-scooped ice cream balls on a chilled plate for speed.
- Fill the Base: Place the first scoop of vanilla ice cream firmly into the cone, twisting to secure it. This creates a stable foundation.
- Build the Tower: Add the second scoop directly on top, pressing gently to adhere but not so hard that it squishes the bottom scoop.
- Apply the Whipped Cream: Using a piping bag with a star tip, start at the edge of the top scoop and pipe in a tight, upward spiral to create a tall, decorative peak.
- Final Garnish: Immediately press the strawberry halves into the sides of the whipped cream. Place the red currants delicately on the very top for a professional finish.
Serving Suggestions
Elevate your cones from simple treat to a stunning dessert. For a party, create a “cone bar” with bowls of different toppings like chocolate shavings, sprinkles, or crushed nuts. Drizzle the finished cones with a balsamic reduction or melted dark chocolate for a gourmet touch. Serve alongside a glass of sparkling lemonade or iced coffee for a perfect summer pairing.
How-to Summary
In short, build a stable base with the first ice cream scoop, add a second, then decorate with piped whipped cream and fresh berries. The key is to work quickly so the ice cream stays firm and the whipped cream holds its shape.
Frequently Asked Questions
Can I make these ahead of time?
It’s not recommended. Ice cream will melt and whipped cream can deflate. Prepare your ingredients in advance, but assemble just before serving.
What if I don’t have a piping bag?
You can use a zip-top bag with a corner snipped off, or simply dollop the whipped cream with a spoon and use the back of the spoon to shape a peak.
How can I prevent the cone from getting soggy?
Serve immediately after assembly. For a barrier, you can add a small piece of parchment paper inside the cone before the first scoop, or coat the inside with a thin layer of melted chocolate and let it harden first.
What are good substitutes for red currants?
A small mint leaf, a blueberry, a raspberry, or even a delicate edible flower makes a beautiful and tasty alternative garnish.
Can I use different ice cream flavors?
Absolutely! Strawberry ice cream would intensify the berry flavor, or a vanilla bean would add elegant specks. Ensure your chosen flavor complements the fresh fruit.
Common Mistakes to Avoid
- Using Warm Tools: Ensure your ice cream scoop and hands are cool to prevent premature melting.
- Overloading the Cone: Two scoops is typically the structural max. Adding more risks a collapse.
- Garnishing Too Early: If you add berries before the whipped cream, they may slide off. The whipped cream acts as “glue.”
- Soft Ice Cream: Ice cream that is too soft is impossible to stack. Let it firm up in the freezer for 10-15 minutes if needed.
Conclusion
This strawberry vanilla ice cream cone recipe is a masterclass in simple elegance. By following the detailed steps and expert tips, you can transform a few classic ingredients into a visually stunning and delicious dessert. Remember the core principles: work with cold ingredients, build with stability in mind, and assemble at the last moment for the perfect, Instagram-worthy treat that’s as fun to make as it is to eat.