Description
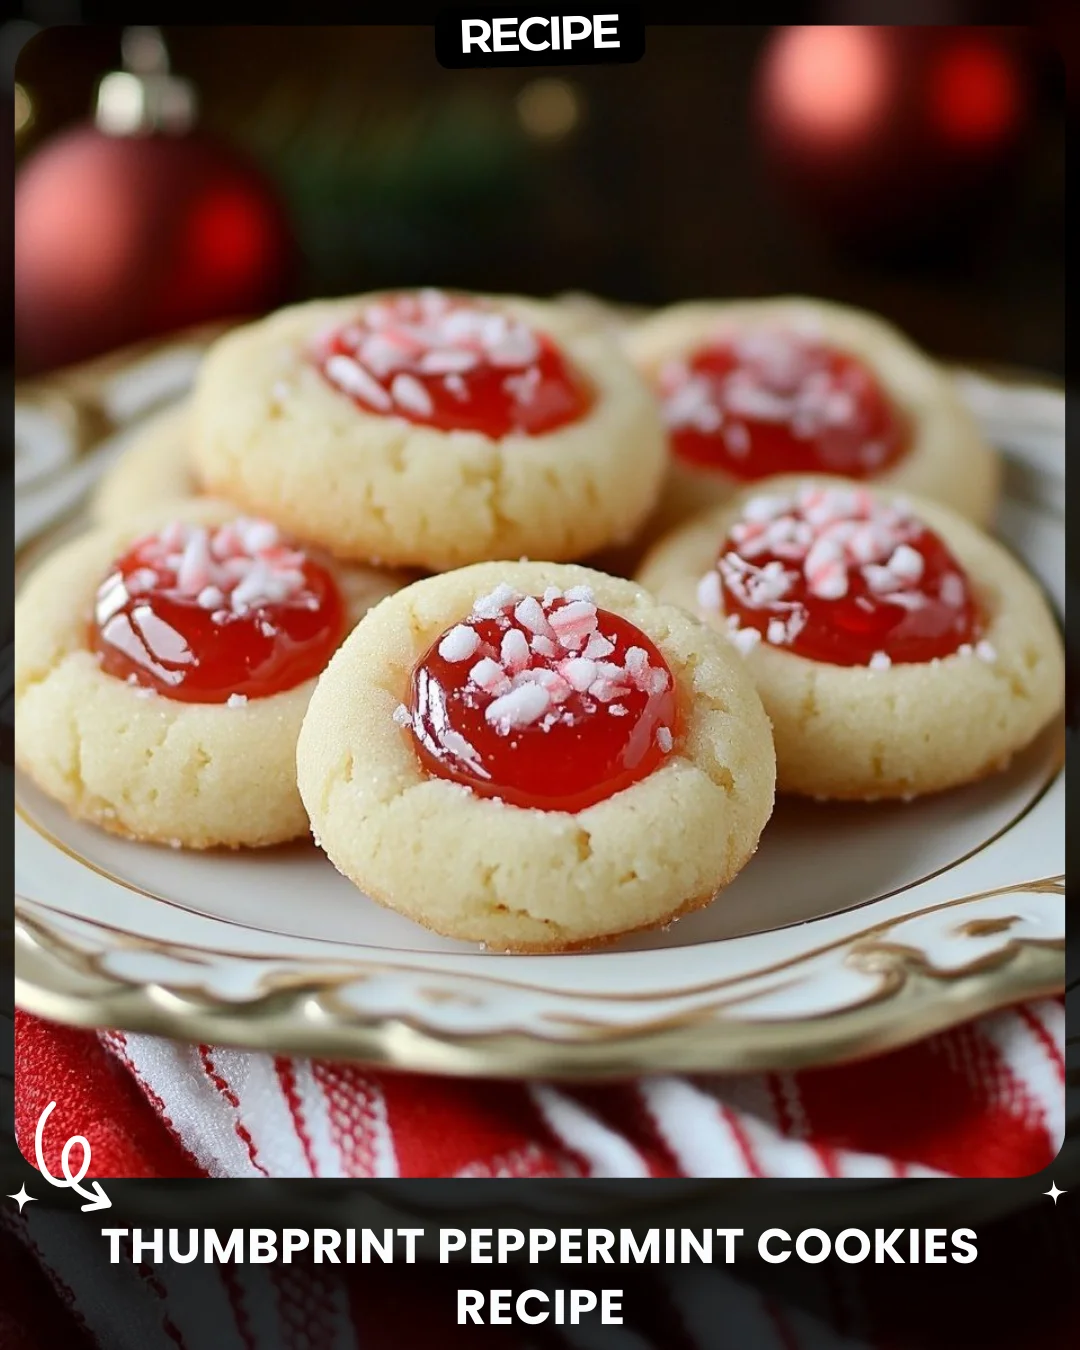
Thumbprint Peppermint Cookies Recipe
Ingredients:
1 cup butter, softened
1/2 cup sugar
2 cups all-purpose flour
1/4 teaspoon salt
1/2 cup cherry jam
Crushed peppermint candies for topping
Instructions:
1. Preheat the oven to 180°C (350°F).
2. Cream butter and sugar together until light and fluffy.
3. Gradually add flour and salt, mixing until dough forms.
4. Roll dough into small balls and place on a baking sheet.
5. Press your thumb in the center of each ball to create an indent.
6. Fill each indent with a small amount of cherry jam.
7. Bake for 12-15 minutes until edges are lightly golden.
8. Sprinkle crushed peppermint candies on top while cookies are still warm.
Perfect for the holiday season!
Step-by-Step Guide
Follow these detailed instructions for perfect cookies. First, ensure your butter is truly softened at room temperature for about 30 minutes. Preheat your oven to 180°C (350°F) and line your baking sheets with parchment paper. Using a stand or hand mixer, cream the butter and sugar on medium-high speed for 3-4 minutes until pale and fluffy. This step incorporates air for a tender texture. Reduce mixer speed to low and gradually add the flour and salt, mixing just until the dough comes together and no dry streaks remain. Overmixing will make the cookies tough.
Roll dough into 1-inch balls, placing them 2 inches apart on the sheet. Use the back of a rounded 1/2 teaspoon measure or your thumb to press a firm, deep indent into each ball. Fill each indent with about 1/4 teaspoon of cherry jam, being careful not to overfill. Bake for 12-15 minutes, rotating the sheet halfway through, until the bottoms are just golden. Immediately upon removal, sprinkle with crushed peppermint candies so they adhere as the cookies cool on the sheet for 5 minutes before transferring to a wire rack.
Serving Suggestions
These festive cookies are versatile. Serve them on a holiday dessert platter alongside chocolate treats and shortbread. For a special presentation, dust them lightly with powdered sugar. They pair wonderfully with a cup of hot cocoa, coffee, or a glass of cold milk. For a grown-up twist, serve them with a peppermint schnapps-spiked hot chocolate or a dessert wine.
How-to Summary
In short: Cream soft butter and sugar, mix in flour and salt to form a dough, roll into balls, create a thumbprint indent, fill with cherry jam, bake at 180°C (350°F) for 12-15 minutes, and top with crushed peppermint while warm.
Frequently Asked Questions
Can I use a different type of jam? Absolutely. Raspberry, apricot, or even seedless blackberry jam are excellent alternatives. Avoid overly runny preserves.
How do I prevent the indent from baking out? Ensure your indent is deep enough and your dough is chilled if your kitchen is very warm. Some bakers chill the shaped cookies for 15 minutes before baking.
Can I make the dough ahead of time? Yes. Wrap the dough tightly in plastic and refrigerate for up to 2 days. Let it soften slightly at room temperature before rolling.
How should I store these cookies? Store in an airtight container at room temperature for up to 5 days. Layer them between sheets of parchment to prevent sticking.
My butter/sugar mixture looks curdled. What happened? This usually means your butter was too warm or the ingredients weren’t at similar temperatures. Ensure all ingredients are at room temp and mix thoroughly.
Common Mistakes to Avoid
- Using melted or cold butter, which ruins the dough’s texture.
- Overfilling the thumbprint with jam, causing it to bubble over and burn.
- Overbaking the cookies; they continue to firm up as they cool.
- Adding the peppermint topping after cookies have cooled completely, as it won’t stick.
- Not creaming the butter and sugar long enough, resulting in dense cookies.
Conclusion
These Thumbprint Peppermint Cookies are a delightful fusion of buttery shortbread, sweet cherry, and cool peppermint. By following this enhanced guide, you’ll avoid common pitfalls and create a visually stunning and delicious treat that captures the essence of the holiday season. Their simple elegance makes them perfect for gifting, parties, or a cozy night in. Happy baking!