Description
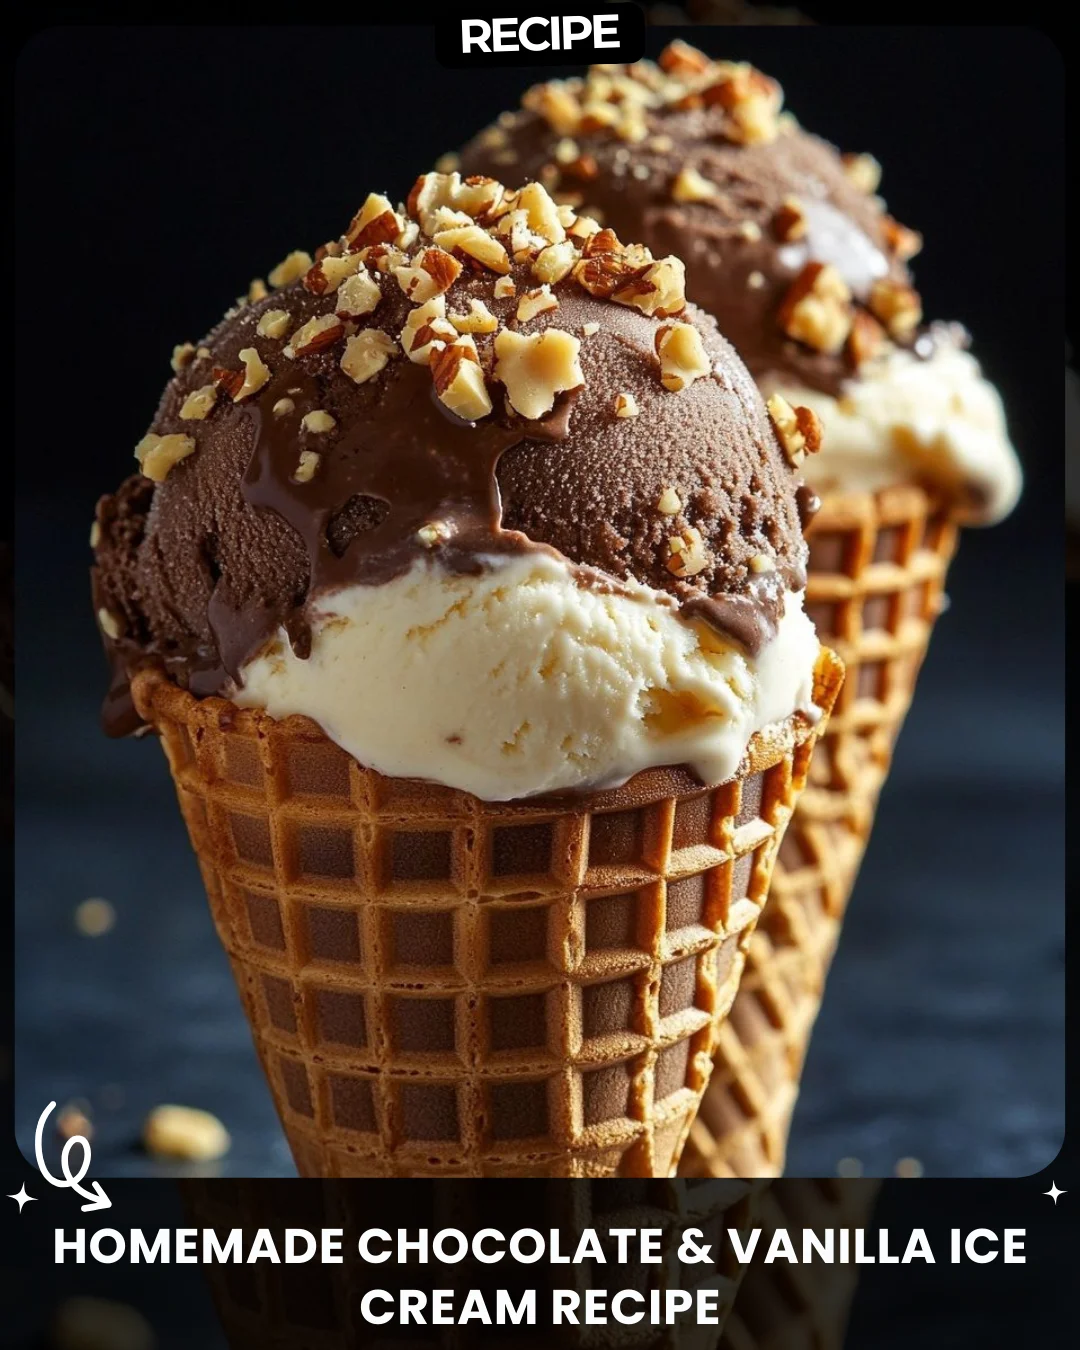
Homemade Chocolate & Vanilla Ice Cream Recipe
Ingredients:
Vanilla Ice Cream:
2 cups heavy cream
1 cup whole milk
3/4 cup granulated sugar
1 tbsp vanilla extract
Chocolate Ice Cream:
2 cups heavy cream
1 cup whole milk
3/4 cup granulated sugar
1/2 cup cocoa powder
Toppings:
Melted chocolate
Chopped nuts
Steps:
1. Prepare the vanilla ice cream base:
In a bowl, whisk together heavy cream, milk, sugar, and vanilla extract until the sugar dissolves.
Pour the mixture into an ice cream maker and churn according to the manufacturer’s instructions. Freeze for at least 2 hours.
2. Prepare the chocolate ice cream base:
In another bowl, whisk together heavy cream, milk, sugar, and cocoa powder until well combined.
Pour into the ice cream maker and churn. Freeze for at least 2 hours.
3. Serve:
Scoop both vanilla and chocolate ice creams into waffle cones.
Drizzle melted chocolate over the top and sprinkle with chopped nuts.
Step-by-Step Guide
Follow these detailed instructions for perfect homemade ice cream every time.
- Chill your ice cream maker’s bowl thoroughly, typically for 12-24 hours in the freezer.
- For the vanilla base: In a large mixing bowl, combine the heavy cream, whole milk, and granulated sugar. Whisk vigorously for 2-3 minutes until the sugar is completely dissolved. Stir in the vanilla extract.
- Pour the vanilla mixture into your pre-chilled ice cream maker. Churn according to the manufacturer’s directions, usually for 20-30 minutes, until it reaches a soft-serve consistency.
- Transfer the churned vanilla ice cream to a freezer-safe container. Press a piece of parchment paper directly onto the surface to prevent ice crystals. Freeze for at least 2 hours to harden.
- For the chocolate base: Sift the cocoa powder into a clean bowl to remove lumps. Add the sugar and whisk to combine. Slowly add the milk while whisking to form a smooth paste. Once combined, whisk in the heavy cream until fully incorporated.
- Churn the chocolate mixture in your cleaned and re-frozen ice cream maker bowl. Transfer to a container, cover with parchment, and freeze for at least 2 hours.
Serving Suggestions
Elevate your ice cream experience with these ideas:
- Create a classic sundae in a bowl with hot fudge, caramel sauce, and a maraschino cherry.
- Make an ice cream sandwich using homemade chocolate chip cookies.
- Serve a scoop alongside warm brownies or a slice of pie for a decadent dessert.
- For a sophisticated twist, drizzle with a high-quality olive oil and a pinch of sea salt.
How-to Summary
In short: Chill your equipment. Whisk each base’s ingredients until sugar dissolves. Churn separately in an ice cream maker. Freeze for a minimum of two hours before serving with your favorite toppings.
Frequently Asked Questions
Can I make this without an ice cream maker?
Yes. Pour your mixed base into a shallow, freezer-safe dish. Freeze for 45 minutes, then remove and whisk vigorously to break up ice crystals. Repeat every 30 minutes for 3-4 hours until firm.
Why is my ice cream icy and not creamy?
This is often due to insufficient fat content or not churning enough air into the base. Ensure you are using full-fat heavy cream and whole milk, and churn until noticeably thickened.
How long does homemade ice cream last?
Stored in an airtight container with parchment on the surface, it will maintain best quality for 1-2 weeks. It remains safe to eat longer but may develop freezer burn or ice crystals.
Can I reduce the sugar?
You can, but sugar lowers the freezing point, contributing to a softer texture. Reducing it significantly may result in a very hard, icy final product.
My chocolate base is grainy. What happened?
The cocoa powder likely wasn’t fully dissolved. Always sift cocoa and whisk it into the sugar first before slowly adding the liquid to create a smooth paste.
Common Mistakes to Avoid
- Not pre-chilling the ice cream maker bowl, which prevents proper freezing.
- Rushing the churning process; stop only when the mixture is thick and creamy.
- Skipping the parchment paper step, leading to ice crystal formation.
- Using low-fat dairy substitutes, which compromises the rich, creamy texture.
- Adding mix-ins like nuts or chocolate chips too early; fold them in during the last 2 minutes of churning.
Conclusion
Making chocolate and vanilla ice cream at home is a rewarding process that yields far superior flavor and texture to most store-bought varieties. By following this detailed guide, avoiding common pitfalls, and experimenting with your own serving ideas, you can master this classic dessert. The rich, creamy results are sure to impress and provide the perfect canvas for endless customization. Enjoy the sweet fruits of your labor!