Description
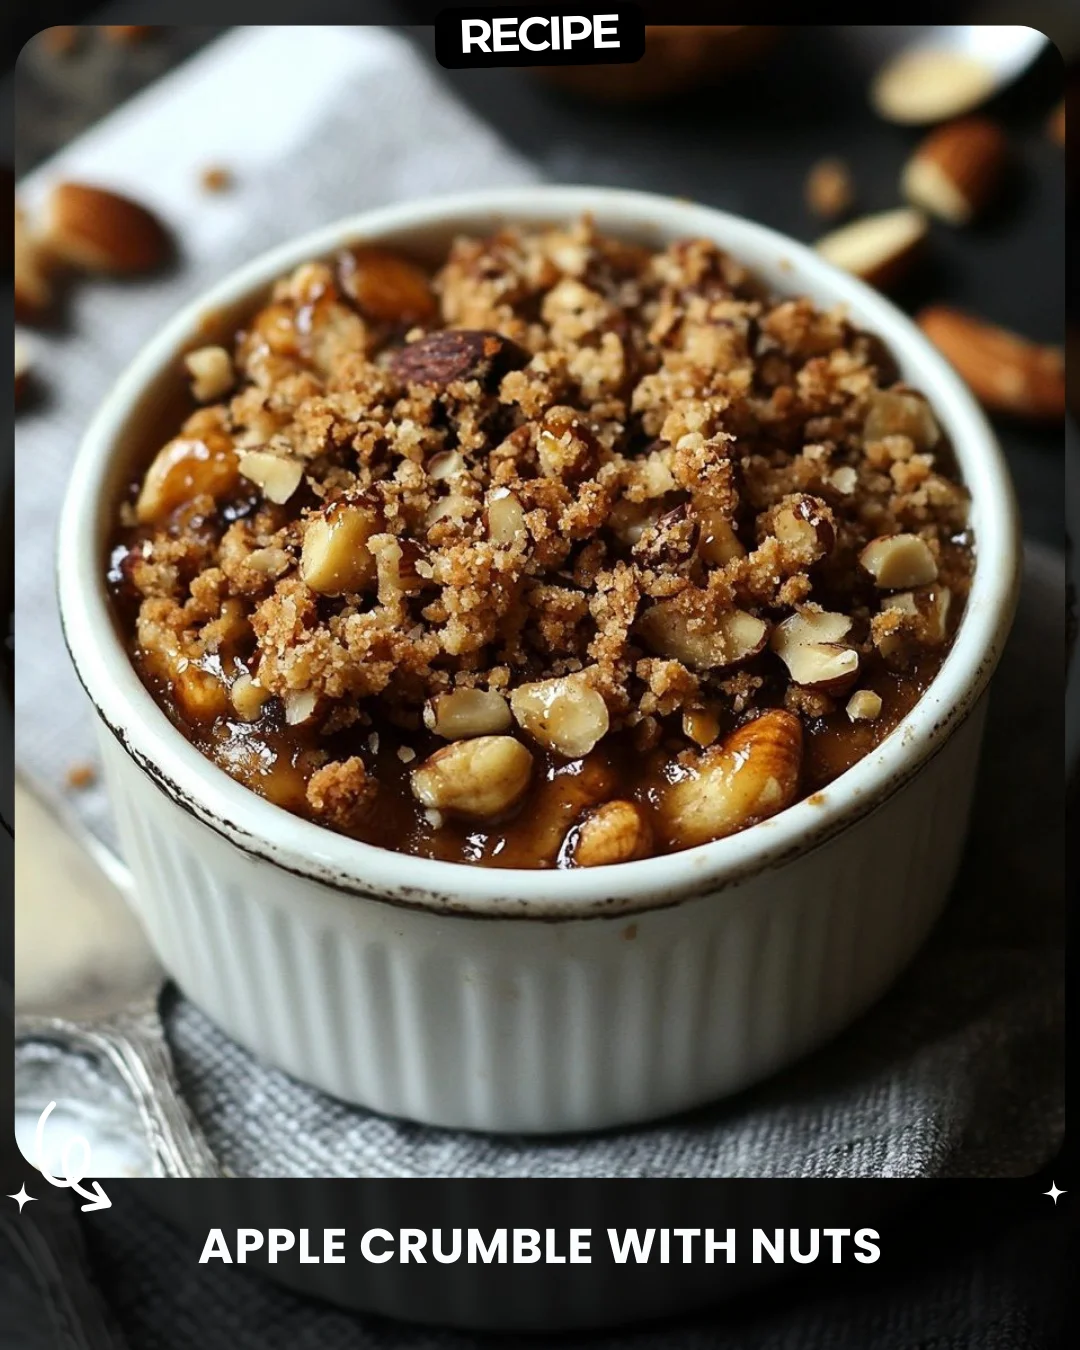
Apple Crumble with Nuts
Ingredients:
For the Filling:
4 medium apples, peeled and diced
2 tbsp brown sugar
1/2 tsp ground cinnamon
1 tbsp lemon juice
For the Crumble Topping:
1/2 cup all-purpose flour
1/4 cup brown sugar
1/4 cup granulated sugar
1/2 cup butter, cold and diced
1/2 cup mixed nuts, chopped
Instructions:
1. Preheat your oven to 350°F (175°C).
2. In a bowl, mix the diced apples, brown sugar, cinnamon, and lemon juice.
3. Spread the apple mixture evenly in a baking dish.
4. In another bowl, combine the flour, brown sugar, and granulated sugar. Add the cold butter and mix until crumbly.
5. Stir in the chopped nuts and sprinkle the mixture over the apples.
6. Bake for 30-35 minutes, or until the topping is golden brown and the apples are tender.
7. Serve warm and enjoy the crunch!
Step-by-Step Guide
Follow these detailed instructions for a perfect crumble. First, preheat your oven to 350°F (175°C) and lightly grease a medium baking dish. For the filling, peel and dice your apples into uniform, bite-sized pieces to ensure even cooking. In a mixing bowl, thoroughly combine the apples with 2 tbsp brown sugar, 1/2 tsp cinnamon, and 1 tbsp lemon juice until evenly coated, then transfer to the prepared dish.
For the topping, in a separate bowl, whisk together 1/2 cup flour, 1/4 cup brown sugar, and 1/4 cup granulated sugar. Add the 1/2 cup of cold, diced butter. Using your fingertips, a pastry cutter, or two forks, work the butter into the dry ingredients until the mixture resembles coarse breadcrumbs with some pea-sized lumps. Gently fold in the 1/2 cup of chopped mixed nuts. Evenly sprinkle this crumble topping over the apple layer, covering it completely.
Place the dish in the preheated oven on the center rack. Bake for 30-35 minutes. The crumble is done when the topping is a deep golden brown and you can see the apple filling bubbling gently around the edges.
Serving Suggestions
This dessert is incredibly versatile. Serve it warm from the oven for the best texture contrast. A classic pairing is a scoop of vanilla ice cream, which melts deliciously into the crumble. For a lighter option, try a dollop of freshly whipped cream or a drizzle of custard. It also makes an excellent breakfast or brunch treat when served with a side of Greek yogurt.
How-to Summary
To make apple crumble with nuts: 1) Mix diced apples with sugar, cinnamon, and lemon juice. 2) Combine flour, sugars, and cold butter to form crumbs. 3) Fold in chopped nuts. 4) Sprinkle topping over apples. 5) Bake at 350°F for 30-35 minutes until golden and bubbly.
Frequently Asked Questions
Can I use different types of apples? Yes! For a firmer filling, use Granny Smith. For a sweeter, softer result, use Honeycrisp or Fuji. A mix is often best.
Can I make this gluten-free? Absolutely. Substitute the all-purpose flour with a 1:1 gluten-free flour blend for the crumble topping.
What nuts work best? Walnuts, pecans, and almonds are excellent choices. Use your favorite single nut or a pre-mixed blend for variety.
How should I store leftovers? Cover the baking dish with plastic wrap or transfer portions to an airtight container. It will keep in the refrigerator for up to 3 days. Reheat in the oven or toaster oven to restore crispness.
Can I prepare this dish ahead of time? You can prepare the apple filling and the dry crumble mixture separately, storing them covered in the fridge for up to a day. Assemble just before baking.
Common Mistakes to Avoid
Avoid these pitfalls for the best results. First, do not use melted or softened butter for the topping; cold butter is essential for creating a proper, crumbly texture. Second, ensure your apple pieces are uniformly sized to prevent some from being undercooked while others turn to mush. Third, resist the urge to over-mix the crumble topping once the butter is incorporated, as this can lead to a dense, doughy layer instead of a light crumb.
Conclusion
This Apple Crumble with Nuts is a timeless dessert that masterfully balances sweet, tender apples with a rich, crunchy, and nutty topping. Its simplicity is its strength, requiring no special skills or equipment, yet it delivers impressive flavor and comfort. By following the detailed steps and tips provided, you can avoid common errors and create a foolproof crowd-pleaser. Perfect for any occasion, from a casual family dinner to a festive gathering, this recipe is sure to become a cherished staple in your baking repertoire.