Description
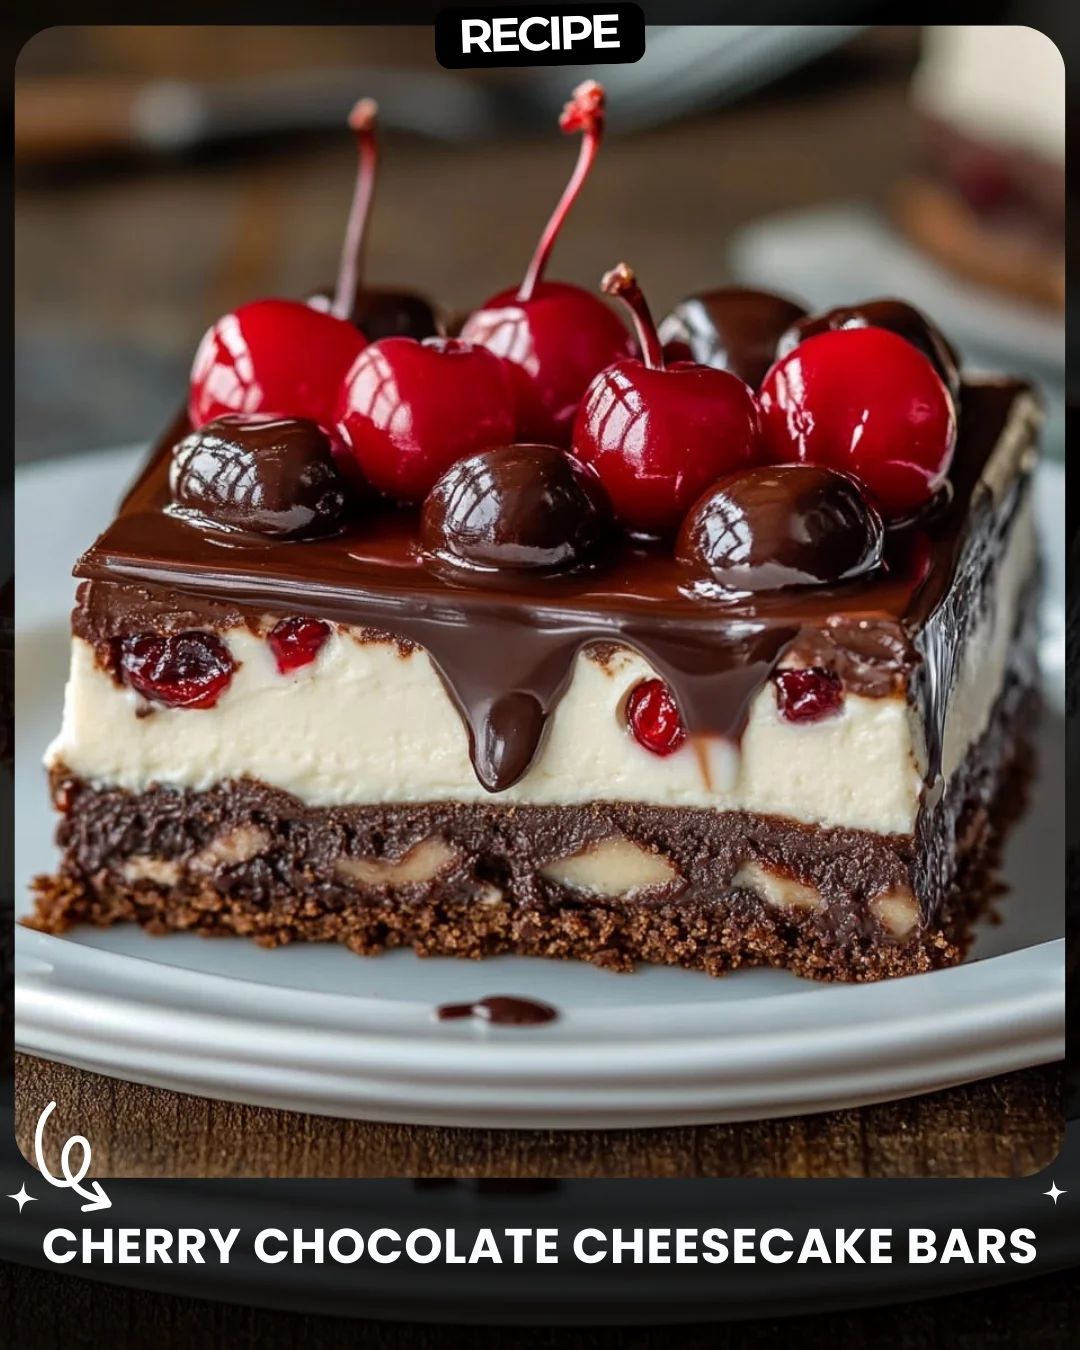
Cherry Chocolate Cheesecake Bars
Ingredients
For the Crust:
1 ½ cups crushed chocolate cookies
1/4 cup melted butter
For the Cheesecake Layer:
2 cups cream cheese, softened
1/2 cup granulated sugar
1 tsp vanilla extract
2 large eggs
For the Topping:
1 cup fresh cherries (pitted) or maraschino cherries
1/2 cup cherry sauce (optional)
1 cup chocolate ganache (melted chocolate + cream)
—
Instructions
1. Prepare the Crust:
Mix crushed chocolate cookies with melted butter.
Press the mixture into a lined baking dish.
Bake at 350°F (175°C) for 8-10 minutes. Let it cool.
2. Make the Cheesecake Layer:
Beat the cream cheese, sugar, and vanilla until smooth.
Add eggs one at a time, mixing well.
Pour the mixture over the cooled crust.
3. Bake:
Bake at 325°F (160°C) for 25-30 minutes until the center is set.
Cool completely, then refrigerate for at least 2 hours.
4. Top with Ganache and Cherries:
Spread chocolate ganache evenly over the cheesecake layer.
Decorate with fresh or maraschino cherries and cherry sauce.
5. Serve and Enjoy:
Slice into bars and indulge in the creamy, chocolatey delight!
Step-by-Step Guide
Follow this detailed guide for perfect bars every time. First, ensure your cream cheese is truly softened to room temperature for a lump-free filling. For the crust, use a food processor to finely crush the cookies, then mix with the butter until it resembles wet sand. Press this firmly and evenly into the bottom of your parchment-lined 8×8 or 9×9 inch pan. Pre-bake this crust to ensure it stays crisp. While it cools, prepare the filling, mixing just until smooth to avoid incorporating too much air. After baking, the center should still have a slight jiggle; it will firm up while cooling. Chill for a minimum of 4 hours, or ideally overnight, before adding toppings and slicing with a hot, clean knife.
Serving Suggestions
These decadent bars are perfect for any occasion. For an elegant dessert, plate individual bars with a drizzle of extra cherry sauce and a dollop of lightly sweetened whipped cream. They pair wonderfully with a cup of strong black coffee or a glass of dessert wine like a ruby port. For a festive touch during the holidays, sprinkle with edible gold dust or crushed pistachios for color contrast.
How-to Summary
In brief: 1) Mix cookie crumbs with butter and pre-bake the crust. 2) Blend cream cheese, sugar, vanilla, and eggs for the filling. 3) Pour filling over the cooled crust and bake until set. 4) Chill thoroughly. 5) Top with ganache and cherries, then slice.
Frequently Asked Questions
Can I use frozen cherries? Yes, but thaw and drain them thoroughly to avoid excess moisture making the topping runny. Pat them dry before using.
How do I store these cheesecake bars? Keep them in an airtight container in the refrigerator for up to 5 days. They can also be frozen (without fresh fruit topping) for up to 2 months.
Can I make this gluten-free? Absolutely. Simply use your favorite gluten-free chocolate cookies for the crust base.
My cheesecake layer cracked. What happened? Cracking is often caused by overmixing the batter (incorporating too much air) or overbaking. Using a water bath can help, but for bars, simply avoid overmixing and don’t bake past the slight jiggle stage.
What’s a quick substitute for homemade ganache? You can use a high-quality store-bought chocolate frosting or simply melt chocolate chips with a tablespoon of coconut oil for a simple glaze.
Common Mistakes to Avoid
- Using cold cream cheese: This leads to a lumpy filling.
- Overmixing the batter: This incorporates air and can cause cracking.
- Skipping the chill time: Cutting before fully set results in messy bars.
- Pressing the crust unevenly: This creates a inconsistent base texture.
- Adding toppings before chilling: The ganache will melt and bleed into the warm cheesecake.
Conclusion
These Cherry Chocolate Cheesecake Bars are a stunning and delicious fusion of rich chocolate, tangy cream cheese, and sweet cherry. By following the detailed steps and tips provided, you can easily master this impressive dessert. Perfect for parties, potlucks, or a special treat at home, they are sure to become a requested favorite. Enjoy the process and the delightful results!