Description
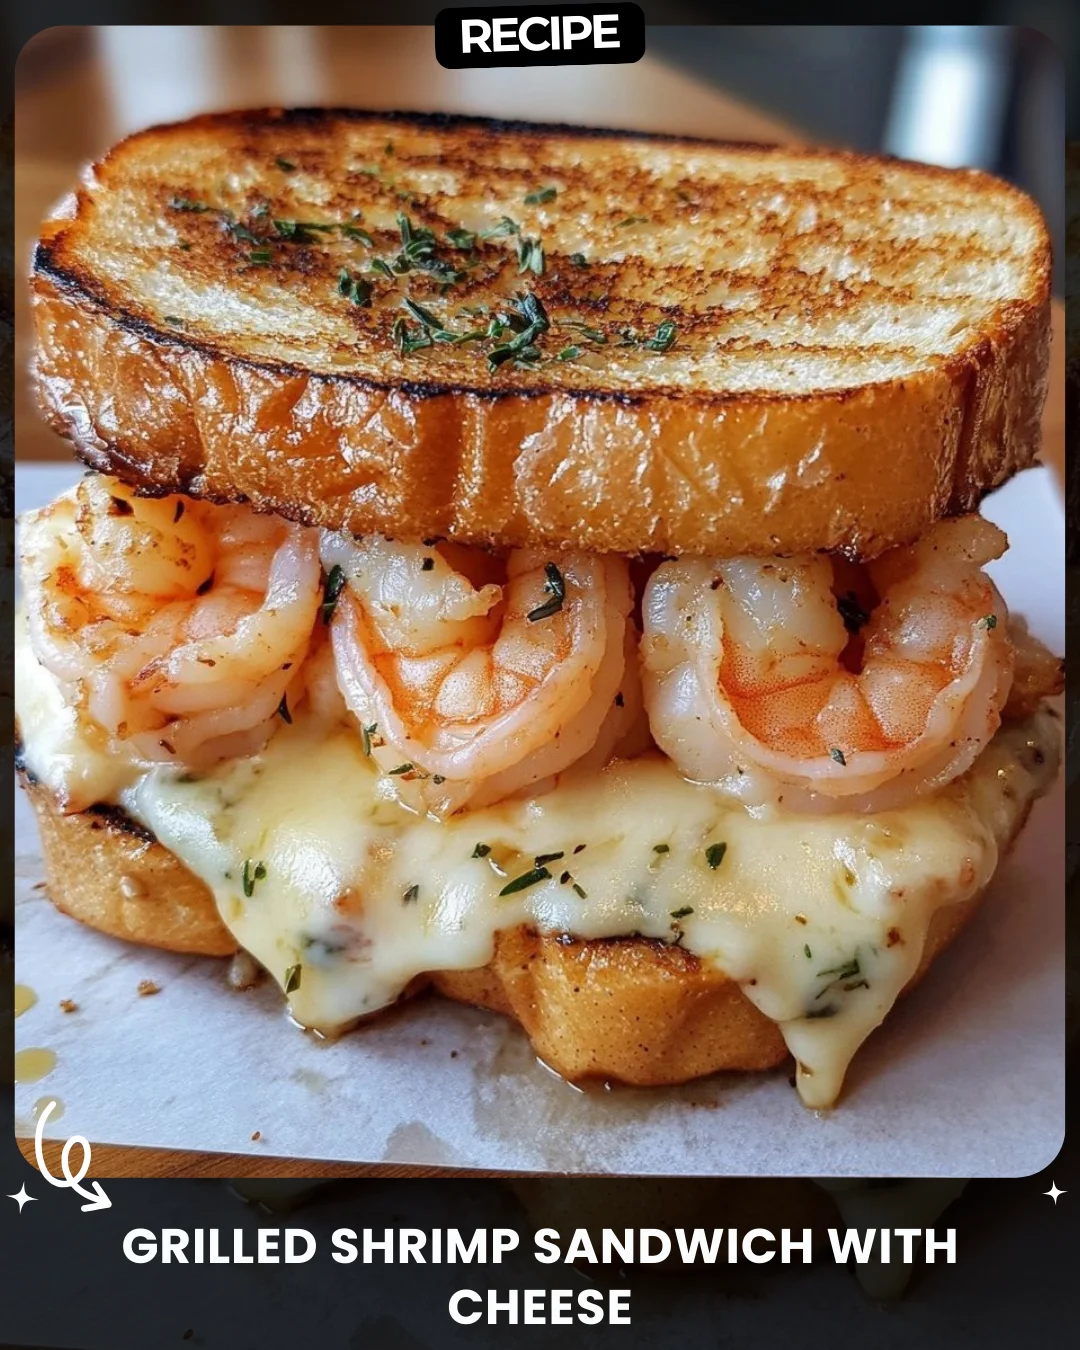
Grilled Shrimp Sandwich with Cheese
Ingredients:
500g shrimp, peeled and deveined
1 tablespoon olive oil
1 teaspoon garlic powder
Salt and pepper to taste
4 slices of thick bread
4 slices of cheese (mozzarella or cheddar)
2 tablespoons butter, softened
1 teaspoon dried parsley or fresh parsley
Instructions:
1. Prepare the Shrimp:
Toss shrimp with olive oil, garlic powder, salt, and pepper
.
Heat a skillet over medium heat, cook the shrimp for 2-3 minutes per side until pink and cooked through
. Remove from heat and set aside.
2. Prepare the Bread:
Butter one side of each bread slice
.
3. Assemble the Sandwich:
Place a slice of cheese on the unbuttered side of one bread slice
.
Add cooked shrimp on top, then place another slice of cheese
.
Top with another slice of bread, buttered side facing out.
4. Grill the Sandwich:
Heat a skillet or griddle over medium heat. Place the sandwich and cook for 2-3 minutes on each side, or until the bread is golden and the cheese is melted
.
5. Serve:
Sprinkle with parsley and serve warm
.
Step-by-Step Guide
For perfect results, follow this detailed guide. First, ensure your shrimp are thoroughly patted dry before seasoning; this helps them sear instead of steam. Use a preheated skillet or grill pan over medium heat for cooking the shrimp. They are done when opaque and form a loose “C” shape. For the sandwich assembly, work with two slices of bread. On the unbuttered side of the first slice, layer one cheese slice, then the warm shrimp (their heat helps start melting), and finally the second cheese slice. Place the second bread slice on top, buttered side up. This method ensures even cheese distribution and proper grilling.
Serving Suggestions
Elevate your sandwich with complementary sides and toppings. Serve with a light lemony aioli or garlic mayo for dipping. A simple side salad with a vinaigrette cuts through the richness. For a heartier meal, pair with sweet potato fries or a chilled cucumber soup. Adding fresh ingredients like sliced avocado, baby spinach, or thinly sliced red onion inside the sandwich adds crunch and freshness.
How-to Summary
In brief: Season and cook shrimp until pink. Butter bread slices. Assemble sandwich with cheese-shrimp-cheese layers between bread, buttered sides out. Grill in a skillet over medium heat for 2-3 minutes per side until golden brown and cheese is melted. Garnish with parsley and serve immediately.
Frequently Asked Questions
Can I use frozen shrimp? Yes. Thaw completely in the refrigerator and pat them very dry to prevent excess water during cooking.
What’s the best cheese for melting? Mozzarella offers a classic stretch, while cheddar provides sharper flavor. Provolone or Gouda are also excellent choices.
How do I prevent the bread from burning before the cheese melts? Use medium, not high, heat. You can also cover the skillet with a lid for a minute to trap heat and melt the cheese faster.
Can I make this in a panini press? Absolutely. A panini press creates excellent grill marks and even pressure. No need to flip, just cook until golden.
How can I add more flavor to the shrimp? Marinate them for 15 minutes in the oil with added lemon zest, smoked paprika, or a dash of cayenne pepper before cooking.
Common Mistakes to Avoid
- Overcooking the shrimp: They become rubbery. Cook just until opaque and remove from heat immediately.
- Using wet shrimp: Excess moisture leads to soggy bread. Always pat shrimp dry.
- Buttering the wrong side: Butter should be on the *outer* sides of the bread for grilling. The inner sides should be dry to hold the fillings.
- Heat too high: This burns the bread before the interior warms. Maintain a consistent medium heat.
- Overfilling the sandwich: Too many shrimp can make it difficult to flip and prevent even melting. Keep the layer even.
Conclusion
This Grilled Shrimp Sandwich with Cheese is a delightful fusion of succulent seafood and gooey, melted cheese, all encased in crispy, golden bread. It’s a simple yet impressive dish that transforms basic ingredients into a gourmet-style meal in minutes. By following the detailed steps, avoiding common pitfalls, and experimenting with the serving suggestions, you can master this recipe for a quick lunch or a casual dinner that is sure to please. Enjoy the delicious results of your culinary effort.