Description
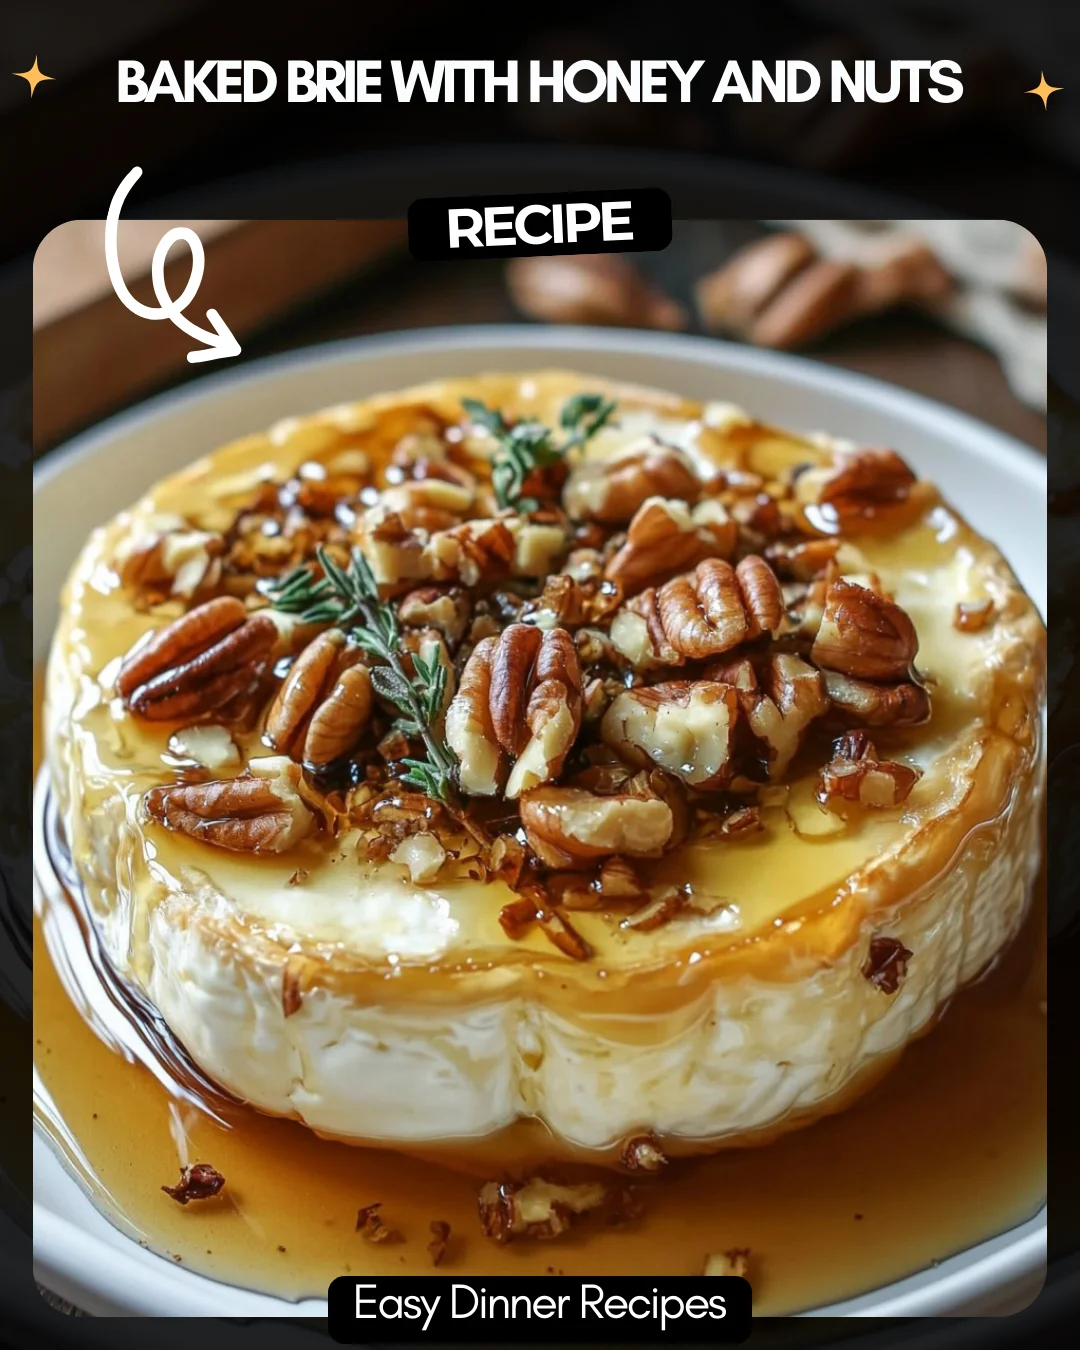
Baked Brie with Honey and Nuts
Baked Brie with honey and nuts is a delightful French-inspired appetizer that is perfect for any occasion. The creamy, gooey Brie combined with sweet honey and crunchy nuts makes for an irresistible snack that’s both sophisticated and simple to prepare. This versatile dish is gluten-free and can be paired with fruits or crackers, making it a hit at any gathering.
8 oz. wheel or wedge of Brie cheese
1/2 cup chopped walnuts or pecans
2 tbsp honey
1/4 tsp cinnamon
A pinch of salt
Directions:
1. Preheat the oven to 350°F (175°C).
2. Score a circle on the Brie rind about 1/4 inch from the edge.
3. Place Brie on a baking sheet and bake for 15-20 minutes, or microwave for 3-5 minutes.
4. Toast nuts in a skillet until fragrant, then mix with honey, cinnamon, and salt.
5. Remove Brie rind, pour nut mixture over, and serve with crackers or fruit.
Prep Time: 10 minutes
Kcal: 210 per serving
Step-by-Step Guide
Follow these detailed instructions for perfect Baked Brie every time.
- Prepare the Brie: Unwrap the cheese. Using a sharp knife, lightly score a shallow circle on the top rind, about 1/4 inch from the edge. This makes removing the top rind after baking much easier.
- Bake the Cheese: Place the Brie on a parchment-lined baking sheet or in a small, oven-safe dish. Bake in the preheated 350°F (175°C) oven for 15-20 minutes. The Brie is ready when the center feels very soft to a light touch.
- Toast the Nut Topping: While the Brie bakes, add the chopped nuts to a dry skillet over medium heat. Toast for 3-5 minutes, stirring frequently, until they become fragrant and slightly darker. Immediately transfer to a bowl to prevent burning.
- Combine Topping: To the warm nuts, add the honey, cinnamon, and a pinch of salt. Stir until the nuts are completely coated.
- Assemble & Serve: Carefully remove the Brie from the oven. Let it sit for 2-3 minutes, then use a knife to lift and remove the pre-scored top rind. Pour the warm honey-nut mixture over the exposed, melted cheese. Serve immediately.
Serving Suggestions
This versatile appetizer pairs beautifully with a variety of dippers. Offer an assortment of:
- Crackers: Water crackers, gluten-free crackers, or sliced baguette.
- Fresh Fruit: Sliced apples, pears, grapes, or figs.
- Dried Fruit: Apricots, cranberries, or dates for a sweet contrast.
- For a festive touch, garnish the platter with fresh rosemary or thyme sprigs.
How-to Summary
Score and bake a Brie wheel until soft. Top with a warm mixture of toasted nuts, honey, cinnamon, and salt. Serve warm with crackers and fruit for an easy, elegant appetizer.
Frequently Asked Questions
Can I prepare Baked Brie ahead of time?
You can prepare the nut topping ahead and store it at room temperature. However, bake and assemble the Brie just before serving for the best gooey texture.
Can I use a different type of nut?
Absolutely. Pecans, almonds, pistachios, or a mix all work wonderfully. Adjust toasting times accordingly.
Is the rind edible?
Yes, the white rind is completely edible and part of the classic Brie experience. Removing the top after baking is purely for presentation and easier dipping.
What if my Brie isn’t melting enough?
Bake for an additional 3-5 minutes. Oven temperatures can vary. The Brie should jiggle noticeably when shaken.
Can I make this in an air fryer?
Yes. Place the scored Brie in an air fryer-safe dish and cook at 350°F for 8-12 minutes, checking for softness.
Common Mistakes to Avoid
- Over-baking: This can cause the cheese to separate and become oily. Remove it as soon as it’s soft.
- Burning the Nuts: Nuts toast quickly. Stir constantly and remove them from the hot pan immediately once fragrant.
- Skipping the Score: Not scoring the top rind makes it difficult to remove cleanly after baking, risking a messy presentation.
- Serving Cold: Baked Brie is best served warm, when the cheese is perfectly dippable.
Conclusion
Baked Brie with Honey and Nuts is the quintessential effortless appetizer. With its perfect balance of creamy, sweet, crunchy, and savory elements, it’s guaranteed to impress guests with minimal active preparation. By following this guide and avoiding common pitfalls, you can master this classic, elegant dish for any gathering.