Description
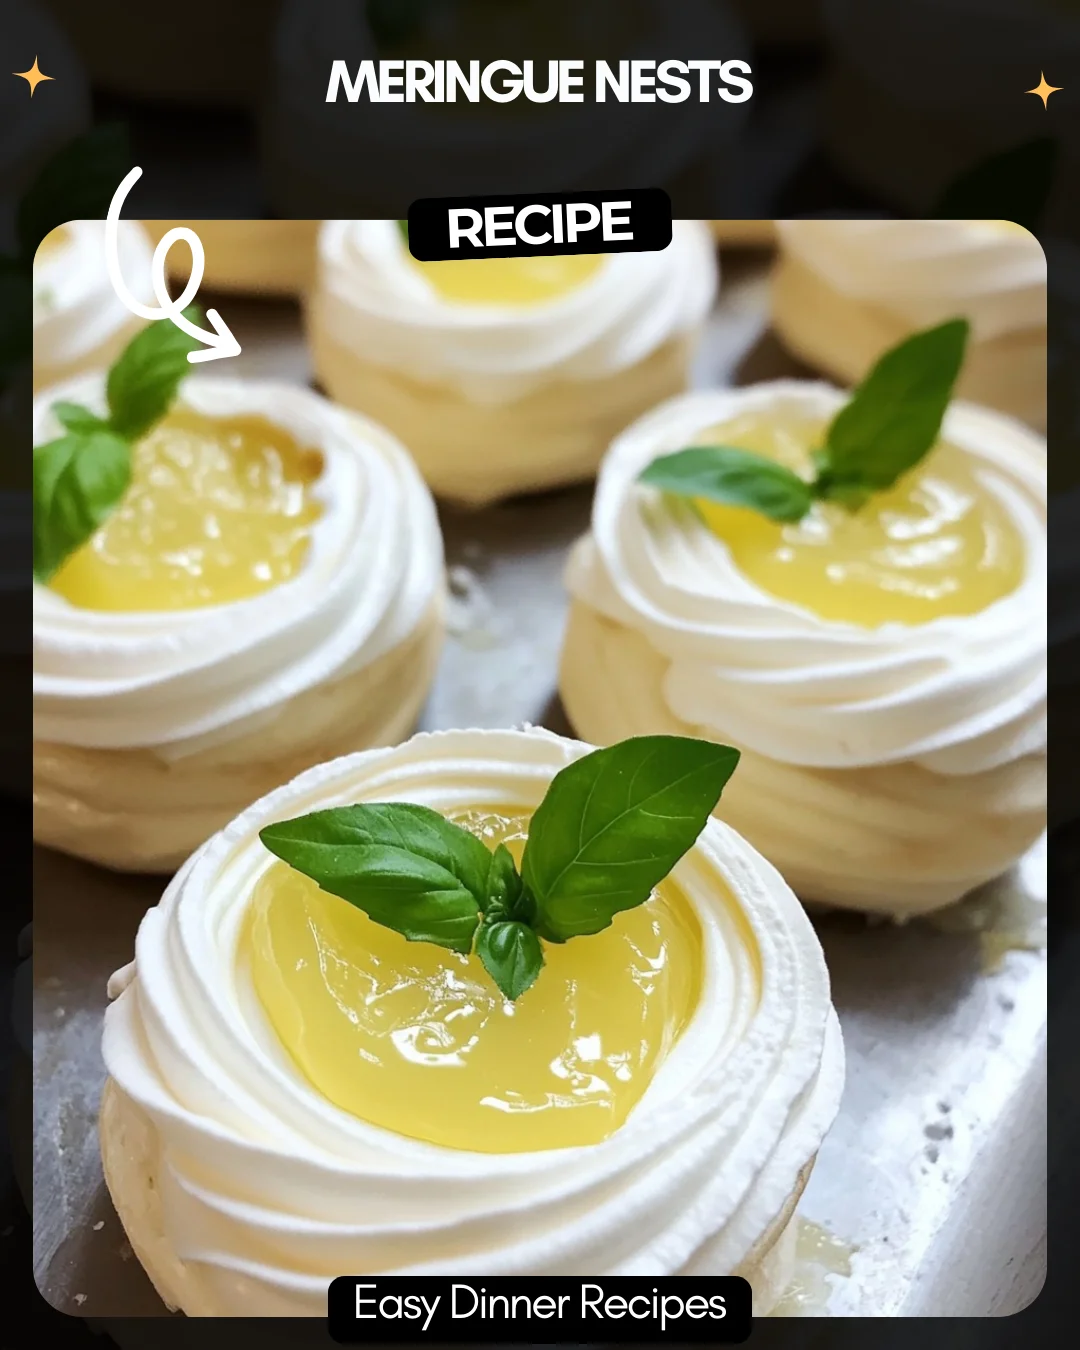
Meringue Nests
Light, airy, and delicately sweet, these meringue nests are a classic treat that’s both versatile and beautiful. Originally popularized as a foundation for pavlova, these nests can be filled with whipped cream, lemon curd, or fresh berries. Their crunchy exterior and soft, melt-in-your-mouth interior make them irresistible. Customize them to your liking – whether mini-sized or grand, they always make for an elegant dessert!
4 large egg whites
½ tsp cream of tartar (or 1 tsp lemon juice/white wine vinegar)
1 cup caster sugar
½ tsp pure vanilla extract
Directions:
1. Preheat oven to 200°F (90°C). Line a baking sheet with parchment paper.
2. Whisk egg whites until foamy, then add cream of tartar. Beat until soft peaks form.
3. Gradually add sugar, beating until stiff, glossy peaks form. Add vanilla extract.
4. Pipe or spoon nests onto the baking sheet and bake for 2-3 hours.
Prep Time: 20 mins
Kcal: 60 per nest
Step-by-Step Guide
1. Prepare Equipment: Ensure your mixing bowl and whisk are completely clean and grease-free. Any fat residue will prevent the egg whites from whipping properly. Bring egg whites to room temperature for maximum volume.
2. Preheat and Prep: Preheat your oven to 200°F (90°C). Line a large baking sheet with parchment paper. Do not grease the paper.
3. Whip the Base: In the clean bowl, whisk the room-temperature egg whites on medium speed until foamy (about 1 minute). Add the cream of tartar (or lemon juice/vinegar). This acid stabilizes the meringue.
4. Build Peaks: Increase speed to medium-high. Beat until soft peaks form—the peaks should curl over when the whisk is lifted.
5. Add Sugar: With the mixer running on high, add the caster sugar one tablespoon at a time, allowing each to incorporate fully. This gradual addition is crucial for a stable, glossy meringue.
6. Final Whip: Once all sugar is added, continue beating for 4-5 minutes until stiff, glossy peaks form. The meringue should be very thick. Rub a little between your fingers; it should feel completely smooth, not gritty. Beat in the vanilla extract.
7. Shape and Bake: Spoon or pipe the meringue into nest shapes on the prepared sheet. Create a well in the center of each with the back of a spoon. Bake for 2-3 hours, then turn off the oven and let the nests cool completely inside for several hours or overnight.
Serving Suggestions
Fill the cooled nests just before serving to maintain their crisp texture. Classic fillings include:
- Freshly whipped cream and a mix of seasonal berries.
- Lemon curd and a dollop of crème fraîche.
- Chocolate ganache and raspberries.
- A scoop of sorbet and a mint sprig for a lighter option.
How-to Summary
Create stable meringue nests by starting with clean, room-temperature egg whites. Whip with cream of tartar to soft peaks, then gradually add sugar until stiff and glossy. Pipe into nest shapes and bake at a very low temperature (200°F) for 2-3 hours, then let cool completely in the turned-off oven.
Frequently Asked Questions
Can I make meringues on a humid day?
Humidity is meringue’s enemy, as it can cause them to become sticky and chewy. If possible, bake on a dry day and cool them completely in the oven with the door closed.
What’s the difference between caster and granulated sugar?
Caster sugar has finer granules that dissolve more easily into the egg whites, creating a smoother meringue. You can make a substitute by pulsing regular granulated sugar in a food processor.
Why did my meringues weep or crack?
Weeping (beads of syrup) often means the sugar wasn’t fully dissolved. Cracking usually indicates the oven temperature was too high, causing them to cook too quickly.
How long do meringue nests keep?
Stored in an absolutely airtight container at room temperature for up to 2 weeks. Do not refrigerate, as moisture will soften them.
Can I freeze meringue nests?
Yes, you can freeze unfilled meringues in an airtight container for up to a month. Thaw at room temperature in the container to prevent condensation.
Common Mistakes to Avoid
- Using a Dirty Bowl: Any trace of fat (yolk, oil) will prevent proper aeration.
- Adding Sugar Too Quickly: This results in a grainy, unstable meringue that may collapse.
- Opening the Oven Door During Baking: A sudden temperature drop can cause cracks and collapse.
- Baking at Too High a Temperature: This browns the meringue and creates a chewy texture instead of a crisp, dry one.
- Filling Nests Too Early: Moist fillings will quickly soften the crisp shell. Assemble just before serving.
Conclusion
Mastering meringue nests opens the door to countless elegant desserts. Their simplicity belies the need for careful technique—ensuring clean equipment, gradual sugar addition, and patient, low-temperature baking. By following this detailed guide and avoiding common pitfalls, you’ll achieve perfectly crisp, sweet nests ready to be filled with your favorite creams and fruits. They are a stunning, make-ahead component that is sure to impress.