Description
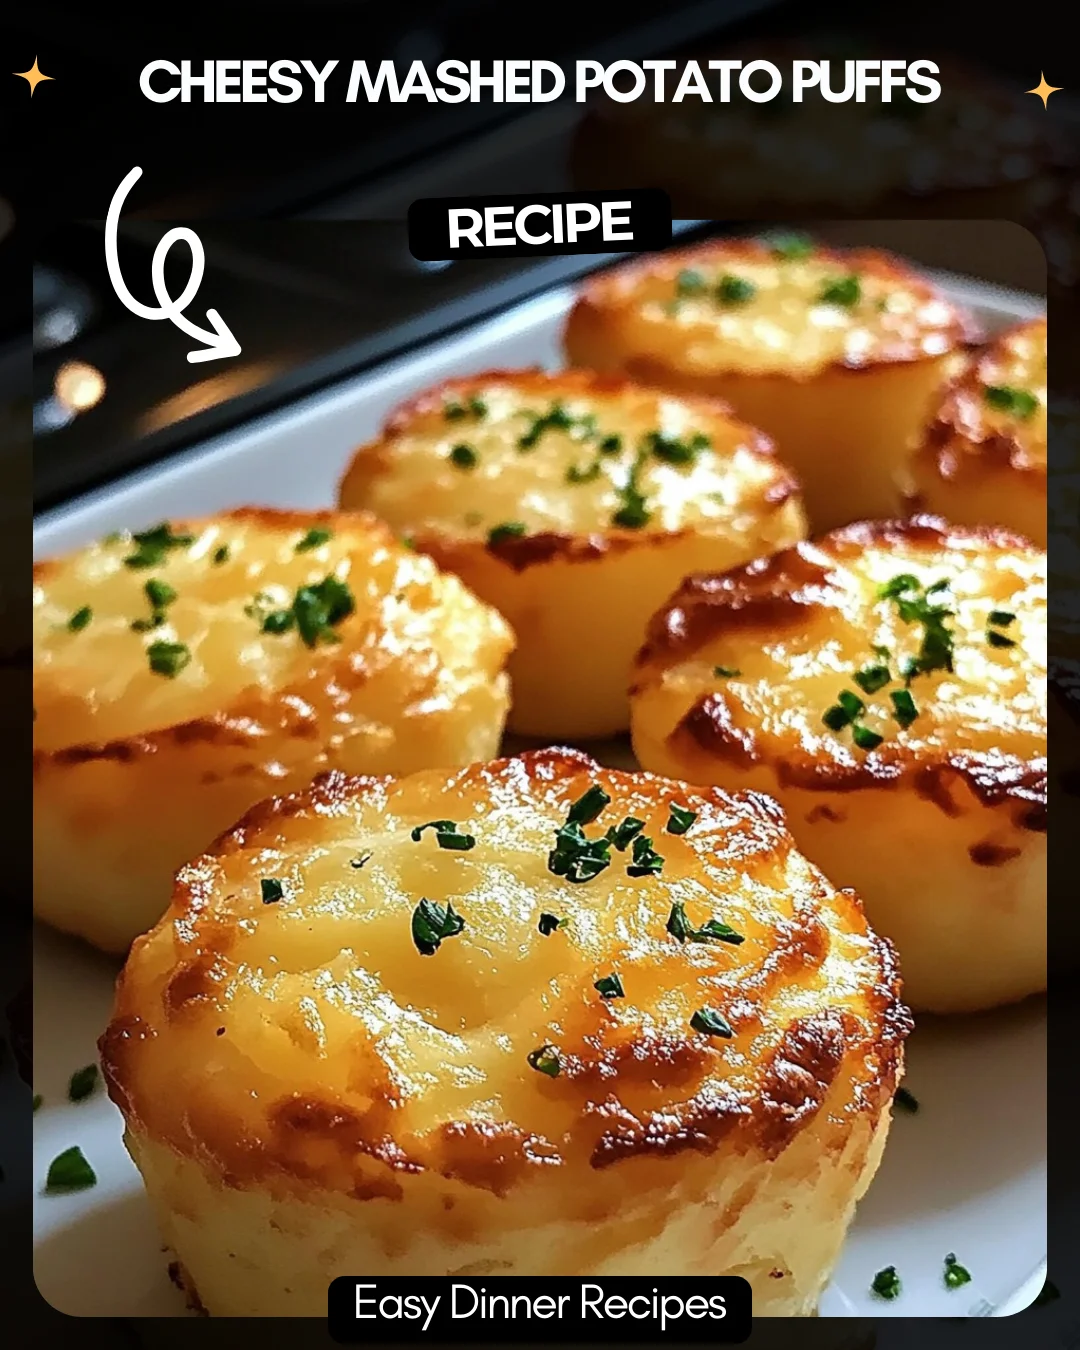
Cheesy Mashed Potato Puffs
Transform your leftover mashed potatoes into these delightful cheesy puffs! With their crispy exterior, fluffy interior, and melted cheese, they make an excellent breakfast, snack, or appetizer. These versatile puffs are not only easy to prepare but also a hit for any occasion. Perfectly seasoned with chives and topped with sour cream, they’re bound to disappear fast!
3 large eggs, beaten
2 cups mashed potatoes, room temperature
1 cup shredded Monterey Jack cheese, divided
1/4 cup chopped fresh chives (+ more for garnish)
Salt and pepper, to taste
Sour cream, for serving (optional)
Directions:
1. Preheat oven to 400°F (200°C). Grease a mini muffin tin.
2. Mix mashed potatoes, eggs, 3/4 cup cheese, and chives. Season.
3. Fill muffin cups, sprinkle remaining cheese.
4. Bake 15-20 mins or until golden. Cool 5 mins.
5. Garnish with chives and serve with sour cream.
Prep Time: 30 mins
Kcal: 90 per puff
Step-by-Step Guide
1. Preheat & Prep: Preheat your oven to 400°F (200°C). Generously grease a 24-cup mini muffin tin with non-stick cooking spray or butter.
2. Combine Wet Ingredients: In a large mixing bowl, thoroughly combine the room-temperature mashed potatoes and beaten eggs until smooth.
3. Add Flavor: Fold in 3/4 cup of the shredded Monterey Jack cheese and the 1/4 cup of chopped chives. Season the mixture generously with salt and pepper to taste.
4. Fill the Pan: Spoon the potato mixture evenly into the prepared muffin cups, filling each nearly to the top.
5. Add Topping: Evenly sprinkle the remaining 1/4 cup of shredded cheese over the top of each puff.
6. Bake: Bake for 15-20 minutes, or until the puffs are puffed, set, and the tops are golden brown.
7. Cool & Serve: Let the puffs cool in the pan for 5 minutes. Then, carefully run a knife around the edges and use a spoon to lift them out. Serve warm.
Serving Suggestions
These puffs are incredibly versatile. Serve them as a brunch side with scrambled eggs and bacon. They make a perfect appetizer for parties, paired with a dollop of sour cream, chive garnish, and even crispy crumbled bacon bits. For a heartier meal, serve alongside a bowl of creamy soup or a fresh green salad.
How-to Summary
Mix leftover mashed potatoes with eggs, most of the cheese, and chives. Spoon into a greased mini muffin tin, top with remaining cheese, and bake at 400°F for 15-20 minutes until golden. Cool briefly, then enjoy warm with optional sour cream.
Frequently Asked Questions
Can I use a different type of cheese? Absolutely. Cheddar, Gruyère, or a Mexican blend work wonderfully. The key is using a cheese that melts well.
My mashed potatoes are cold from the fridge. Is that okay? It’s best to let them come to room temperature first. Cold potatoes can make the mixture stiff and harder to combine smoothly with the eggs.
Can I make these ahead of time? Yes. You can assemble the puffs in the muffin tin, cover, and refrigerate for up to 24 hours before baking. You may need to add 1-2 minutes to the baking time.
Can I freeze the baked puffs? Perfectly. Let them cool completely, then freeze in a single layer on a baking sheet before transferring to a freezer bag. Reheat in a 350°F oven until warm and crispy.
What if I don’t have a mini muffin tin? A standard muffin tin will work; the puffs will be larger and require a longer baking time (likely 20-25 minutes).
Common Mistakes to Avoid
- Using Hot Mashed Potatoes: Adding eggs to hot potatoes can scramble them. Ensure potatoes are room temp or cold.
- Overfilling the Cups: Fill cups 3/4 full to allow space for rising and easy removal.
- Skipping the Greasing Step: These can stick. Grease the tin thoroughly.
- Underseasoning: Taste the mixture before baking. Leftover potatoes often need extra seasoning.
Conclusion
Cheesy Mashed Potato Puffs are the ultimate solution for transforming simple leftovers into a crowd-pleasing dish. Their crispy, cheesy exterior and soft, fluffy interior make them irresistible for any meal or gathering. With this easy recipe and helpful tips, you can avoid common pitfalls and create a perfect batch every time. Give this versatile recipe a try—it’s guaranteed to become a new favorite.