Description
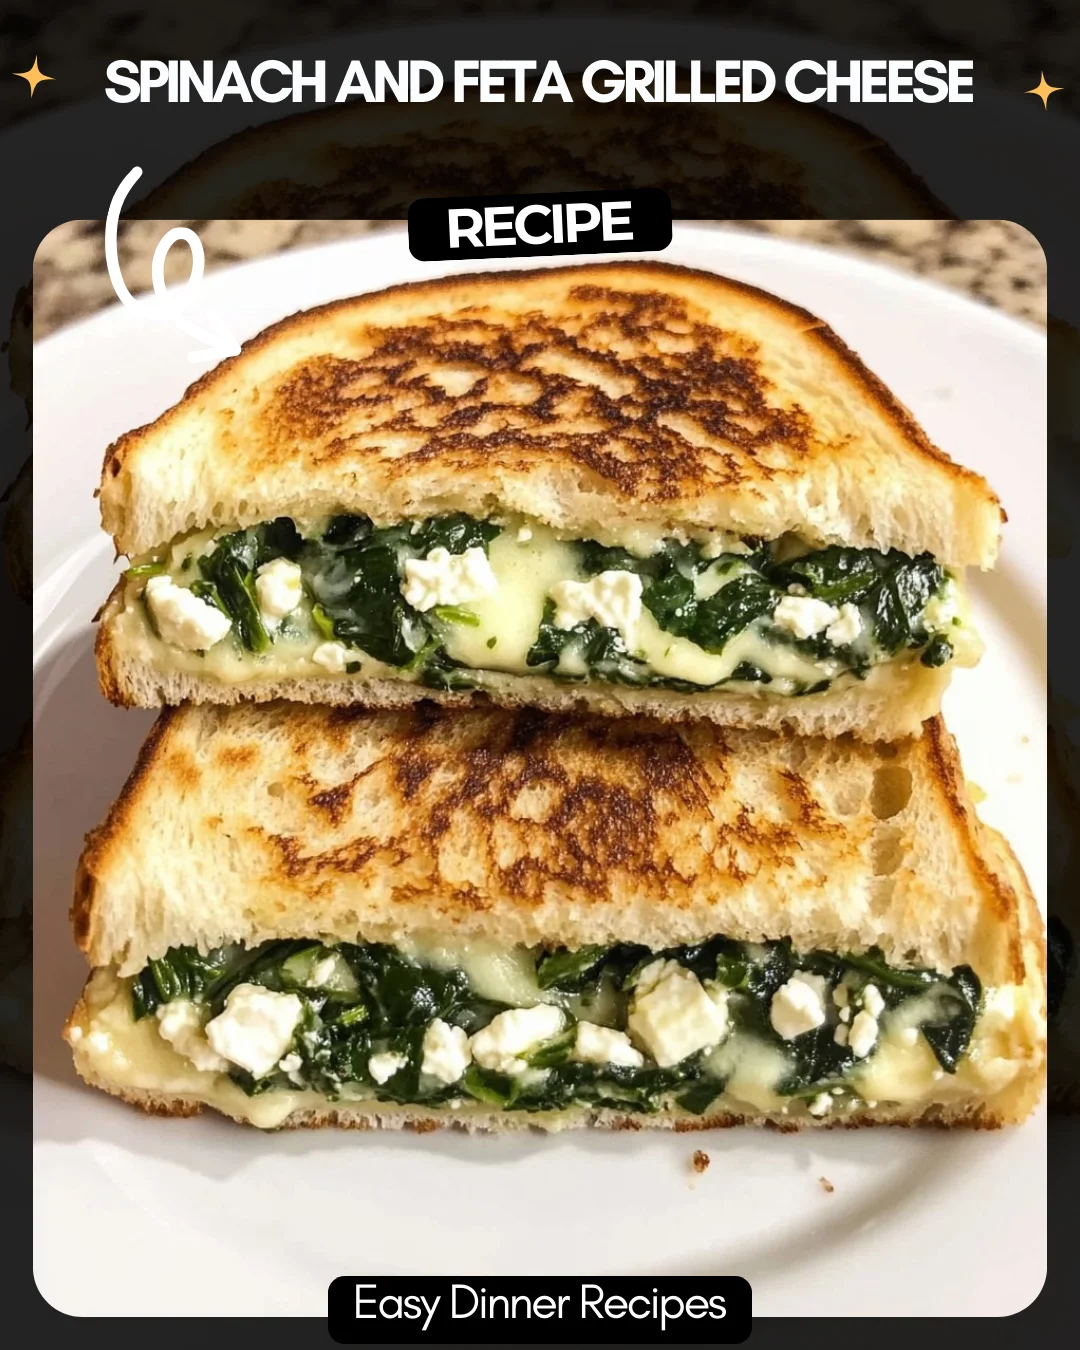
Spinach and Feta Grilled Cheese
Take your classic grilled cheese to the next level with this gourmet twist! Spinach and Feta Grilled Cheese is a simple yet flavorful lunch that brings a little Mediterranean flair to your plate. With creamy mozzarella, tangy feta, and a touch of sautéed spinach, this sandwich will make you rethink the possibilities of a humble grilled cheese. Perfect with a warm bowl of tomato soup or even just on its own, this grilled cheese is easy to make and even easier to enjoy.
1/2 Tbsp olive oil
1 clove garlic, minced
1/4 lb. frozen chopped spinach
Pinch of salt and pepper
4 slices of bread
2 Tbsp butter
1 cup shredded mozzarella
1 oz. feta cheese
Pinch of crushed red pepper
Directions:
1. Sauté garlic in olive oil, add spinach, cook until moisture evaporates.
2. Butter bread slices, assemble sandwiches with cheese and spinach.
3. Cook in skillet until golden brown.
Prep Time: 5 mins
Kcal: 507
Step-by-Step Guide
Follow these detailed instructions for the perfect sandwich. First, ensure your frozen spinach is fully thawed and squeezed of all excess water using a clean kitchen towel. Heat the olive oil in a skillet over medium heat. Add the minced garlic and sauté for 30 seconds until fragrant. Add the prepared spinach, salt, pepper, and a pinch of crushed red pepper. Cook, stirring, for 2-3 minutes until any remaining moisture has evaporated. Transfer the mixture to a bowl. Wipe the skillet clean.
Generously butter one side of each slice of bread. Place two slices, buttered-side down, on your work surface. On each, layer half of the shredded mozzarella, the entire spinach mixture, and the crumbled feta. Top with the remaining mozzarella and the second slice of bread, buttered-side facing out. Preheat your clean skillet over medium-low heat. Carefully add the sandwiches. Cook for 3-4 minutes per side, pressing down gently with a spatula, until the bread is a deep golden brown and the cheese is fully melted.
Serving Suggestions
This gourmet grilled cheese pairs beautifully with a classic bowl of creamy tomato soup for dipping. For a lighter side, serve with a simple arugula salad dressed with lemon vinaigrette. To complete a Mediterranean-inspired meal, add a side of marinated olives, roasted red peppers, or a small portion of orzo pasta salad.
How-to Summary
Thaw and squeeze spinach dry. Sauté garlic, then cook spinach with seasonings. Assemble sandwiches with mozzarella, spinach mixture, and feta, buttering the outer bread slices. Grill in a skillet over medium-low heat for 3-4 minutes per side until golden and cheese is melted.
Frequently Asked Questions
Can I use fresh spinach instead of frozen? Yes. Use about 4-5 ounces of fresh spinach. Sauté it with the garlic until fully wilted, then proceed with squeezing out the liquid.
What’s the best way to get a crispy exterior without burning? The key is medium-low heat. This allows the bread to toast evenly and the cheese to melt completely before the outside burns.
Can I make this sandwich in a panini press? Absolutely. Preheat your press and cook for 4-5 minutes until crispy. No need to butter the bread if using a press, as it will be compressed and grilled directly.
How can I prevent the filling from spilling out? Ensure a good cheese seal. The mozzarella on the top and bottom acts as glue. Also, avoid overfilling and press down gently while cooking.
What are good cheese substitutes for feta? For a similar tangy profile, try crumbled goat cheese. For a milder flavor, ricotta salata or even a sharp cheddar can work well.
Common Mistakes to Avoid
Avoid using wet spinach, as it will make the sandwich soggy. Do not cook on high heat; this burns the butter before the cheese melts. Don’t skimp on the butter for the bread—it’s essential for flavor and crispness. Finally, resist the urge to constantly flip the sandwich; let it cook undisturbed to form a perfect crust.
Conclusion
This Spinach and Feta Grilled Cheese transforms a simple comfort food into a restaurant-worthy meal in minutes. The combination of creamy, tangy, and savory flavors with the perfect crispy texture is unbeatable. By following the detailed steps and tips provided, you can easily master this delicious upgrade. It’s a versatile recipe that promises to become a new favorite in your lunch or quick dinner rotation.