Description
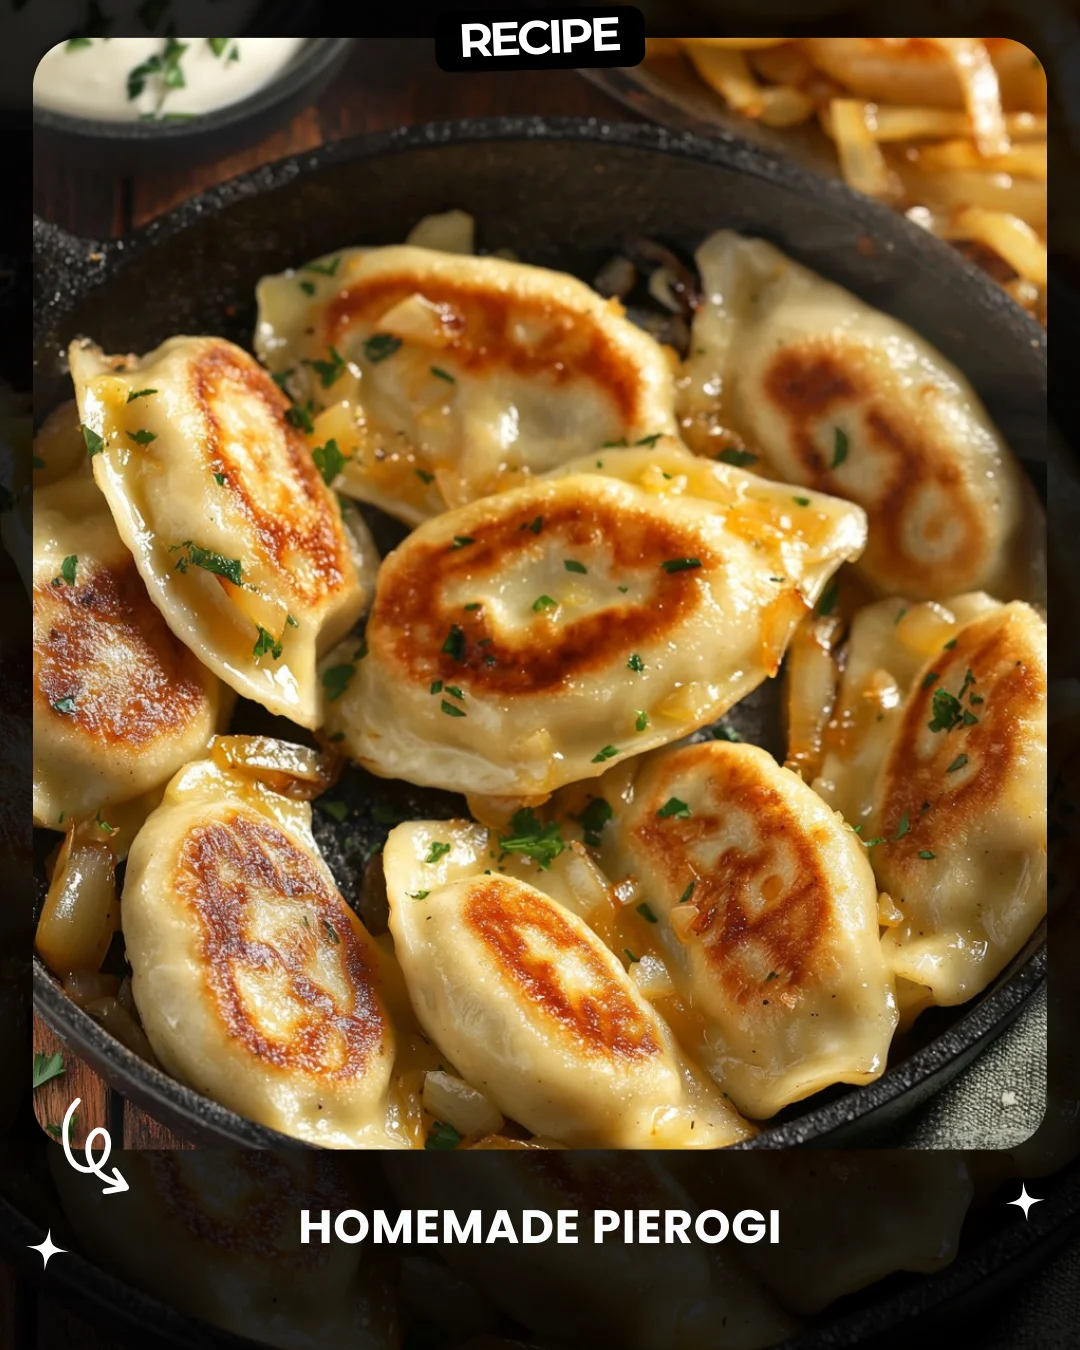
Homemade Pierogi
Ingredients
For the Dough:
2 cups all-purpose flour
1/2 teaspoon salt
1 large egg
1/2 cup sour cream
1/4 cup butter (softened)
For the Filling:
2 medium potatoes (peeled and diced)
1 cup sharp cheddar cheese (shredded)
Salt and pepper to taste
For Serving:
1 medium onion (sliced)
2 tablespoons butter (for frying)
Fresh parsley (chopped, for garnish)
Sour cream (for dipping)
Directions
Make the Dough:
In a bowl, mix flour and salt. Add egg, sour cream, and softened butter.
Knead until smooth. Cover and let rest for 30 minutes.
Make the Filling:
3.
Boil diced potatoes until fork-tender. Drain and mash.
4.
Stir in shredded cheddar cheese. Season with salt and pepper.
Assemble the Pierogi:
5.
Roll out the dough on a floured surface and cut circles using a glass or cookie cutter.
6.
Place 1 tablespoon of filling in the center, fold in half, and press edges to seal.
7.
Boil pierogi in salted water until they float (about 3-4 minutes).
Fry the Pierogi:
8.
Melt butter in a skillet over medium heat.
9.
Add sliced onions and sauté until golden.
10.
Pan-fry the boiled pierogi until golden and crispy on both sides.
Serve:
11.
Garnish with parsley and serve with sour cream.
Prep Time: 45 minutes
Cook Time: 15 minutes
Total Time: 1 hour
Servings: 4
Calories: 320 kcal per serving
#HomemadePierogi #ComfortFood #TraditionalRecipes #PierogiLove #FoodieFavorites #CheesyGoodness #PotatoLovers #EasternEuropeanEats
Step-by-Step Guide
Follow these detailed steps for perfect pierogi every time. After making the dough and letting it rest, roll it out to 1/8-inch thickness. Use a 3-inch round cutter or glass. Place filling slightly off-center, then fold the dough over to create a half-moon. Seal the edges tightly by pressing with your fingers, ensuring no filling escapes. Crimp the edges with a fork for a decorative, secure seal. Boil in batches of 6-8 in a large pot of salted, gently simmering water. Once they float, let them cook for an additional 2-3 minutes before removing with a slotted spoon. Let them drain well on a rack before frying to prevent splattering and ensure crispiness.
Serving Suggestions
While delicious with just fried onions and sour cream, pierogi are versatile. For a heartier meal, serve alongside kielbasa or a crisp cabbage salad. For a vegetarian option, top with sautéed mushrooms or a dollop of garlic-infused sour cream. They also make an excellent appetizer when served mini-sized with a variety of dipping sauces like apple sauce or a chive and dill sour cream.
How-to Summary
In summary, pierogi success comes from a few key actions: 1) Let the dough rest for a pliable texture. 2) Seal the edges thoroughly to prevent bursting. 3) Boil until they float, then finish by pan-frying for the classic crispy exterior. The result is a comforting dish of tender pasta pockets with a rich, cheesy potato filling.
Frequently Asked Questions
Can I make pierogi dough ahead of time? Yes, the dough can be wrapped tightly in plastic and refrigerated for up to 24 hours. Let it sit at room temperature for 15 minutes before rolling.
Can I freeze uncooked pierogi? Absolutely. Place assembled, uncooked pierogi on a parchment-lined baking sheet, freeze solid, then transfer to a freezer bag. Boil directly from frozen, adding 1-2 minutes to the cooking time.
What are other traditional fillings? Popular variations include sauerkraut and mushroom, farmer’s cheese (twaróg), or a sweet filling of blueberries or prunes.
Why did my pierogi fall apart while boiling? This is usually due to a poor seal or the water boiling too vigorously. Ensure edges are tightly pressed and maintain a gentle simmer.
Can I bake pierogi instead of frying? For a lighter version, brush boiled pierogi with melted butter and bake at 400°F (200°C) for 15-20 minutes, flipping once, until golden.
Common Mistakes to Avoid
- Overworking the dough: Knead just until smooth to keep it tender, not tough.
- Overfilling the dough circles: Use only one tablespoon of filling to allow for easy sealing.
- Skipping the dough rest: Resting relaxes the gluten, making the dough easier to roll and less likely to shrink.
- Crowding the pot: Boiling too many at once lowers the water temperature and makes them stick together.
- Frying wet pierogi: Drain boiled pierogi thoroughly to achieve a proper sear and avoid oil splatter.
Conclusion
Making homemade pierogi is a rewarding culinary project that yields delicious, freezer-friendly results. By mastering the simple dough, perfecting the seal, and finishing with a golden fry, you create a timeless comfort food. This recipe provides a classic, crowd-pleasing foundation, inviting you to explore endless filling variations. Gather your ingredients, embrace the process, and enjoy the deeply satisfying taste of a traditional dish made with your own hands.