Description
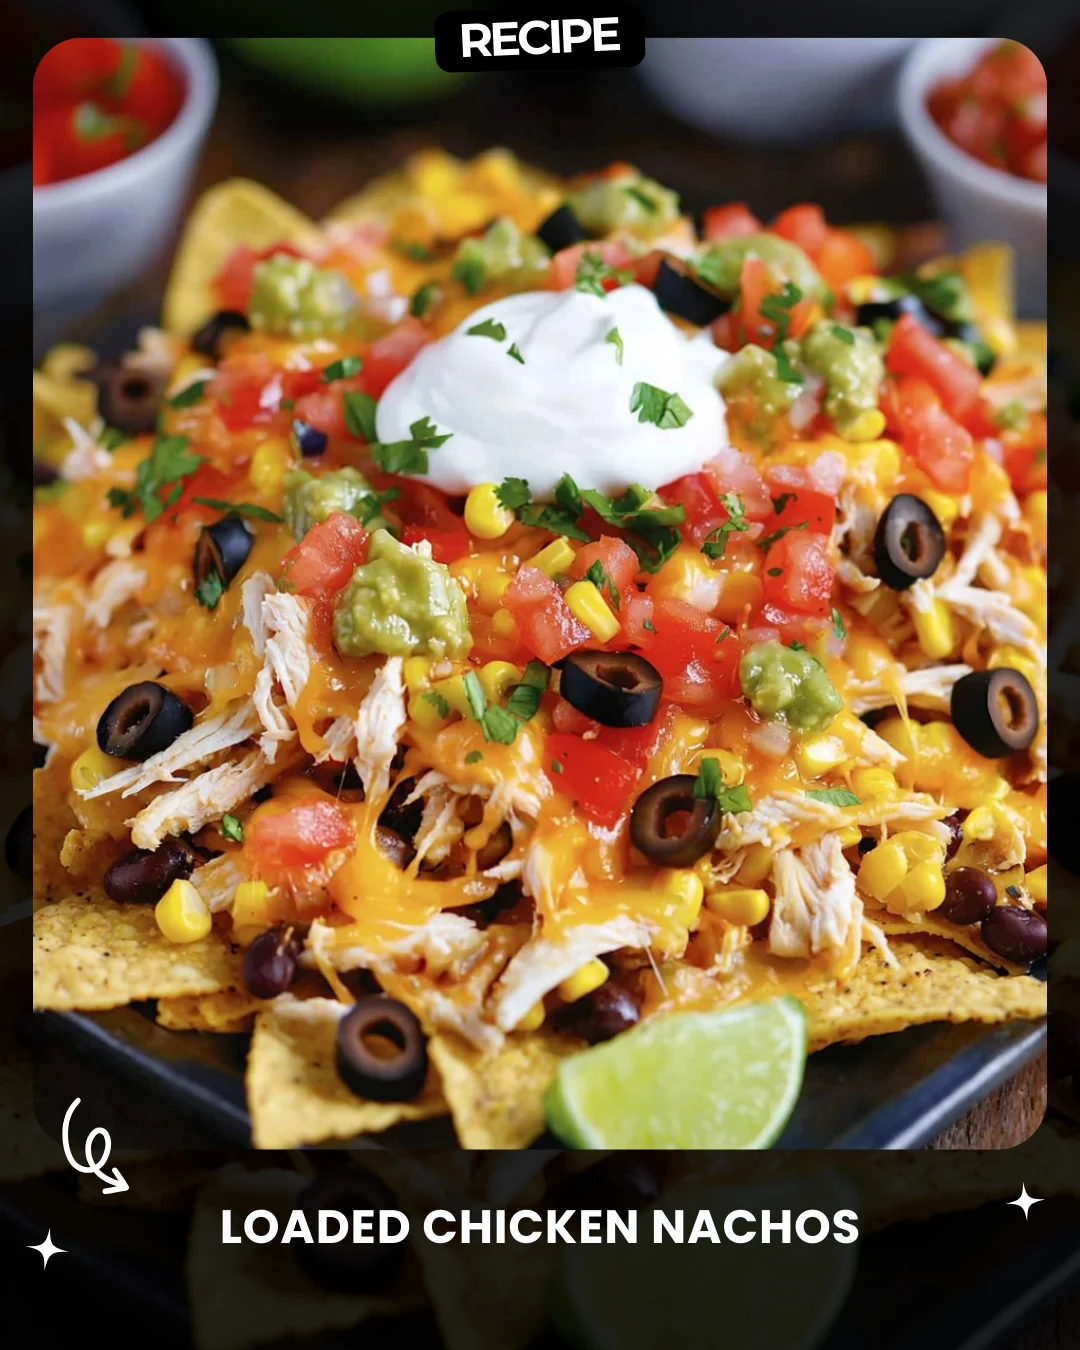
Loaded Chicken Nachos
Ingredients
1 bag tortilla chips
2 cups cooked shredded chicken (rotisserie works great!)
1 ½ cups shredded cheddar cheese (or Mexican blend)
1 cup black beans (drained and rinsed)
1 cup corn kernels (fresh, canned, or frozen)
½ cup diced tomatoes
¼ cup sliced black olives
¼ cup guacamole or diced avocado
½ cup sour cream
2 tbsp chopped cilantro
1 lime (cut into wedges)
Instructions
Preheat oven to 400°F (200°C).
Layer tortilla chips on a baking sheet or oven-safe platter.
Top with shredded chicken, black beans, corn, and shredded cheese.
Bake for 8–10 minutes or until the cheese is melted and bubbly.
Garnish with diced tomatoes, olives, guacamole, sour cream, and chopped cilantro.
Serve with lime wedges for a zesty kick!
Prep Time: 10 minutes
Cook Time: 10 minutes
Servings: 4–6
#GameDayEats #LoadedNachos #PartyFood #CheesyGoodness #TexMexFiesta
Step-by-Step Guide
Follow these detailed instructions for perfect nachos every time. First, ensure all your ingredients are prepped and ready to go. Preheat your oven to 400°F (200°C) and position a rack in the center. On a large, rimmed baking sheet or oven-safe platter, create a base layer of tortilla chips. For even coverage, slightly overlap them. Next, evenly distribute the shredded chicken, black beans, and corn over the chips. The key is to top the chips, not bury them, so every chip gets some goodness. Generously sprinkle the shredded cheese over everything, ensuring it acts as a “glue” for the toppings. Bake for 8-10 minutes, but start checking at 8 minutes. You want the cheese fully melted and bubbly with the chips just beginning to turn golden at the edges. Immediately remove from the oven.
Serving Suggestions
These loaded nachos are incredibly versatile. For a true party centerpiece, serve them straight on the baking sheet or platter. For individual servings, use small plates or bowls to portion them out after baking. Pair with a light, crisp beer, a margarita, or a refreshing agua fresca. To round out the meal, consider serving with a side of Mexican rice, a simple green salad with a lime vinaigrette, or a bowl of hearty chili. For extra heat, offer bottles of hot sauce, pickled jalapeños, or a drizzle of sriracha crema.
How-to Summary
In short: Preheat oven to 400°F. Layer chips, chicken, beans, corn, and cheese on a baking sheet. Bake for 8-10 minutes until cheese is melted. Top with fresh garnishes like tomatoes, olives, guacamole, sour cream, and cilantro. Serve immediately with lime wedges.
Frequently Asked Questions
Can I make these nachos ahead of time? You can prep the ingredients ahead, but assemble and bake just before serving to prevent soggy chips.
What’s the best way to reheat leftover nachos? Reheat in a 350°F oven for 5-7 minutes to re-crisp the chips. The microwave will make them soft.
Can I use a different protein? Absolutely! Ground beef, shredded pork, or even seasoned lentils are excellent substitutes for the chicken.
How do I keep the nachos from getting soggy? Avoid overloading with wet toppings. Add juicy items like tomatoes and salsa after baking, and ensure beans and corn are well-drained.
What cheese melts best for nachos? A good melting cheese like cheddar, Monterey Jack, or a pre-shredded Mexican blend works perfectly. Avoid hard cheeses like Parmesan as the primary melt.
Common Mistakes to Avoid
- Overcrowding the Pan: Using too small a pan creates thick layers that steam instead of bake, leading to soggy chips.
- Adding Cold Toppings Too Early: Placing cold ingredients like sour cream or guacamole before baking will cool the cheese and create a mess.
- Baking at the Wrong Temperature: Too low, and the cheese won’t melt quickly enough; too high, and the chips burn before the cheese bubbles.
- Using Pre-Shredded Cheese Exclusively: While convenient, pre-shredded cheese contains anti-caking agents. For superior melt, shred your own block cheese.
Conclusion
These Loaded Chicken Nachos are the ultimate crowd-pleaser, combining hearty ingredients with vibrant, fresh flavors. By following the step-by-step guide and avoiding common pitfalls, you can create a perfectly balanced, crispy, and cheesy dish that’s ideal for any gathering. The simplicity of assembly and short cook time makes it a reliable recipe for game days, parties, or a fun weeknight dinner. Customize the toppings to your taste, serve immediately, and enjoy the delicious, shareable results.