


Description
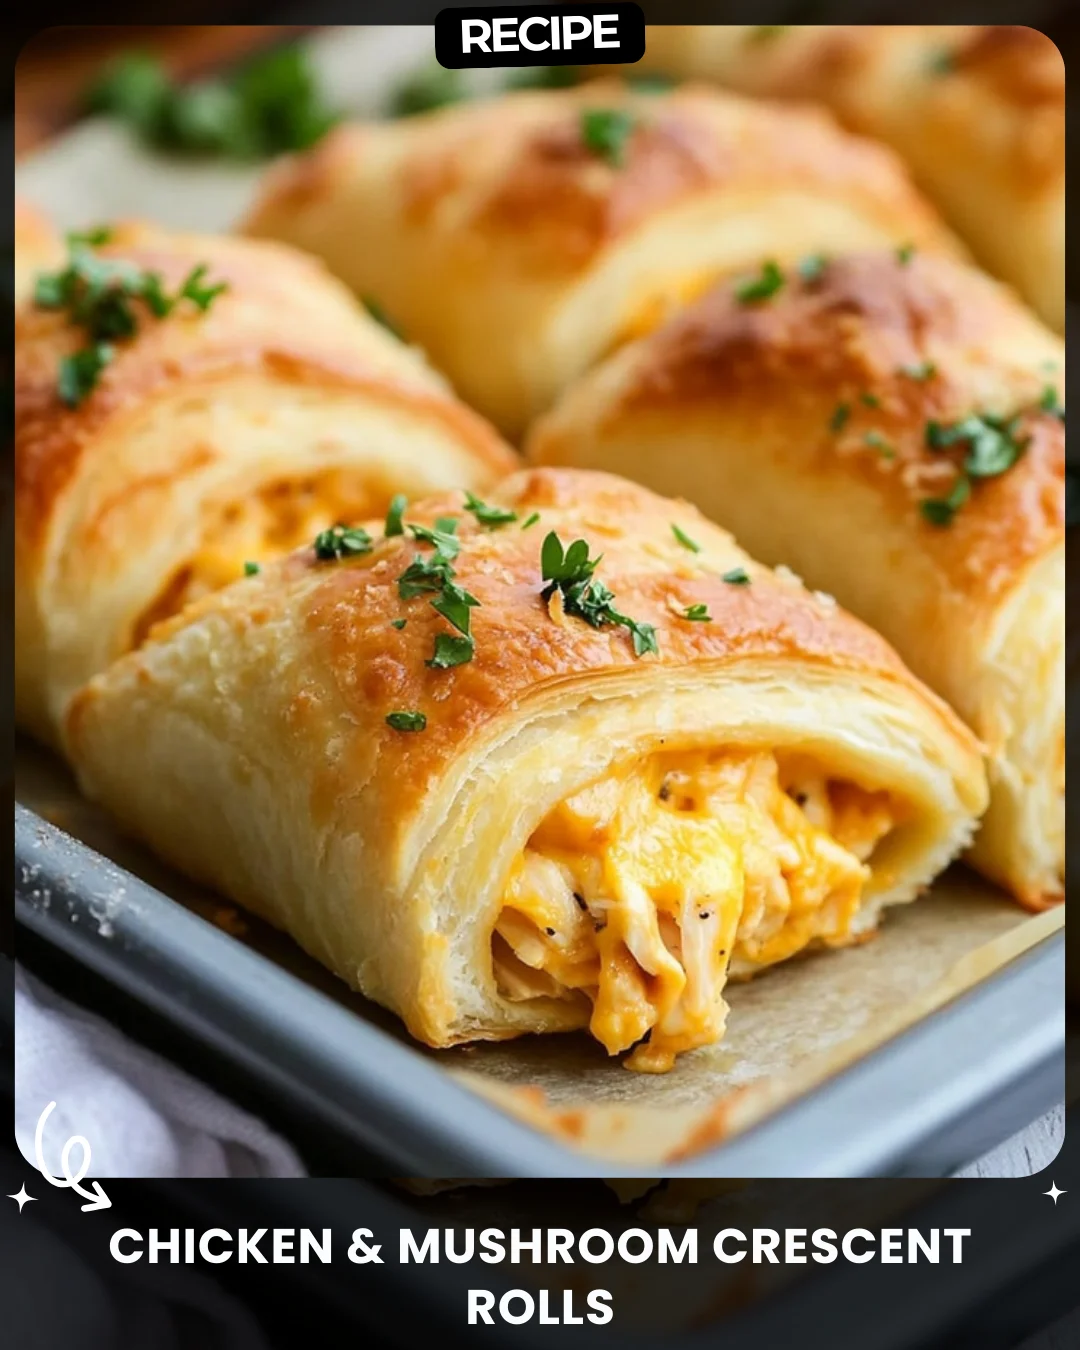
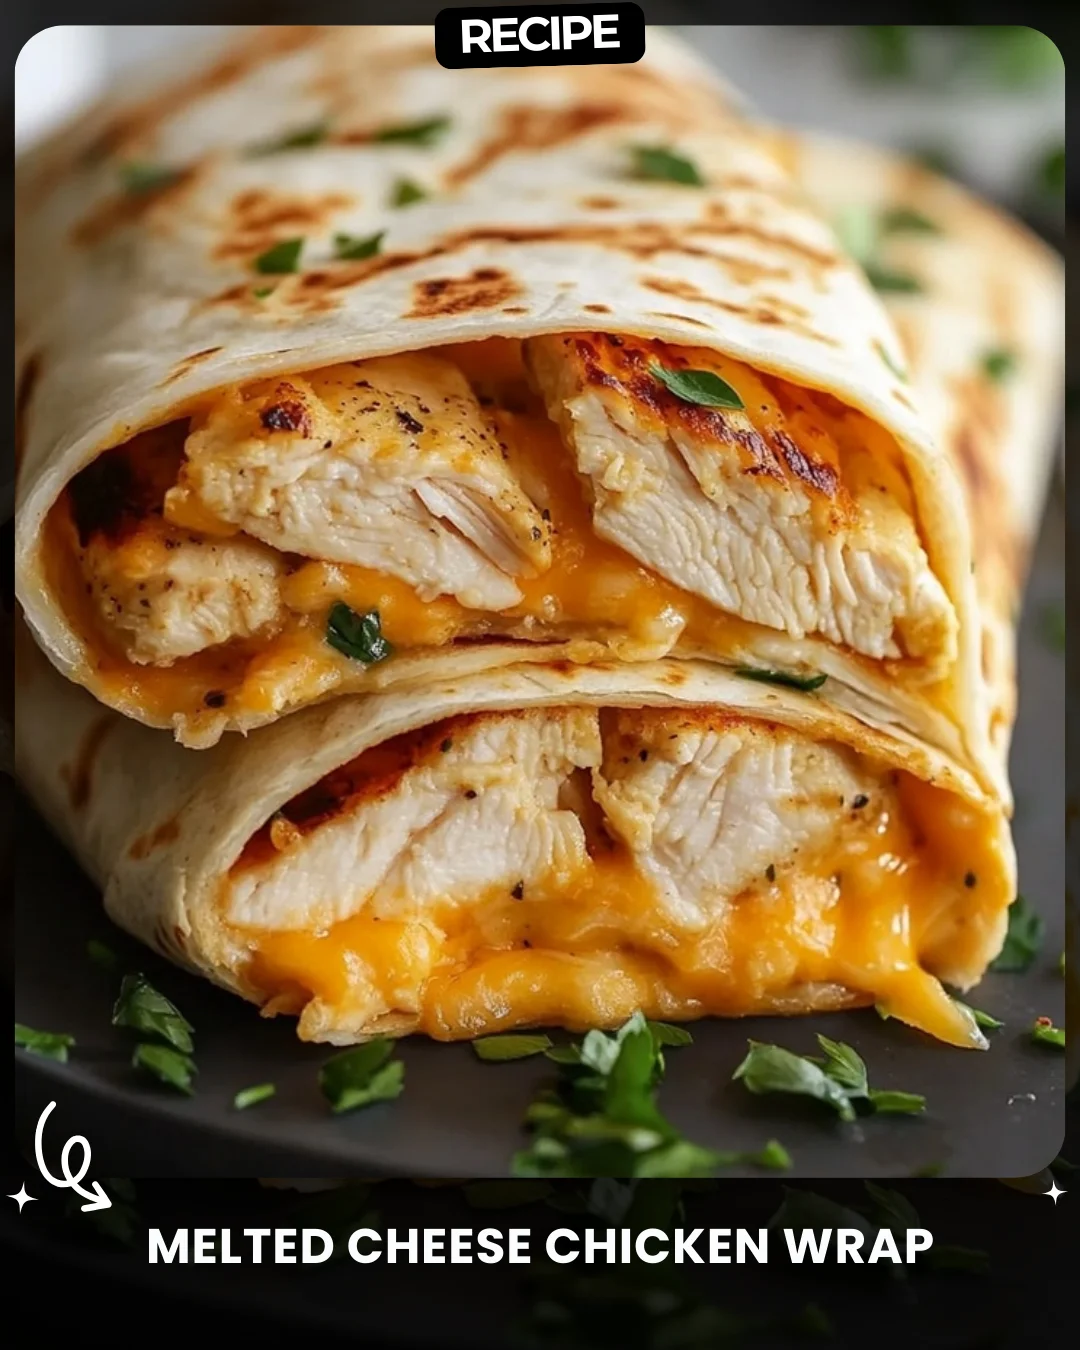
Melted Cheese Chicken Wrap
Golden, crispy tortilla filled with melty cheese and juicy chicken—this wrap is pure perfection!
Ingredients:
2 tortillas
1 cup sliced grilled chicken
1/2 cup shredded cheddar cheese
1 tablespoon butter
1/2 teaspoon black pepper
1/4 teaspoon salt
Fresh parsley for topping
Instructions:
Heat butter in a skillet over medium heat.
Sprinkle black pepper and salt over the chicken.
Place the tortilla in the skillet, add cheese, and top with chicken.
Fold and cook until golden brown.
Slice and serve warm with parsley.
Melty, cheesy, and oh-so-delicious!
#MeltyCheeseWrap
Step-by-Step Guide
Follow these detailed instructions for a perfect, crispy wrap every time. First, ensure your grilled chicken is sliced into thin, bite-sized pieces. Pat the chicken dry with a paper towel to help the seasoning stick. In a small bowl, toss the chicken slices with the black pepper and salt until evenly coated. Next, heat a large non-stick skillet or griddle over medium heat and add the butter, swirling to coat the surface.
Once the butter is melted and bubbling, place one tortilla flat in the skillet. Immediately sprinkle half of the shredded cheddar cheese evenly over one half of the tortilla. Quickly arrange the seasoned chicken slices on top of the cheese. Using a spatula, carefully fold the bare half of the tortilla over the filling, pressing down gently. Cook for 2-3 minutes until the bottom is golden brown and crisp. Carefully flip the entire wrap and cook for another 2-3 minutes until the second side is golden and the cheese is fully melted. Repeat the process for the second wrap.
Serving Suggestions
This versatile wrap pairs wonderfully with a variety of sides. For a complete meal, serve with a fresh garden salad, a bowl of tomato soup for dipping, or crispy sweet potato fries. For a lighter option, add freshness inside the wrap itself by including a handful of spinach, sliced avocado, or a spoonful of salsa before folding. A side of cool sour cream, ranch dressing, or spicy sriracha mayo makes for an excellent dipping sauce.
How-to Summary
In short: Season sliced grilled chicken with salt and pepper. Melt butter in a skillet over medium heat. Place a tortilla in the skillet, top one half with cheese and chicken, then fold. Cook for 2-3 minutes per side until golden brown and the cheese is melted. Slice and garnish with fresh parsley.
Frequently Asked Questions
Can I use a different type of cheese? Absolutely. Monterey Jack, pepper jack, mozzarella, or a Mexican blend all work wonderfully and melt beautifully.
How do I prevent the wrap from falling apart when flipping? Ensure your skillet is at the right medium heat—too hot will burn it before the cheese melts to act as “glue.” Also, press down gently with the spatula after folding to seal the edge slightly before the first flip.
Can I make this with raw chicken? It’s not recommended for this quick recipe. The cooking time for raw chicken would result in an overcooked or burnt tortilla. Always use pre-cooked grilled or rotisserie chicken.
How can I make this vegetarian? Simply omit the chicken. You can add sautéed mushrooms, bell peppers, onions, or black beans for a delicious vegetarian melty cheese wrap.
Can I prepare these wraps in advance? They are best served immediately for maximum crispness. However, you can prep the filling ahead. Assemble and cook just before serving to maintain the perfect texture.
Common Mistakes to Avoid
Avoid overfilling the tortilla, as this will make it difficult to fold and can cause the filling to spill out during cooking. Do not cook on high heat; medium heat is crucial to melt the cheese and achieve a golden-brown crisp without burning. Using cold tortillas directly from the fridge can make them crack; let them come to room temperature first. Finally, do not skip the butter, as it is essential for the signature golden, crispy exterior.
Conclusion
The Melted Cheese Chicken Wrap is the ultimate quick and satisfying meal, combining crispy texture with gooey, flavorful filling. By following this enhanced guide, you can easily avoid common pitfalls and customize it to your taste. It’s a foolproof recipe that delivers restaurant-quality results in just minutes, perfect for a busy weeknight or a comforting lunch. Enjoy the delicious, cheesy perfection!