


Description
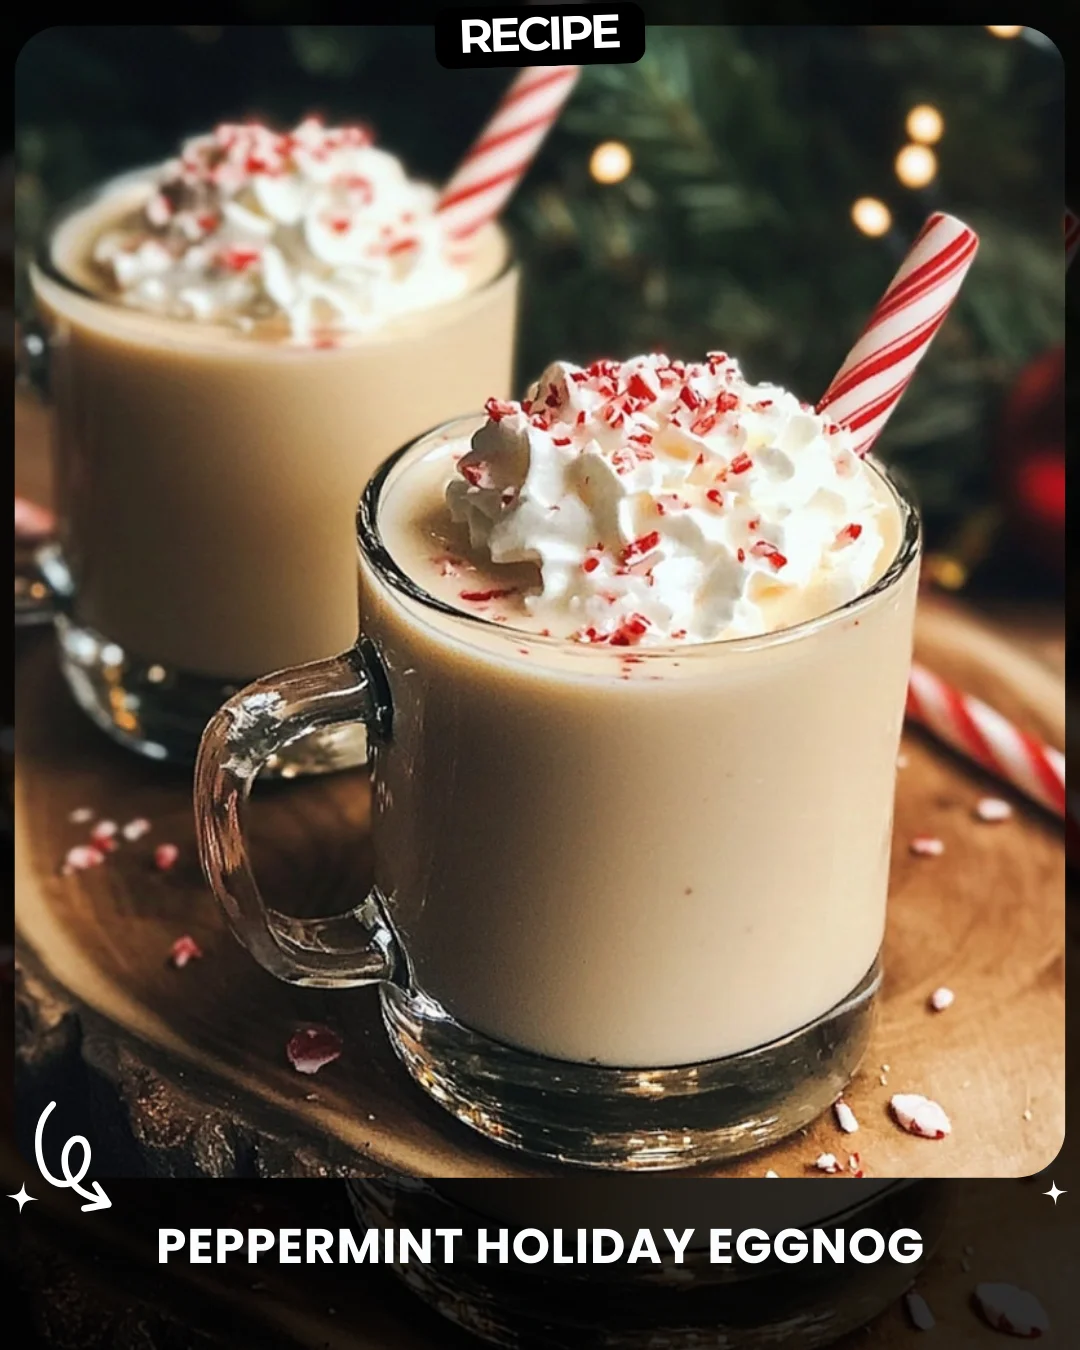
Peppermint Holiday Eggnog
Get into the holiday spirit with this creamy, peppermint-flavored eggnog—ideal for family gatherings!
Ingredients:
2 cups milk
1 cup cream
3 egg yolks
1/2 cup sugar
1 tsp vanilla extract
1/4 tsp cinnamon
Whipped cream
Crushed peppermint
Candy canes
Instructions:
Heat milk and cream in a pan until warm.
Whisk egg yolks and sugar until pale. Slowly temper with warm milk mixture.
Simmer until creamy, then mix in vanilla and cinnamon. Let cool.
Garnish with whipped cream, crushed peppermint, and candy canes for a festive finish.
#SantaApprovedEggnog
Step-by-Step Guide
Follow these detailed instructions for perfect peppermint eggnog every time.
- In a medium saucepan, combine the 2 cups of milk and 1 cup of cream. Heat over medium-low, stirring occasionally, until the mixture is warm and steaming (about 160°F). Do not boil.
- While the dairy heats, place 3 egg yolks and 1/2 cup of sugar in a separate, heatproof bowl. Whisk vigorously for 2-3 minutes until the mixture is thick, pale yellow, and forms ribbons.
- To temper the eggs, slowly pour about 1 cup of the warm milk mixture into the egg yolk mixture while whisking constantly. This gradually raises the eggs’ temperature without scrambling them.
- Pour the tempered egg mixture back into the saucepan with the remaining milk. Cook over low heat, stirring constantly with a wooden spoon, for 5-7 minutes until the mixture thickens enough to coat the back of the spoon. It should reach 165°F.
- Immediately remove from heat. Stir in 1 teaspoon of vanilla extract and 1/4 teaspoon of cinnamon.
- Pour the eggnog through a fine-mesh strainer into a pitcher to ensure a perfectly smooth texture. Let it cool to room temperature, then cover and refrigerate for at least 4 hours, or until thoroughly chilled.
Serving Suggestions
For a truly festive presentation, chill your serving glasses or mugs beforehand. Pour the chilled eggnog into each glass, leaving room at the top. Add a generous dollop of freshly whipped cream. Sprinkle liberally with crushed peppermint candies for color and crunch. Finally, garnish each glass with a mini candy cane hooked over the rim. For an adult version, a splash of bourbon, rum, or peppermint schnapps pairs wonderfully.
How-to Summary
Warm milk and cream. Whisk egg yolks and sugar until pale. Temper the eggs with the warm milk, then return to the pan and cook until thickened. Strain, stir in vanilla and cinnamon, and chill completely. Serve cold garnished with whipped cream, crushed peppermint, and a candy cane.
Frequently Asked Questions
Can I make this eggnog ahead of time? Absolutely. This eggnog tastes even better when made 1-2 days in advance, as the flavors have more time to meld. Store it tightly covered in the refrigerator.
Is it safe to consume raw eggs? This recipe is fully cooked. The tempering and simmering process brings the egg mixture to a safe temperature of 165°F, eliminating any risk associated with raw eggs.
Can I use a dairy-free alternative? Yes. Full-fat canned coconut milk or a rich oat milk can be substituted for the milk and cream for a dairy-free version, though the flavor profile will change.
My eggnog turned out lumpy. What happened? Lumps typically occur if the eggs were not tempered properly or the heat was too high during cooking, causing them to scramble. Always whisk constantly and cook on low heat. Straining is a crucial step to fix this.
How long does homemade eggnog last? Properly stored in a sealed container in the fridge, your homemade eggnog will stay fresh for 3-4 days. Always give it a good stir before serving.
Common Mistakes to Avoid
- Boiling the Dairy: Heating the milk and cream too quickly or letting it boil can cause it to scorch or develop a skin.
- Skipping the Tempering Step: Pouring hot liquid directly into the egg yolks will scramble them. Always temper slowly.
- Cooking on High Heat: After combining, keep the heat low and stir constantly to achieve a creamy thickness, not sweet scrambled eggs.
- Skipping the Strain: Even if it looks smooth, straining ensures any tiny cooked egg bits are removed for a silky texture.
- Serving Warm: This eggnog must be thoroughly chilled for the best flavor and consistency. Patience is key.
Conclusion
This Peppermint Holiday Eggnog is more than just a drink; it’s a creamy, festive experience that captures the essence of the season. By following this detailed guide, you can confidently create a safe, homemade version that far surpasses anything from a carton. Avoiding common pitfalls ensures a perfectly smooth and rich result. Garnish generously, share with loved ones, and enjoy the delicious, minty cheer of a #SantaApprovedEggnog.