


Description
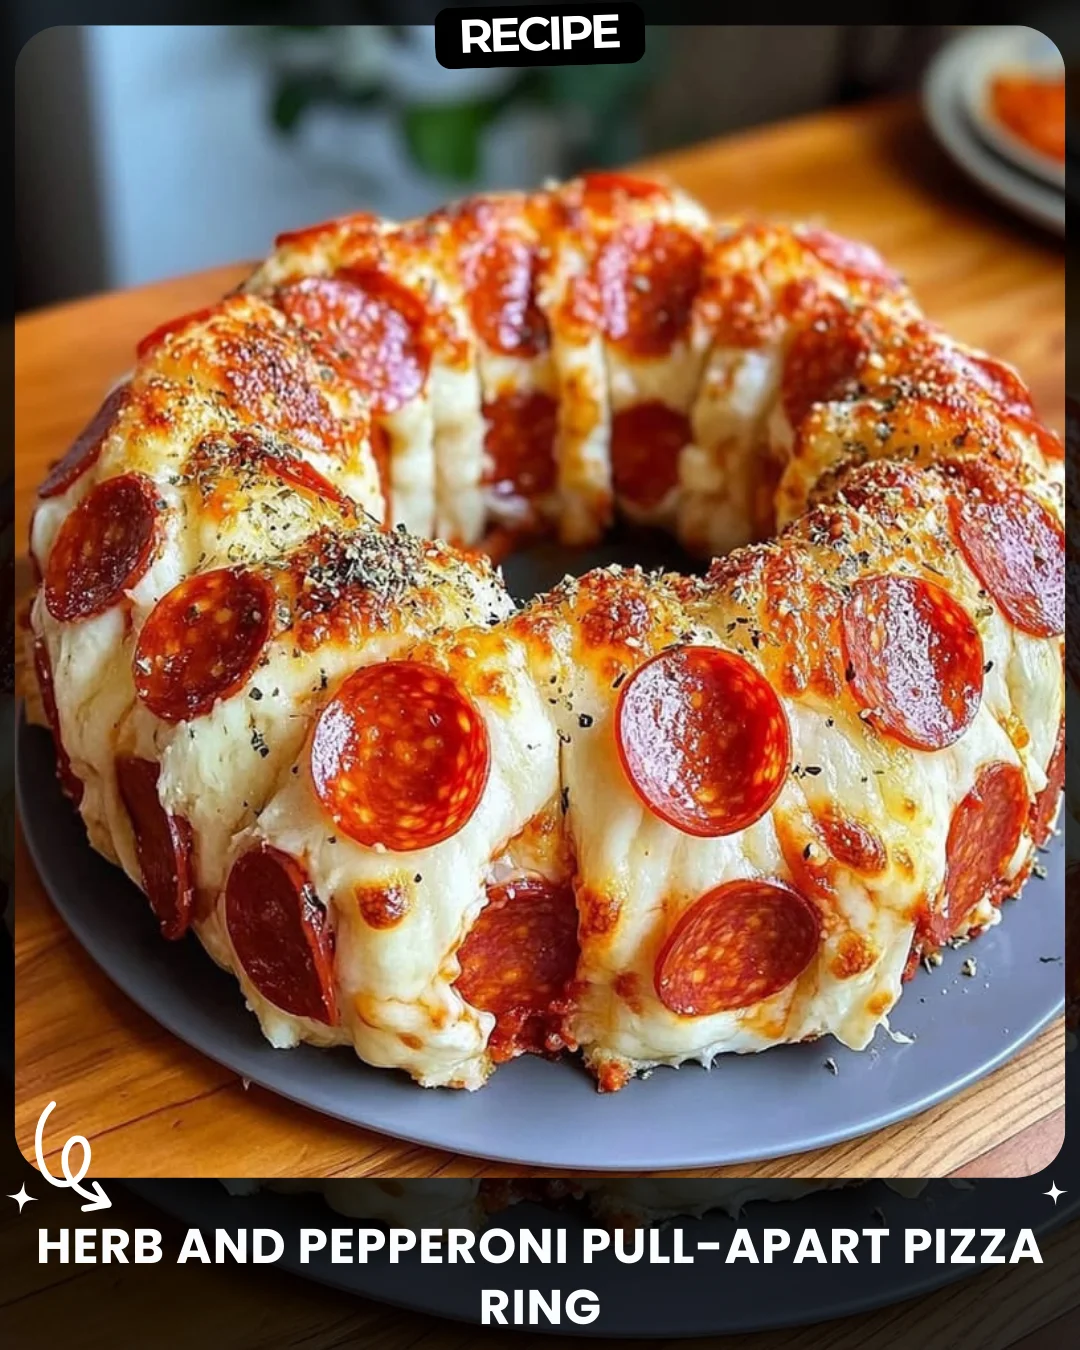
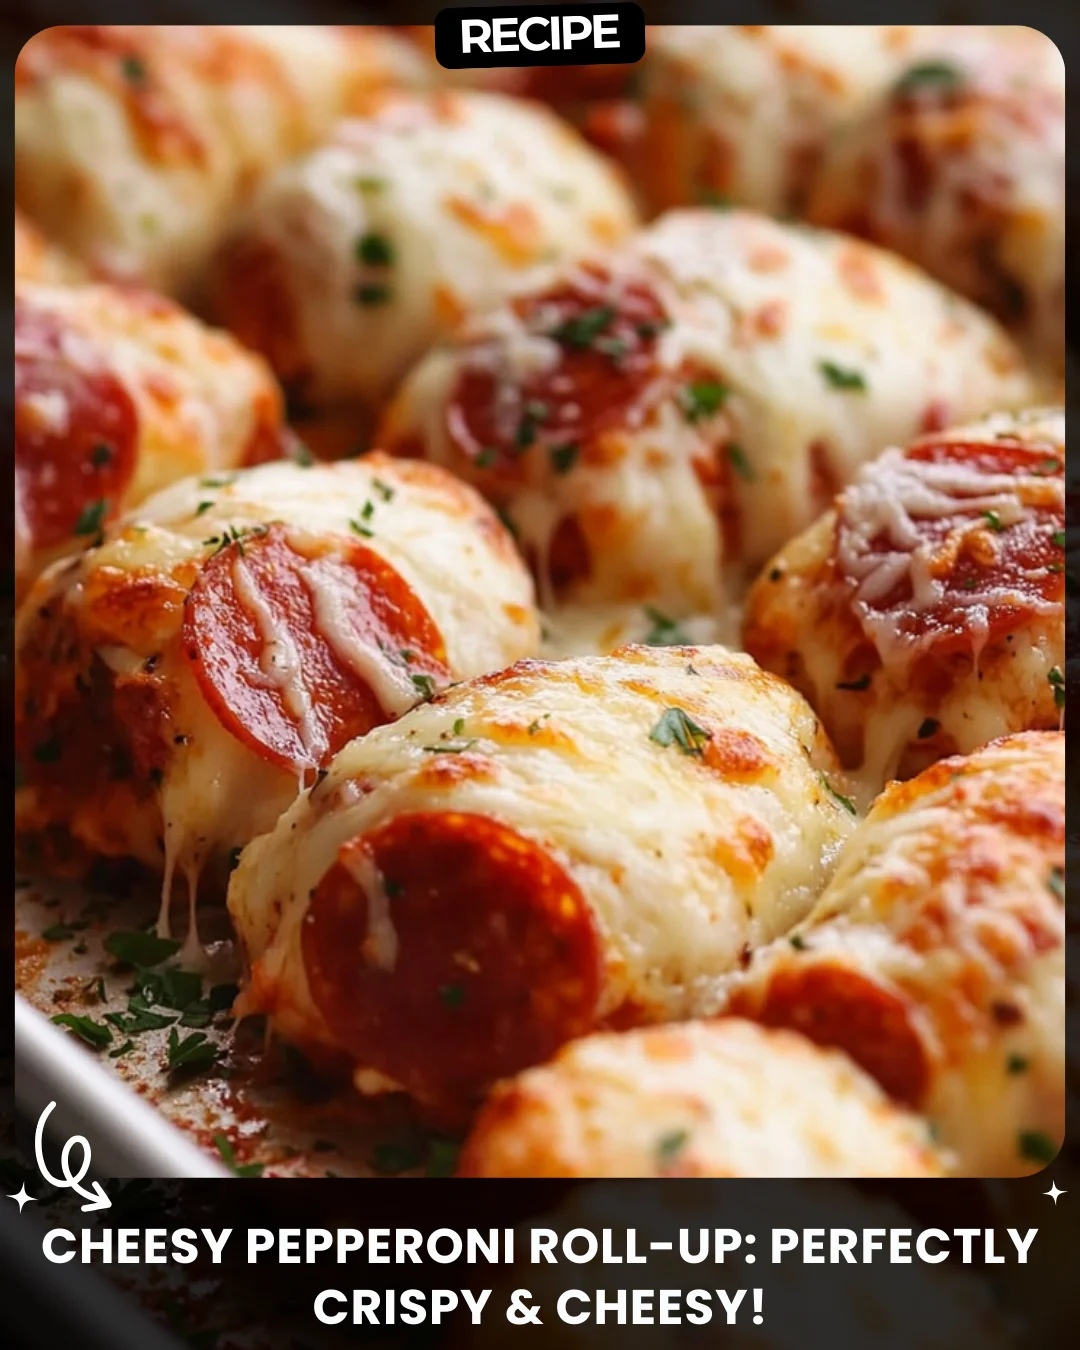
Cheesy Pepperoni Roll-Up: Perfectly Crispy & Cheesy!
These Cheesy Pepperoni Roll-Ups are the perfect combination of cheesy, crispy, and savory! Topped with Italian seasoning and garlic butter, they’re ideal for dipping in marinara sauce.
Ingredients:
1 package refrigerated pizza dough
1 cup shredded mozzarella cheese
1/2 cup grated Parmesan cheese
1/2 cup sliced pepperoni
1 teaspoon Italian seasoning
1/2 teaspoon garlic powder
2 tablespoons melted butter
1/4 cup marinara sauce for dipping
Fresh parsley for garnish
Steps:
Preheat your oven to 375°F.
Roll out pizza dough, then sprinkle with mozzarella, Parmesan, pepperoni, and Italian seasoning.
Roll the dough into a log and cut into slices.
Brush with melted butter and sprinkle with garlic powder.
Bake for 15-20 minutes until golden.
Serve with marinara sauce and garnish with parsley.
#CrispyRolls #PizzaLovers #CheeseAddict
Step-by-Step Guide
Follow these detailed instructions for perfect roll-ups every time.
- Prep: Preheat oven to 375°F (190°C). Line a baking sheet with parchment paper.
- Roll Dough: On a lightly floured surface, roll the pizza dough into a large rectangle, about 1/4-inch thick.
- Layer Fillings: Evenly sprinkle the shredded mozzarella, grated Parmesan, and sliced pepperoni over the dough, leaving a 1-inch border on one long edge. Sprinkle Italian seasoning over the cheese.
- Roll Tightly: Starting from the long edge opposite the border, tightly roll the dough into a log, pinching the clean edge to seal.
- Slice: Using a sharp serrated knife, cut the log into 1-inch thick slices. Place them cut-side up on the prepared baking sheet.
- Add Topping: Combine melted butter and garlic powder. Brush generously over the tops of each roll-up.
- Bake: Bake for 15-20 minutes, or until the dough is cooked through and the tops are golden brown and crispy.
- Cool & Serve: Let cool for 5 minutes before serving to allow the cheese to set slightly.
Serving Suggestions
These roll-ups are versatile. Serve them warm as a party appetizer with a side of warm marinara sauce for dipping. For a fun lunch or light dinner, pair them with a simple green salad dressed with Italian vinaigrette. They also make a great game-day snack alongside other finger foods.
How-to Summary
In short: Roll out dough, layer with cheese, pepperoni, and seasoning, roll into a log, slice, brush with garlic butter, and bake at 375°F until golden and crispy. Serve with marinara.
Frequently Asked Questions
Can I use homemade pizza dough? Absolutely! Any standard pizza dough recipe will work. Ensure it’s rolled thin for the best texture.
Can I make these ahead of time? Yes, you can assemble and slice the roll-ups, then cover and refrigerate for up to 24 hours before baking. Add 2-3 extra minutes to the bake time if baking from cold.
Can I freeze the baked roll-ups? Yes. Let them cool completely, then freeze in a single layer on a baking sheet before transferring to a freezer bag. Reheat in the oven or air fryer to restore crispiness.
What other fillings can I use? Get creative! Try cooked Italian sausage, sautéed veggies (spinach, mushrooms, bell peppers), different cheeses like provolone, or a sprinkle of red pepper flakes for heat.
Why are my roll-ups soggy? Sogginess is usually from underbaking or overcrowding the pan. Ensure your oven is fully preheated and space the roll-ups at least an inch apart for proper air circulation.
Common Mistakes to Avoid
- Overfilling: Using too much cheese or pepperoni can cause the filling to leak out during baking.
- Not Sealing the Edge: Failing to pinch the dough seam closed can cause the roll to unravel.
- Using a Dull Knife: A dull knife will squish the roll when slicing. Use a sharp serrated knife for clean cuts.
- Skipping the Butter Brush: The garlic butter is key for that golden, crispy, flavorful top. Don’t omit it!
Conclusion
These Cheesy Pepperoni Roll-Ups are a guaranteed crowd-pleaser, combining the beloved flavors of pizza in a fun, dippable form. With a crispy exterior and a molten cheesy center, they are simple to make yet impressive to serve. By following this enhanced guide and avoiding common pitfalls, you’ll create a perfect snack or appetizer every time. Enjoy the delicious results!