


Description
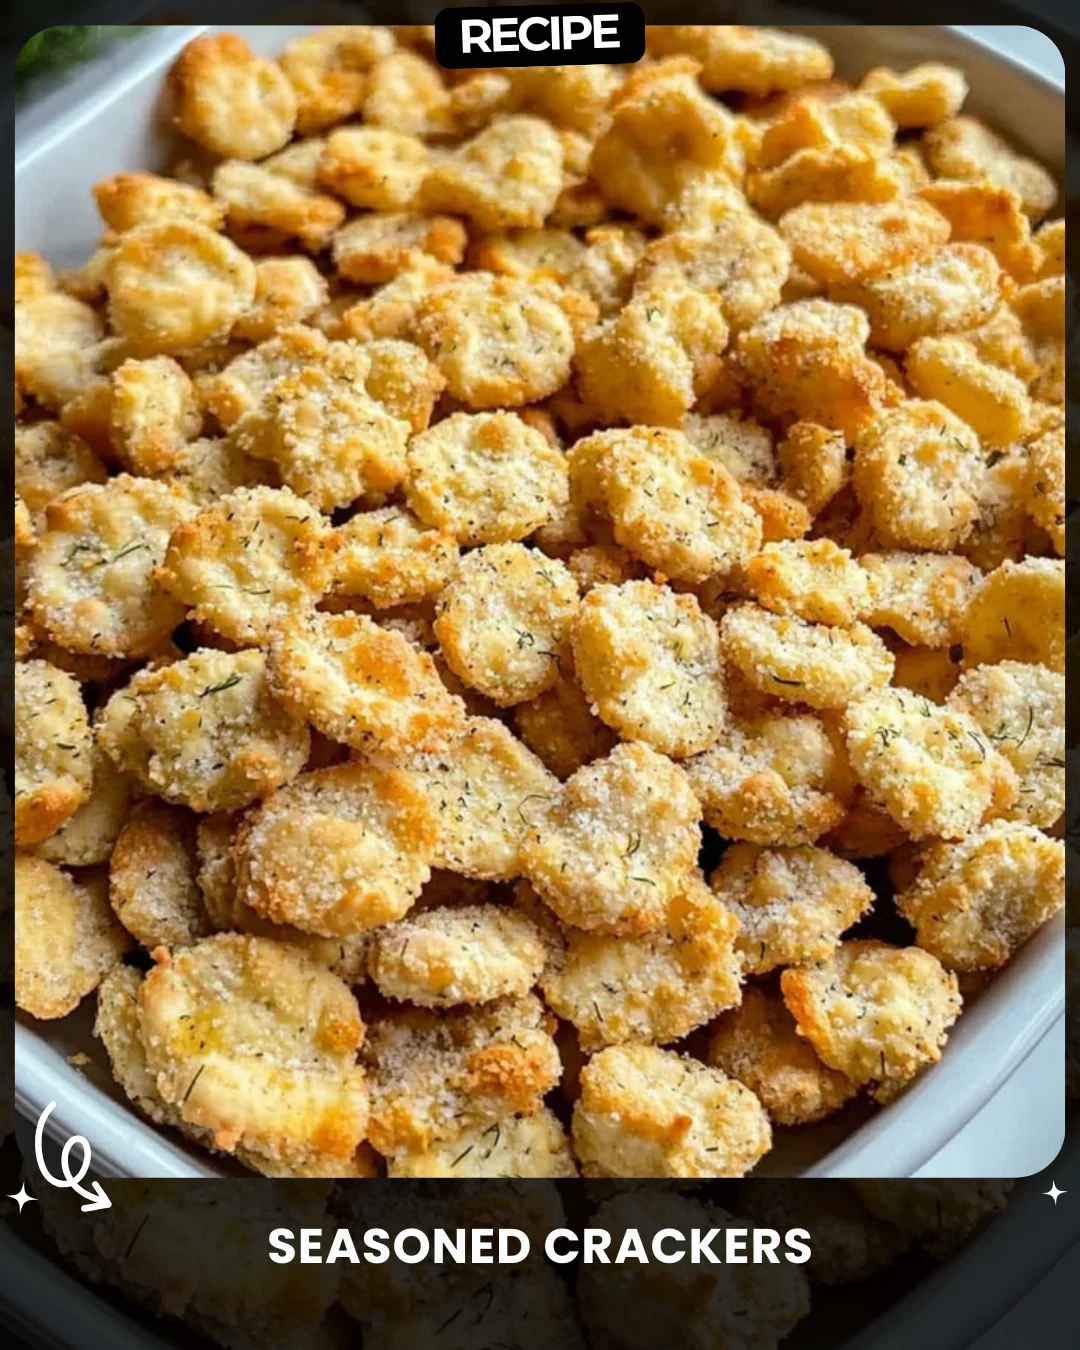
Seasoned Crackers
Cheesy and crispy, these crackers are a crowd-pleaser for snack lovers everywhere!
Ingredients:
1 bag (16 oz) oyster crackers
1/3 cup melted butter
1 packet cheddar cheese powder (or 1/4 cup grated Parmesan)
1 teaspoon paprika
1/2 teaspoon garlic powder
Steps:
Preheat oven to 250°F (120°C).
Combine melted butter, cheese powder, paprika, and garlic powder in a bowl.
Toss the crackers in the mixture until evenly coated.
Spread crackers on a baking sheet and bake for 20 minutes, stirring once.
Let cool before enjoying the cheesy crunch!
#CheeseCrackerLove
Step-by-Step Guide
Follow these detailed instructions for perfect crackers every time. First, preheat your oven to 250°F (120°C) and line a large baking sheet with parchment paper. In a medium-sized mixing bowl, thoroughly whisk together the 1/3 cup of melted butter, the packet of cheddar cheese powder (or grated Parmesan), 1 teaspoon of paprika, and 1/2 teaspoon of garlic powder until a smooth, seasoned paste forms. Place the entire 16 oz bag of oyster crackers into a large, clean plastic bag or a very large bowl with a lid. Pour the seasoned butter mixture over the crackers. Seal the bag or cover the bowl and shake or toss vigorously for 1-2 minutes, ensuring every cracker gets a thorough, even coating. Spread the coated crackers in a single layer on your prepared baking sheet. Bake for 20 minutes, stopping at the 10-minute mark to gently stir and flip the crackers for even crisping. Remove from the oven and let them cool completely on the sheet—they will crisp up further as they cool.
Serving Suggestions
These versatile crackers are more than just a solo snack. Serve them in a bowl at your next party or game-day gathering. They make an excellent crunchy topping for creamy soups, especially tomato or broccoli cheddar. For a fun appetizer, pair them with a cold dip like ranch or spinach-artichoke. You can also pack them in lunchboxes or take them on road trips for a savory, satisfying crunch.
How-to Summary
In short: Season melted butter with cheese powder, paprika, and garlic. Toss with oyster crackers until fully coated. Bake at 250°F for 20 minutes, stirring halfway. Let cool completely to crisp up. Store in an airtight container.
Frequently Asked Questions
Can I use a different type of cracker?
Yes! This seasoning blend works wonderfully on plain mini pretzels, bagel chips, or even plain cereal like Chex for a cheesy mix.
How should I store these, and how long do they last?
Store completely cooled crackers in an airtight container or ziplock bag at room temperature. They will stay crisp and fresh for up to 1 week.
My crackers turned out soggy. What happened?
Sogginess is usually caused by not letting them cool fully on the baking sheet after baking, or by storing them before they are completely cool. The cooling process is crucial for maximum crispness.
Can I make this recipe in the microwave?
It’s not recommended. The low-and-slow oven drying is what creates the perfect, deep crispness without burning the delicate seasonings.
What can I substitute for cheddar cheese powder?
Finely grated Parmesan cheese is the best substitute. You can also experiment with other powdered seasonings like ranch or taco seasoning for a different flavor profile.
Common Mistakes to Avoid
- Using a hot oven: Baking at a temperature higher than 250°F will likely burn the butter and seasonings before the crackers crisp properly.
- Skipping the stir: Not stirring halfway through the bake time will lead to uneven browning and some soggy spots.
- Storing while warm: Sealing the crackers before they are 100% cool traps steam and causes immediate sogginess.
- Uneven coating: Not taking the time to shake or toss the crackers thoroughly will result in bland, unseasoned bites.
Conclusion
These Seasoned Crackers are the ultimate easy, customizable, and irresistibly crunchy snack. With just a few pantry staples and minimal effort, you can create a treat that far surpasses anything from a store-bought bag. By following the step-by-step guide and heeding the common mistakes, you’re guaranteed a perfect batch of cheesy, savory goodness that will disappear quickly. Enjoy your homemade #CheeseCrackerLove!